9 Steps to Prepare Your Landscape for a New Garden Light
The smell of damp earth after a saturation event signals the peak of microbial activity within the rhizosphere. When you compress a handful of healthy soil, it should hold its shape momentarily before crumbling under slight pressure, a sign of ideal turgor and structure. Understanding how to prepare a garden for a light requires more than aesthetic placement; it demands a technical assessment of the site's topography and soil stability. Improper installation can disrupt the delicate balance of soil aeration and root respiration. You must evaluate the compaction levels of your substrate to ensure that trenching for low-voltage wiring does not sever critical lateral roots or compromise the Cation Exchange Capacity (CEC) of the planting bed. A successful installation integrates illumination with the physiological needs of the flora, ensuring that artificial photoperiods do not interfere with the natural senescence of the species. Precision in the early stages of site preparation prevents long-term structural failure and ensures that the lighting system functions without degrading the biological integrity of the landscape.
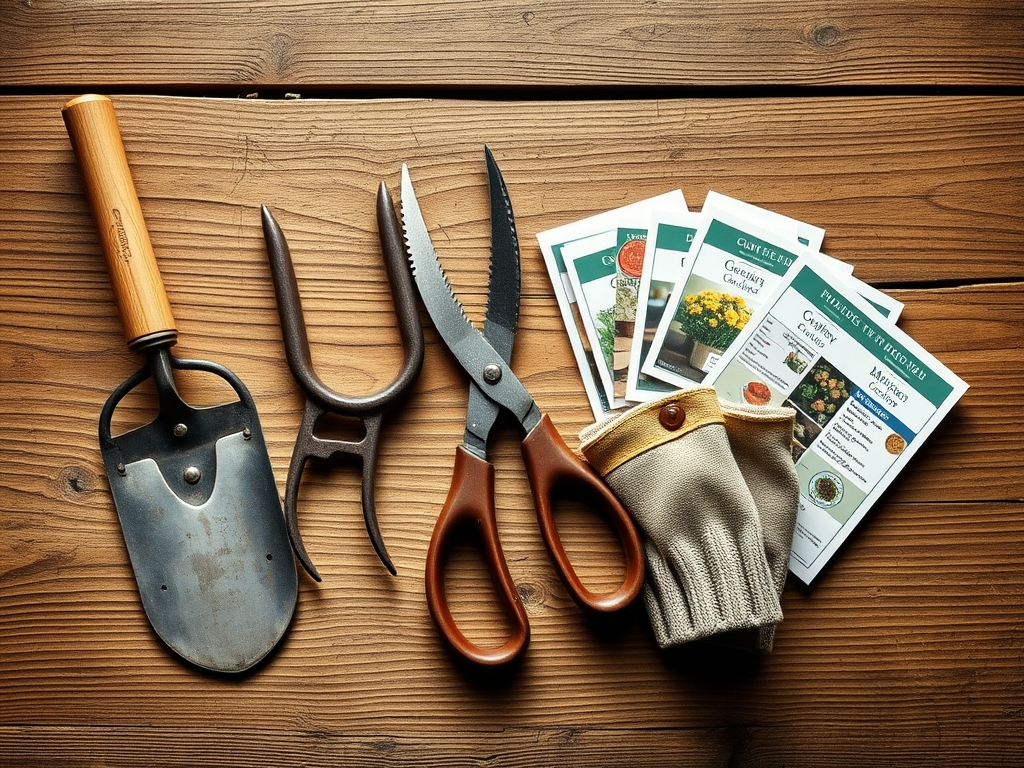
Materials:
The foundation of a resilient landscape starts with a **friable loam** consisting of approximately **40% sand, 40% silt, and 20% clay**. This texture ensures optimal drainage while maintaining enough surface area for nutrient adsorption. Before installing hardware, test your soil pH; most ornamental landscapes thrive in a range of **6.0 to 7.0**.
If the soil is depleted, incorporate organic matter to achieve a target NPK ratio of 10-10-10 for general establishment or a 5-10-5 ratio if you are prioritizing root development over foliage. High nitrogen levels (the first number in the NPK sequence) can lead to rapid, weak growth that is susceptible to mechanical damage during light installation. Ensure you have a high-quality voltmeter, waterproof wire connectors, and a trenching spade with a sharpened blade to minimize soil profile disturbance.
Timing:
The window for landscape modification is dictated by your local Hardiness Zone. In Zones 5 through 7, the ideal time to prepare the ground is during the dormant season or early spring when the soil temperature reaches a consistent 55 degrees Fahrenheit. This temperature marks the beginning of active root growth.
Avoid heavy trenching during the peak reproductive stage of your plants. The biological clock of a plant transitions from vegetative growth to flowering based on the photoperiod. Introducing artificial light sources must be timed so as not to disrupt the "Short-Day" or "Long-Day" triggers required for certain species to enter dormancy. Perform all heavy soil work at least four weeks before the first frost or three weeks after the last frost to allow the soil to settle and the roots to recover from any minor mechanical stress.
Phases:

Sowing and Soil Prep
Clear the area of all debris and weeds. Use a hori-hori knife to extract deep taproots without overturning the entire soil profile. This preserves the existing fungal networks.
Pro-Tip: Maintaining soil structure protects mycorrhizal symbiosis. These fungi extend the root system's reach, increasing the uptake of phosphorus and water which is vital for plants recovering from the stress of nearby construction.
Transplanting and Placement
When moving plants to accommodate light fixtures, keep the root ball intact and moist. Dig a hole twice as wide as the root ball but no deeper. Ensure the root flare is visible at the soil surface to prevent stem rot.
Pro-Tip: Minimize light exposure to the roots during this phase to prevent auxin suppression. Auxins are hormones that drive root elongation; light exposure can stall this process and lead to transplant shock.
Establishing the System
Lay your low-voltage lines at a depth of 6 inches to avoid accidental damage from future aeration. Backfill the trenches carefully, tamping down the soil to remove air pockets that could cause root desiccation.
Pro-Tip: Observe the direction of new growth after installation. Phototropism will cause plants to grow toward the light source. Position fixtures to enhance the plant's natural form rather than forcing it into an unnatural lean.
The Clinic:
Physiological disorders often arise when the environment is altered. Monitor your plants for these specific symptoms:
- Symptom: Interveinal Chlorosis. The leaves turn yellow while the veins remain green.
- Solution: This indicates a Manganese or Iron deficiency, often caused by a pH above 7.5. Apply a chelated iron drench to lower the localized pH.
- Symptom: Leaf Scorch. Brown, necrotic edges on the foliage.
- Solution: This is often a result of high-intensity lights being placed too close to the canopy, causing localized transpiration rates to exceed water uptake. Move the fixture 12 to 18 inches away.
- Symptom: Epinasty. Downward curling or twisting of leaves.
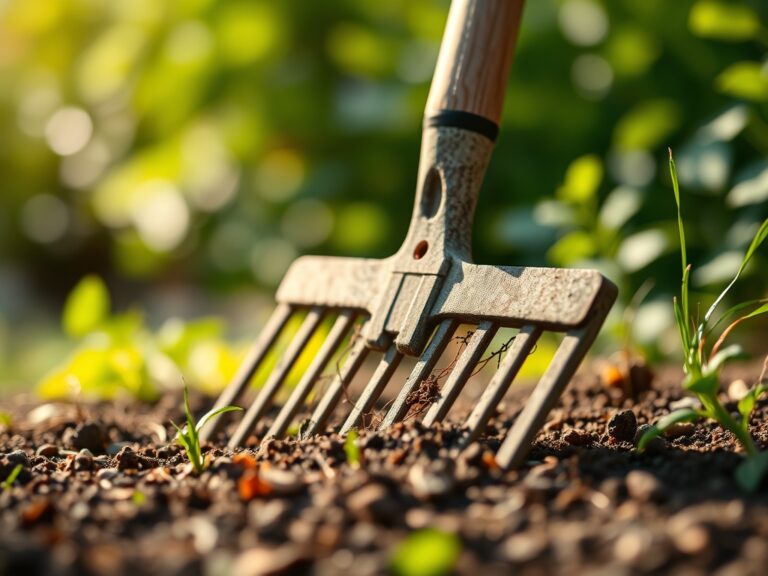
- Solution: Check for soil compaction around the light stakes. Compacted soil limits oxygen to the roots, causing a buildup of ethylene gas. Use a garden fork to aerate the area.
Fix-It for Nitrogen Chlorosis: If the entire leaf is pale green or yellow, the plant lacks nitrogen. Apply a quick-release liquid fertilizer with a 20-0-0 ratio at half strength to restore chlorophyll production without inducing a massive growth surge.
Maintenance:
Post-installation care requires a data-driven approach. Use a soil moisture meter to ensure the root zone remains at a consistent moisture level. Most established landscapes require 1.5 inches of water per week, delivered at the drip line to encourage deep root penetration.
Use bypass pruners to remove any "water sprouts" or suckers that may block the light path. These are fast-growing, vertical shoots that drain the plant's energy. Sterilize your tools with 70% isopropyl alcohol between plants to prevent the spread of pathogens. Inspect the light fixtures every quarter for "heaving," where the freeze-thaw cycle pushes the stakes out of the ground, potentially tearing fine feeder roots.
The Yield:
For those integrating lights into an edible or cutting garden, timing the harvest is critical. Harvest leafy greens and herbs in the early morning when turgor pressure is at its highest. This ensures the cells are fully hydrated, providing a crisp texture.
For woody perennials or flowers, use a sharp blade to make a clean, diagonal cut. This increases the surface area for water uptake. Immediately place the stems in water conditioned to a pH of 3.5 to 4.5 to inhibit bacterial growth and maintain "day-one" freshness. Proper lighting can extend the harvest window by providing better visibility for late-evening picking, but avoid harvesting during peak heat to prevent rapid wilting.
FAQ:
How deep should I bury the light cables?
Bury low-voltage cables at least 6 inches deep. This depth protects the wires from common garden tools like hoes or edgers while remaining above the deeper utility lines. Always use a trenching spade for clean, narrow cuts.
Will artificial light hurt my plants' sleep?
Most plants require a period of darkness for cellular repair. Use a timer to ensure lights are off for at least 6 to 8 hours. Excessive light can disrupt phytochrome levels, preventing some species from flowering or entering dormancy.
What is the best soil for light stability?
A compacted clay-loam mix provides the best anchor for light stakes. If your soil is too sandy, the stakes will lean. Mix in organic compost to improve the grip and provide a stable base for the fixture.
Can I install lights near large tree roots?
Avoid cutting any root thicker than 2 inches. Use "air-spading" or hand-digging to find gaps between major lateral roots. Damaging primary roots can lead to structural instability and nutrient uptake failure for the entire canopy.