8 Steps to Sharpen a Garden Pruner with a Bench Stone
Turgor pressure within the xylem determines the success of a clean cut. When a blade is dull, it crushes the vascular cambium instead of severing it; this creates ragged wounds that invite fungal pathogens into the rhizosphere. Precision maintenance ensures the plant heals through rapid callous formation. Learning the steps for sharpening a garden pruner with a stone is the most critical skill for preventing systemic infection in high-value specimens. A sharp bypass pruner shears through cellulose with minimal resistance, preserving the integrity of the plant's hydraulic system. This process requires a steady hand and an understanding of metallurgical friction. Proper sharpening restores the factory bevel, allowing the blade to glide through woody tissue without tearing the protective epidermis. Neglecting this maintenance leads to jagged edges that collect moisture and pathogens. By following a structured protocol, you ensure that every cut promotes healthy regrowth and maintains the structural integrity of your orchard or garden beds.
Materials:
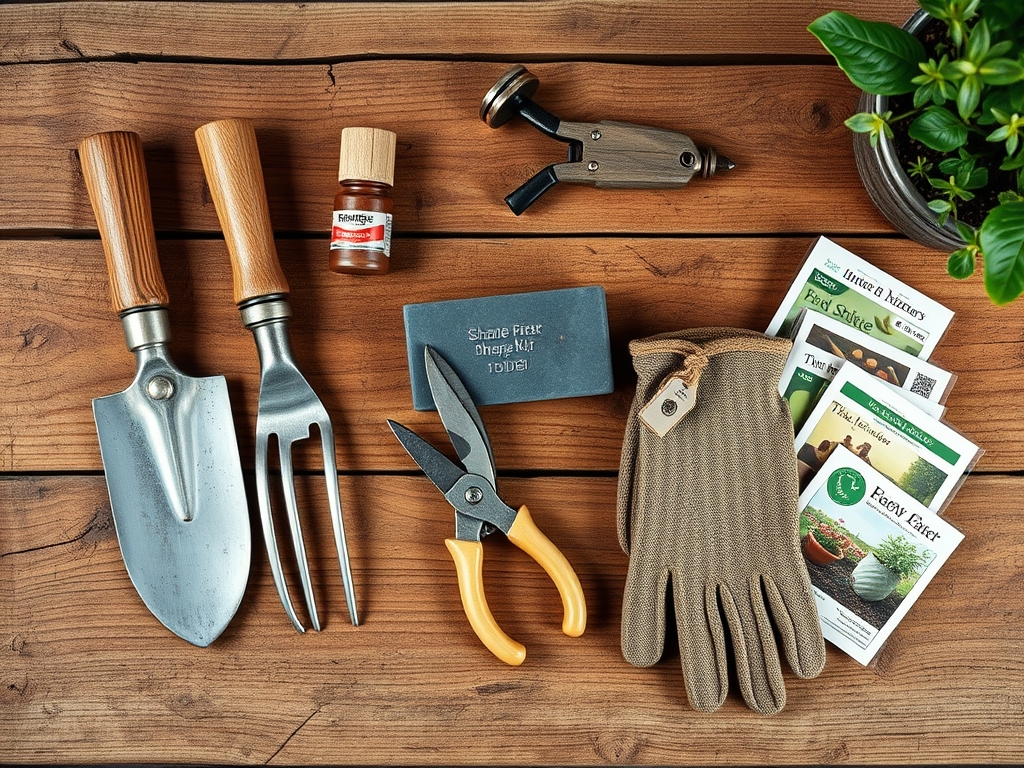
While tool maintenance is mechanical, the environment where these tools operate is purely chemical. To maintain the health of your plants after pruning, ensure the soil has a **Cation Exchange Capacity (CEC) between 15 and 25**. The ideal substrate is a **friable loam** with a **pH of 6.2 to 6.8**. For woody perennials, maintain an **NPK ratio of 10-10-10** for general maintenance or **5-10-10** to encourage root development over excessive vegetative flush. You will need a **dual-grit bench stone (400/1000 grit)**, **honing oil or water**, and **isopropyl alcohol (70 percent)** for sterilization. The physical texture of the soil should allow for immediate drainage to prevent root rot in the newly pruned specimens.
Timing:
Sharpening should occur before the spring flush, specifically in USDA Hardiness Zones 4 through 8 during the dormant window between January and March. This aligns with the plant's biological clock; pruning during the transition from dormancy to the vegetative stage allows the plant to direct energy toward wound closure as sap flow increases. Avoid pruning during the reproductive stage (flowering) to prevent auxin suppression which can stunt seasonal growth. In warmer zones like 9 and 10, perform sharpening and pruning during the brief cooling period when the photoperiod is at its shortest to minimize stress on the plant's metabolic rate.
Phases:
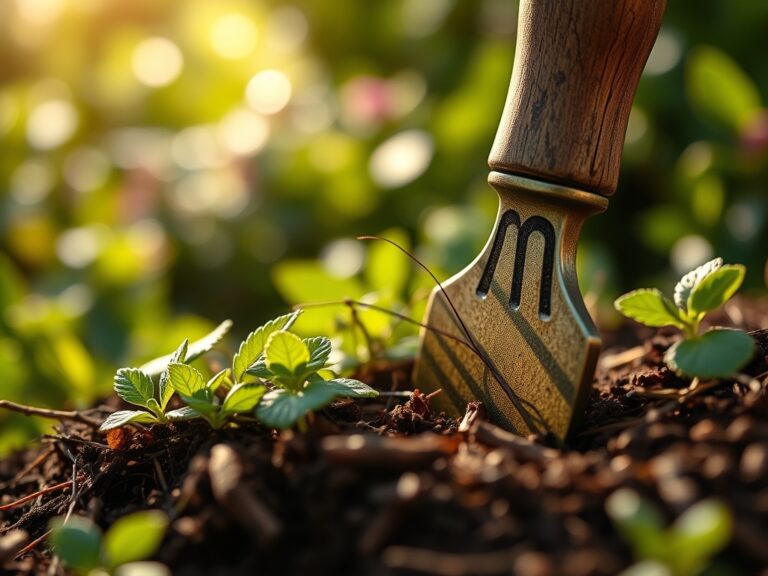
### Sowing the Foundation: Cleaning and Disassembly
Before the stone touches the metal, remove all organic debris and oxidized iron. Use a wire brush to scrub the blade surfaces. Soak the metal components in a solvent if sap buildup is heavy. This prevents the stone from “loading” with grit, which reduces sharpening efficiency.
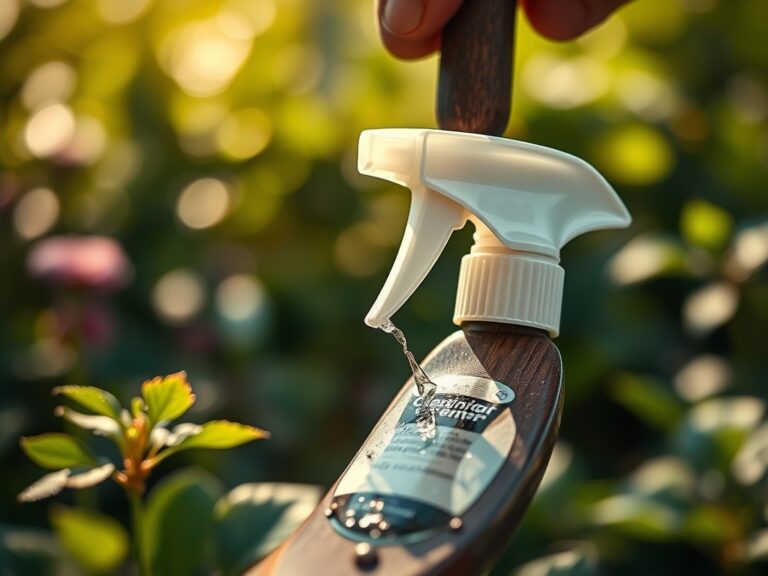
**Pro-Tip:** Sterilizing blades with alcohol prevents the transmission of **tobacco mosaic virus** and other pathogens. The biological why: Pathogens utilize the open vascular system of a fresh cut to bypass the plant’s primary dermal defenses.
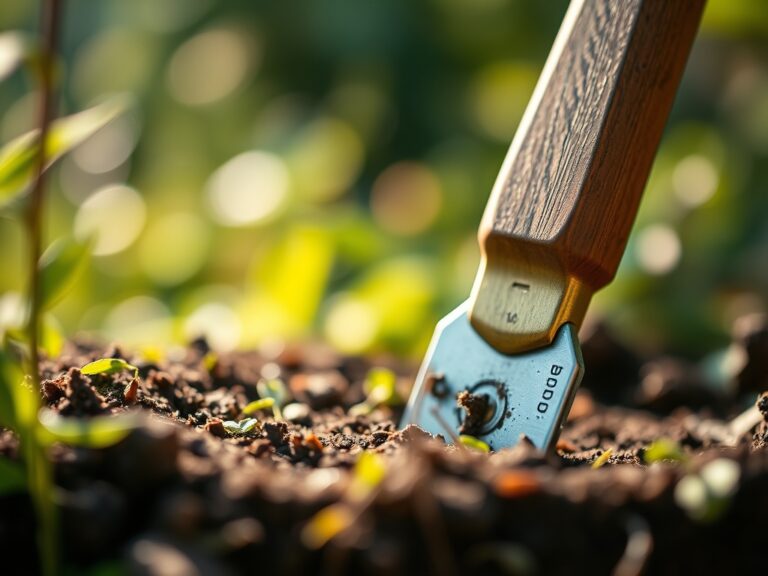
Transplanting the Edge: Grinding the Bevel
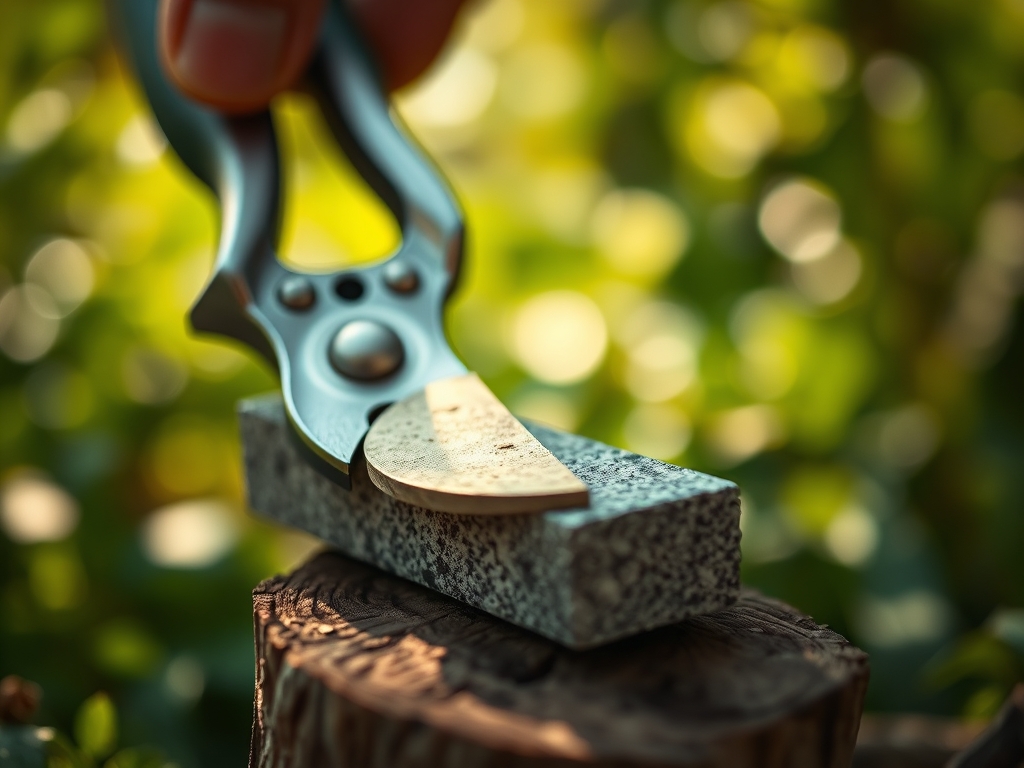
Place the pruner blade against the 400-grit side of the bench stone at a 20-degree angle. Move the blade in a consistent circular motion. Maintain even pressure to ensure the entire length of the cutting edge contact the stone. Observe the formation of a "burr" on the flat side of the blade.
Pro-Tip: Always sharpen in one direction to maintain molecular alignment of the steel. The biological why: A perfectly smooth edge reduces mechanical stress on the plant cells, preventing the release of excessive ethylene, which can trigger premature senescence in the branch tip.
Establishing the Finish: Honing and Reassembly
Switch to the 1000-grit side of the stone to polish the edge. This removes the burr and creates a razor-sharp finish. Apply a light coat of machine oil to prevent future oxidation. Reassemble the pruners and adjust the tension bolt so the blades pass each other with zero clearance but no friction.
Pro-Tip: Test the sharpness on a piece of paper; it should slice without snagging. The biological why: A clean slice preserves the turgor pressure within the surrounding cells, allowing the plant to seal the wound via compartmentalization of decay in woody plants (CODIT).
The Clinic:
Physiological disorders often arise from poor tool maintenance or soil imbalances.
- Symptom: Ragged, tearing cuts on stems. Solution: Immediate sharpening of blades to restore a single-plane cutting surface.
- Symptom: Interveinal chlorosis (yellowing between veins). Solution: This indicates a Magnesium deficiency; apply Epsom salts at a rate of 1 tablespoon per gallon of water.
- Symptom: Necrotic leaf margins. Solution: This suggests Potassium deficiency or salt burn; flush the rhizosphere with 2 inches of water and adjust NPK to a lower salt index formula.
- Fix-It for Nitrogen Chlorosis: If the entire leaf turns pale green, apply a high-nitrogen fertilizer with a ratio of 20-10-10 to boost chlorophyll production and vegetative vigor.
Maintenance:
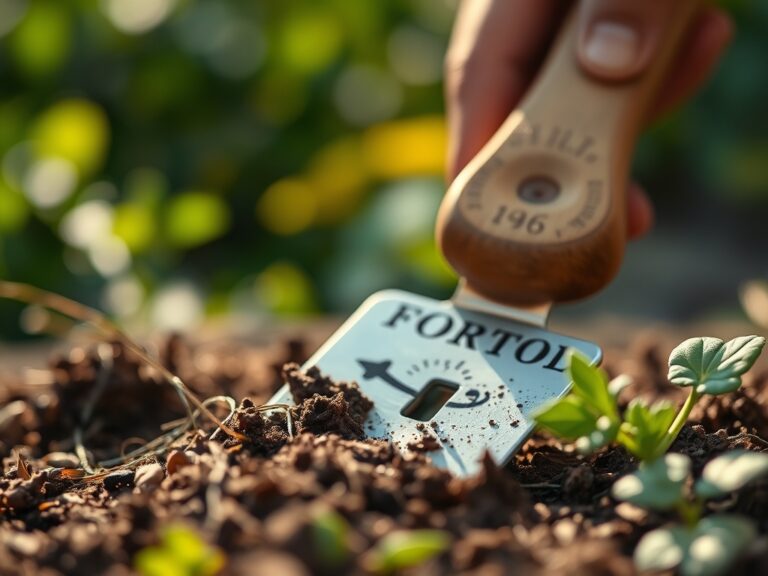
Post-pruning care is essential for recovery. Provide 1.5 inches of water per week at the drip line, ensuring the moisture reaches the root zone. Use a soil moisture meter to verify that the top 4 inches of soil remain damp but not saturated. For precision work, use a hori-hori knife to remove weeds around the base of the plant to reduce competition for nutrients. Always check the tension of your bypass pruners after every 50 cuts to ensure the alignment remains true. Maintaining a thick layer of organic mulch will stabilize soil temperatures and support mycorrhizal symbiosis, which aids in nutrient uptake during the healing phase.
The Yield:
When harvesting fruit or flowers with your sharpened tools, timing is dictated by the Brix level or sugar content. Harvest in the early morning when turgor pressure is at its peak; this ensures the stems are rigid and the cells are fully hydrated. Use a single, swift motion to detach the harvest. For "day-one" freshness, immediately submerge the cut ends in 65-degree Fahrenheit water to prevent air embolisms from forming in the xylem. This technique extends the post-harvest life of the plant material by maintaining the hydraulic link between the cells.
FAQ:
How often should I sharpen my garden pruners?
Sharpen your pruners every 50 to 100 cuts or whenever you notice resistance. High-tannin woods dull blades faster. Regular maintenance prevents the blade from tearing the plant's vascular tissue, ensuring rapid wound closure and health.
Can I use a dry stone for sharpening?
No. Always use honing oil or water as a lubricant. Lubrication floats metal filings away from the stone's pores. A dry stone will "clog," creating uneven friction and heat that can ruin the steel's tempered hardness.
What angle is best for sharpening pruner blades?
Maintain a 20-degree bevel angle. This specific geometry provides the optimal balance between edge sharpness and structural durability. An angle too shallow will dull instantly; an angle too steep will crush plant cells instead of cutting them.
Why are my pruners tearing the bark?
Tearing is caused by a dull blade or a loose tension bolt. If the blades have a gap, they will "chew" the fibers. Sharpen the edge and tighten the pivot nut until the blades bypass each other cleanly.