8 Best Decorative Bricks for Creative Landscape Design
The smell of damp earth after a spring thaw signals the beginning of the structural season. In the garden, the turgor of a healthy leaf depends as much on the stability of the surrounding hardscape as it does on the cellular water pressure within the xylem. Proper site preparation requires more than just aesthetic choice; it demands an understanding of how mineral substrates interact with the rhizosphere. Selecting the best bricks for landscape design involves balancing compressive strength with the chemical permeability of the soil. A brick is not merely a border. It is a thermal mass that regulates ground temperature and a physical barrier that prevents the migration of aggressive rhizomes. When the soil pH sits at a steady 6.5, and the friable loam is ready for compaction, the choice of masonry becomes a permanent extension of the garden's physiology. These materials must withstand the freeze-thaw cycles of northern latitudes while maintaining a neutral chemical profile that does not leach excess lime into the root zone of acid-loving species.
Materials:

Before laying the first course, analyze the soil’s Cation Exchange Capacity (CEC). High-clay soils with a CEC above **25** require a well-draining sub-base of crushed aggregate to prevent frost heaving. The ideal substrate for surrounding brickwork is a **friable loam** consisting of 40% sand, 40% silt, and 20% clay. This balance ensures that the NPK ratios—specifically **10-10-10** for general establishment or **5-10-10** for root-heavy perennials—remain accessible to the plants without being washed away by runoff from non-porous brick surfaces.
- Reclaimed Common Bricks: Porous and weathered; ideal for cottage-style borders.
- Engineering Bricks: Low porosity (under 12%) and high compressive strength; best for retaining walls.
- Firebricks: High alumina content; used for outdoor hearths where thermal shock resistance is mandatory.
- Concrete Pavers: Uniform dimensions; provide a stable surface for high-traffic paths.
- Sand-Struck Bricks: Textured surface; allows for better moss and lichen colonization in shaded zones.
- Clay Pavers: Fired at higher temperatures for density; essential for driveways.
- Adobe Bricks: Unfired and organic; suitable only for arid regions with zero frost risk.
- Glazed Headers: Used for decorative accents; impervious to moisture but can alter local micro-climates by reflecting light.
Timing:
Hardiness Zones 3 through 9 dictate the window for hardscape installation. Construction should begin after the last hard frost when soil moisture levels allow for a "ball test" where the earth crumbles rather than smears. In Zone 6, this typically occurs between late April and early May. The biological clock of the garden is sensitive to these disruptions; installing bricks during the transition from vegetative to reproductive stages can stress plants. Aim to complete structural work while perennials are in early dormancy or just as the first buds show green tip to minimize root disturbance during the peak transpiration periods of mid-summer.
Phases:

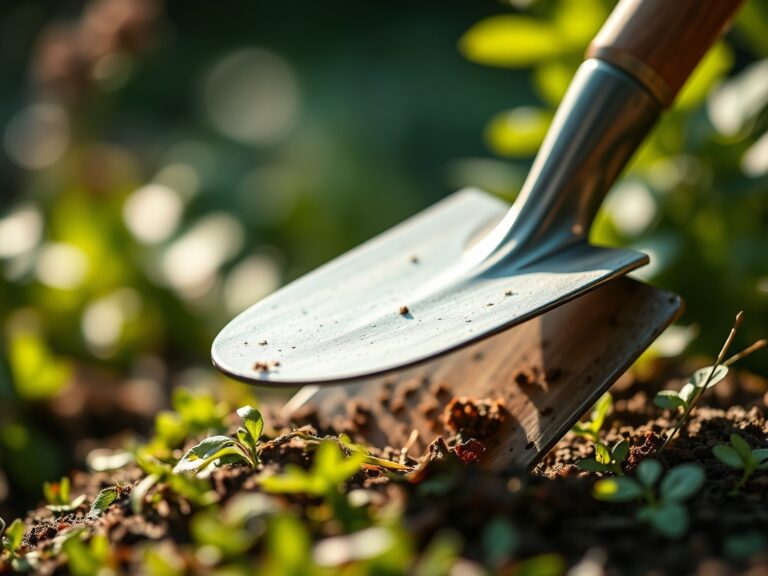
Sowing and Site Prep
Excavate the trench to a depth of 8 inches. Fill the first 4 inches with a graded aggregate (3/4-inch minus) and compact it using a plate compactor to ensure a stable foundation. This prevents the bricks from sinking into the soft rhizosphere.
Pro-Tip: Proper compaction prevents the formation of air pockets that can lead to anaerobic conditions. This protects the mycorrhizal symbiosis between fungal filaments and plant roots; ensuring that nutrient transport remains uninterrupted by soil subsidence.
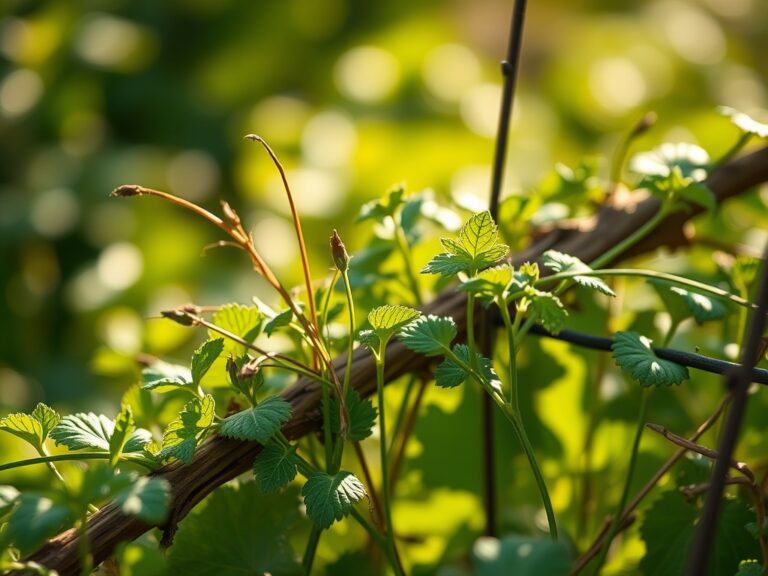
Transplanting and Integration
When placing bricks near established root systems, use a hori-hori knife to cleanly sever any encroaching lateral roots. Backfill the edges of the brickwork with a mixture of native soil and compost to encourage rapid re-colonization of the area by beneficial soil microbes.
Pro-Tip: Maintaining a clean cut on roots triggers the release of auxins. This chemical signal suppresses apical dominance in the root tip and encourages the growth of lateral feeder roots; resulting in a denser, more resilient root system.
Establishing the Border
Once the bricks are set, fill the joints with polymeric sand or a fine grit. For paths, ensure a 2 percent slope away from plant crowns to prevent crown rot caused by standing water. Monitor the soil moisture levels daily for the first 14 days post-installation.
Pro-Tip: Plants near brick surfaces may experience increased phototropism. The bricks act as a heat sink and light reflector; causing plants to lean toward the warmth. Strategic pruning can counteract this by managing the plant's light exposure.
The Clinic:
Physiological disorders often manifest when hardscaping interferes with the natural flow of nutrients and water.
- Symptom: Interveinal chlorosis (yellowing leaves with green veins).
- Solution: Check for lime leaching from fresh mortar. This raises the pH and locks out iron. Apply a chelated iron supplement and mulch with pine needles to lower pH to 6.0.
- Symptom: Marginal leaf burn on new growth.
- Solution: This indicates salt accumulation or heat stress from the brick's thermal mass. Increase irrigation frequency to flush the soil profile.
- Symptom: Stunted growth and purplish stems.
- Solution: Phosphorus deficiency often occurs in cold, compacted soils near new construction. Incorporate bone meal into the top 3 inches of the soil.
- Symptom: Sudden wilting despite moist soil.
- Solution: Likely root rot due to poor drainage against the brick edge. Drill weep holes or install a French drain to move water away from the root zone.
Maintenance:
Precision is the hallmark of a professional landscape. Use a soil moisture meter twice weekly to ensure the soil remains at 25% to 35% moisture capacity. Plants adjacent to brickwork require approximately 1.5 inches of water per week delivered at the drip line to compensate for the radiant heat absorbed by the masonry. Use bypass pruners to remove any foliage that makes direct contact with the bricks; this prevents the transfer of fungal spores from the damp brick surface to the plant. Every autumn, inspect the joints for "frost heave" and re-sand as necessary to maintain the structural integrity of the border.
The Yield:
When the landscape design incorporates edible borders, such as strawberries or herbs nestled against warm brick, timing the harvest is critical. Harvest herbs just as the morning dew evaporates but before the sun reaches its zenith. This ensures the highest concentration of essential oils within the leaves. For stone fruits or berries near brick walls, the reflected heat often accelerates ripening by 7 to 10 days. Handle all produce with minimal pressure to maintain cell turgor and store in a cool, dark environment at 40 degrees Fahrenheit to preserve "day-one" freshness and prevent rapid senescence.
FAQ:
What is the best brick for a high-traffic garden path?
Clay pavers are the superior choice. They are fired at extreme temperatures to ensure high density and low water absorption. This prevents cracking under pressure and provides a slip-resistant surface that withstands heavy foot traffic over several decades.
Can I use old house bricks for my garden borders?
Reclaimed bricks are suitable if they are "severe weather" rated. Interior or "common" bricks are often too porous. They will absorb water, freeze, and shatter within a few seasons, potentially altering the soil's mineral balance as they decompose.
How do bricks affect the soil pH in my garden?
Bricks and mortar contain lime and calcium carbonate. Over time, rain can leach these alkaline materials into the soil; raising the pH. Monitor your soil annually to ensure it stays within the 6.0 to 7.0 range for most plants.
How deep should the base be for a brick garden wall?
For a decorative wall under two feet, a 6-inch base of compacted gravel is sufficient. For structural retaining walls, the base must extend below the local frost line—often 12 to 24 inches—to prevent shifting and structural failure.