7 Steps to Build a Durable Landscape Garden Path
The smell of damp earth after a heavy rain indicates a healthy rhizosphere where microbial activity is at its peak. When you walk through a garden, the turgor pressure within the leaves should be high enough to resist wilting under the midday sun. Establishing a permanent walkway is the only way to protect this delicate soil structure from compaction. Mastering the steps for building a garden path ensures that foot traffic does not crush the pore spaces necessary for oxygen and water infiltration.
Soil compaction is the primary enemy of root respiration. When humans walk directly on garden beds, they collapse the macro-pores in the soil. This leads to anaerobic conditions and stunted growth. A durable path acts as a structural barrier that preserves the integrity of the surrounding planting zones. By following specific technical protocols, you can create a transit system that complements the biological needs of your landscape. This process requires a deep understanding of soil mechanics and hydrological runoff. We will focus on creating a path that manages drainage while providing a stable surface for year round access.
Materials:
The foundation of any landscape project begins with the substrate. For a path that borders planting beds, you must ensure the surrounding soil is a **friable loam**. This ideal texture consists of approximately 40 percent sand, 40 percent silt, and 20 percent clay. This balance allows for a high **Cation Exchange Capacity (CEC)**, which measures the soil’s ability to hold onto essential nutrients like potassium and magnesium.
If your path borders acid-loving plants like Ericaceae, maintain a soil pH between 4.5 and 5.5. For general vegetable or perennial borders, aim for a neutral pH of 6.5 to 7.0. Before laying your base materials, test the nutrient levels. A standard baseline for establishing perennials alongside a new path is an NPK ratio of 10-10-10. This provides 10 percent nitrogen for vegetative growth, 10 percent phosphorus for root development, and 10 percent potassium for overall cellular health. Use crushed limestone or basalt as a base material; limestone will gradually raise the pH of the immediate area, while basalt is relatively inert.
Timing:
Timing your construction is critical to avoid damaging the "Biological Clock" of your garden. In Hardiness Zones 5 through 7, the ideal window for heavy landscape work is late autumn or early spring. You must complete excavation before the ground freezes or after the spring thaw has fully drained. Working in waterlogged soil destroys the crumb structure of the earth.
The transition from vegetative to reproductive stages in plants is governed by the photoperiod. Avoid major construction during the peak of the reproductive stage (flowering), as the increased dust and physical disturbance can stress plants when their energy is focused on seed production. Aim for the dormancy phase, which typically begins two weeks after the first hard frost. This ensures that the root systems of nearby plants are less susceptible to the shock of soil vibration and minor root pruning.
Phases:

Sowing the Foundation
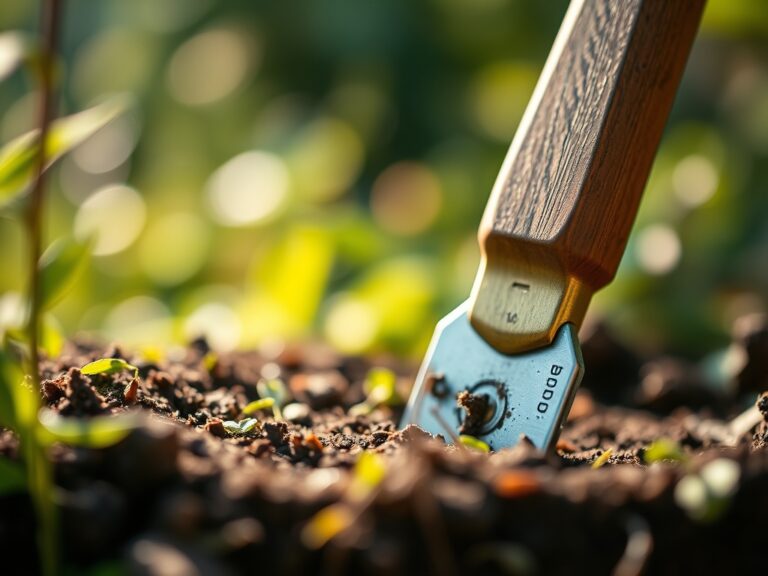
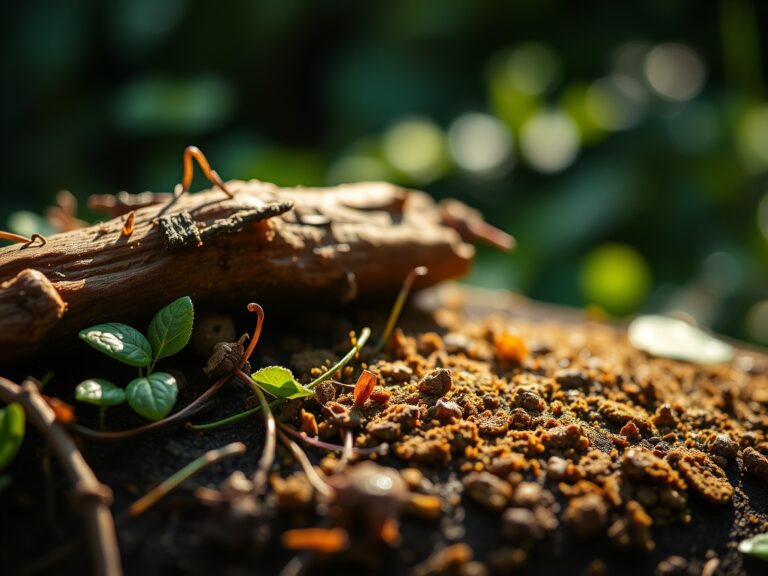
Excavate the path to a depth of 6 inches. The bottom of the trench should have a slight 2 percent slope to facilitate drainage away from plant crowns. Line the trench with a heavy duty geotextile fabric. This prevents the mixing of the subsoil with your base aggregate.
Pro-Tip: Proper drainage prevents root rot (Phytophthora) by ensuring that the rhizosphere remains aerobic. Mycorrhizal symbiosis, the beneficial relationship between fungi and roots, requires oxygen levels to remain above 10 percent in the soil atmosphere.
Transplanting the Borders
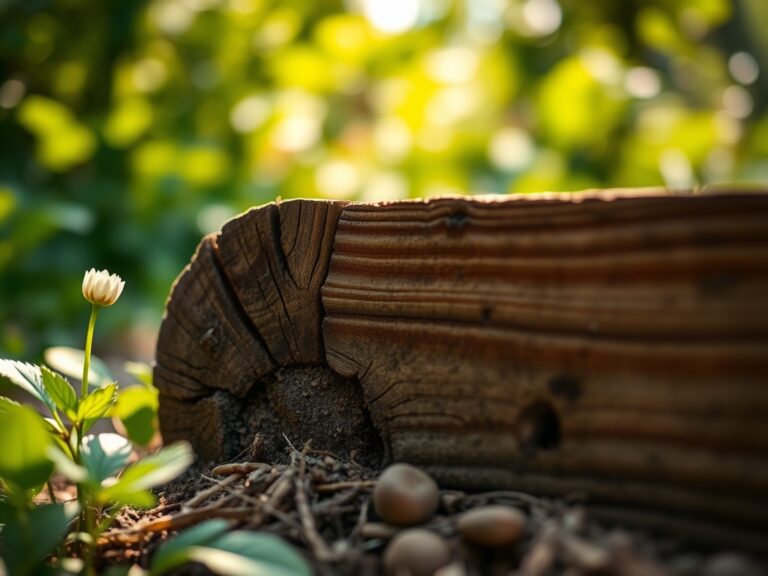
Once the path base is compacted, install your edging. This serves as a root barrier. Use steel or heavy grade plastic to prevent aggressive rhizomatous weeds from encroaching on the path. When planting along the edge, ensure the root ball is level with the surrounding soil.
Pro-Tip: When placing plants, consider phototropism. Plants will naturally lean toward the strongest light source. Place taller species on the north side of the path to prevent them from shading out smaller specimens and causing "leggy" growth due to auxin accumulation on the shaded side of the stems.
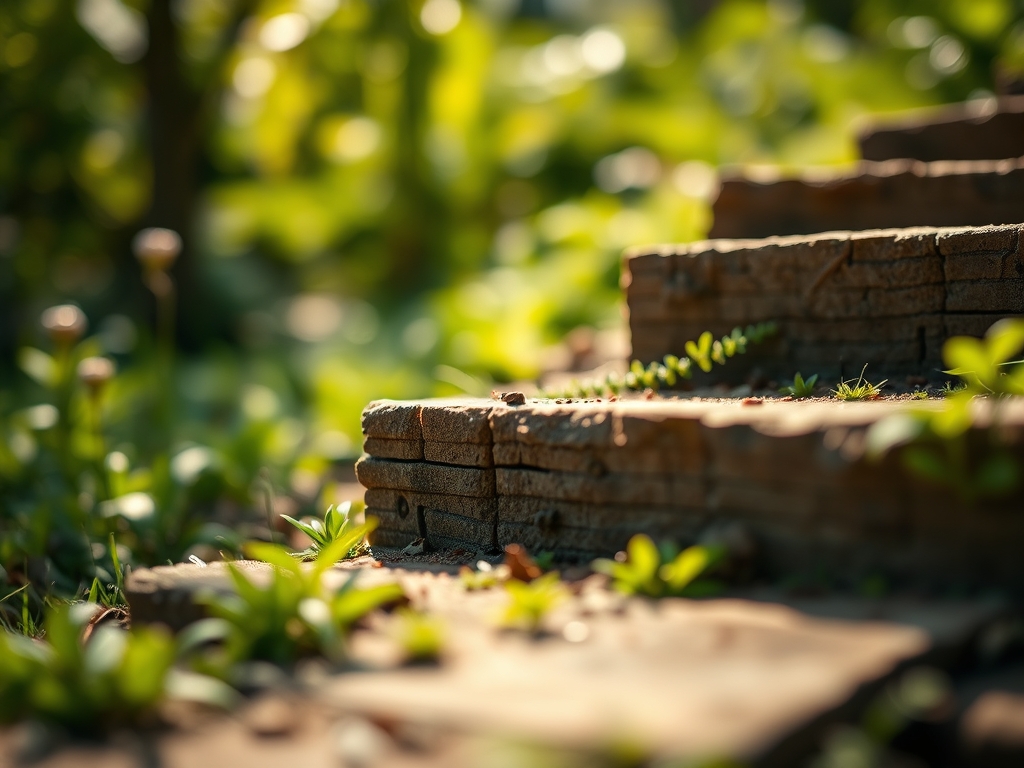
Establishing the Surface
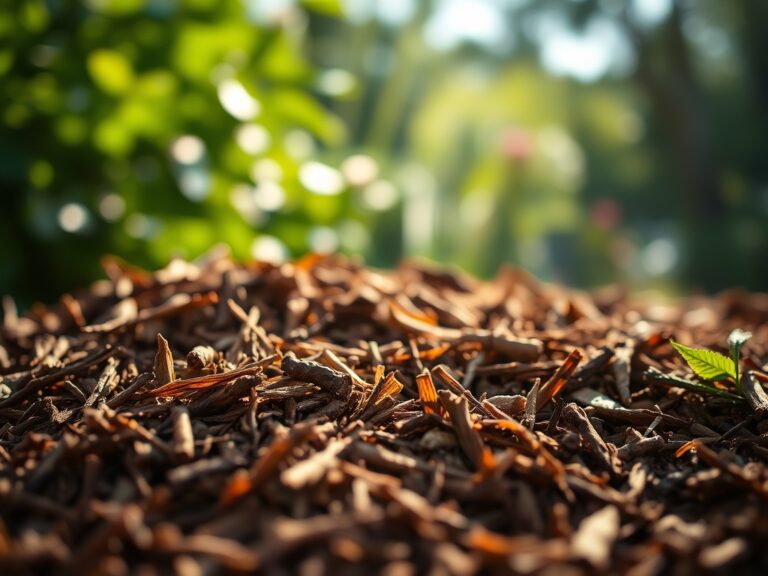
Fill the path with your chosen medium, such as pea gravel, decomposed granite, or flagstone. For a gravel path, a depth of 2 to 3 inches is standard. Compact the material using a plate compactor to ensure a stable walking surface that does not shift.
Pro-Tip: Using organic mulches like wood chips for a path can lead to nitrogen sequestration. As soil microbes break down the high carbon mulch, they temporarily consume available nitrogen, which can lead to localized nitrogen chlorosis in border plants.
The Clinic:
Physiological disorders often manifest near new construction due to soil disturbance.
- Symptom: Interveinal chlorosis (yellowing between leaf veins) on new growth.
- Solution: This indicates an Iron deficiency, often caused by high pH levels from concrete or limestone runoff. Apply chelated iron to the soil.
- Symptom: Marginal leaf burn or browning of leaf edges.
- Solution: This is a sign of Salt toxicity or moisture stress. If you used de-icing salts on your path, flush the area with 2 inches of water to leach the sodium.
- Symptom: Stunted growth and purple tint on underside of leaves.
- Solution: Phosphorus deficiency. This often occurs in cold, wet soils where root uptake is inhibited. Apply a high phosphorus starter fertilizer (e.g., NPK 5-20-10).
- Fix-It for Nitrogen Chlorosis: If plants near the path turn pale green overall, apply a quick release nitrogen source like urea or ammonium sulfate at a rate of 0.5 pounds of nitrogen per 1,000 square feet.
Maintenance:
A path is only as durable as its maintenance schedule. Check the edges for "heaving" after the first winter cycle. Use a hori-hori knife to remove any weeds that germinate in the aggregate before they establish deep taproots. Ensure that the path does not become a channel for erosion.
Irrigation management is vital. Plants bordering a stone or gravel path experience higher ambient temperatures due to thermal mass. Provide 1.5 inches of water per week at the drip line using a soaker hose or drip emitters. Use a soil moisture meter to verify that the water is penetrating to a depth of 8 inches. For woody shrubs, use bypass pruners to maintain a 6 inch clearance from the path to prevent physical damage to the plant tissue from pedestrians.
The Yield:
If your path winds through a cutting garden or an edible landscape, harvesting at the correct physiological moment is essential. For flowers, harvest in the early morning when turgor pressure is at its highest. Use sharp snips to make a clean cut at a 45 degree angle.
For herbs or greens, harvest before the plant reaches senescence (the aging process leading to seed set). Immediately plunge the stems into 40 degree Fahrenheit water to remove field heat. This preserves the cellular structure and ensures "day-one" freshness by slowing down the metabolic rate of the harvested tissue.
FAQ:
What is the best base for a garden path?
A 4 inch layer of compacted 3/4 inch minus crushed rock provides the best structural integrity. It allows for drainage while preventing the surface material from sinking into the subsoil.
How do I stop weeds from growing in my path?
Install a professional grade geotextile fabric beneath the aggregate. Maintain the surface by removing organic debris promptly to prevent a "seed bed" from forming on top of the stones.
Can I build a path over tree roots?
Avoid excavation within the Critical Root Zone (CRZ). If you must cross roots, use a "floating" path of wood chips or a raised boardwalk to prevent crushing the vascular system of the tree.
How wide should a garden path be?
A primary garden path should be 36 to 48 inches wide. This allows two people to walk side by side or provides ample room for a wheelbarrow without damaging the border plants.