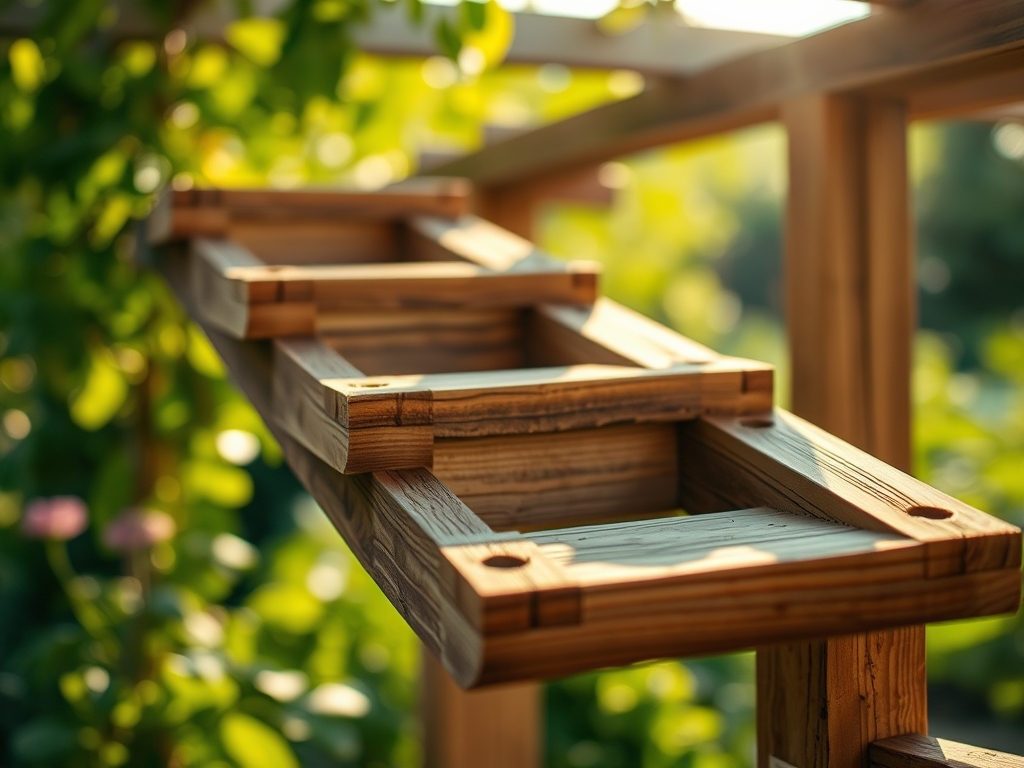
7 Steps to Install a Landscape Garden Arbor for Vines
The smell of damp earth after a deep tilling indicates a healthy microbial community ready for colonization. When you press a thumb against a leaf and feel the firm resistance of high turgor pressure, you know the vascular system is functioning at peak efficiency. These biological markers are essential before beginning the physical labor of the project. Mastering the steps for installing a garden arbor requires more than basic carpentry; it demands an understanding of how a vertical structure integrates with the rhizosphere to support heavy woody perennials. A properly anchored arbor must withstand both wind shear and the increasing biomass of climbing species. Success depends on precise site selection where soil drainage and light exposure meet the specific physiological needs of your chosen cultivars. You are not just building a frame; you are engineering a permanent support system for a living organism that will eventually exert hundreds of pounds of downward pressure on the crossbeams.
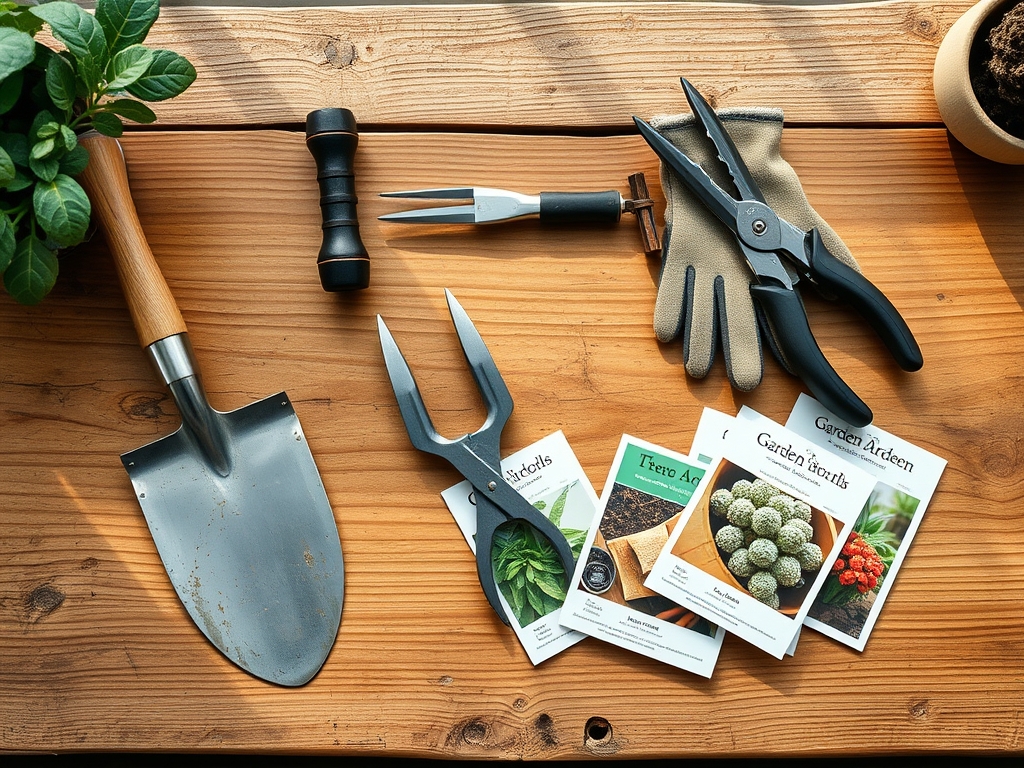
Materials:
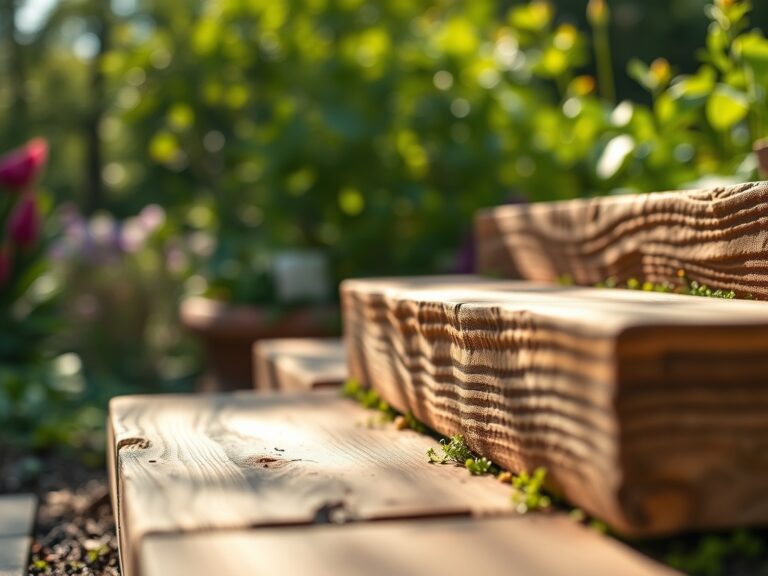
The foundation of a successful vertical garden begins in the substrate. You must prepare a friable loam with a crumbly texture that allows for rapid root penetration. The ideal soil should have a Cation Exchange Capacity (CEC) between 15 and 25 to ensure the efficient uptake of nutrients. Prior to installation, test the soil pH; most flowering vines prefer a range of 6.0 to 7.0. For heavy feeders like Clematis or climbing roses, incorporate a slow-release fertilizer with an NPK ratio of 10-30-20 to prioritize root development and flower production over excessive foliage. You will need pressure-treated 4×4 posts for ground contact, quick-set concrete with a compressive strength of at least 4,000 PSI, and galvanized hardware to prevent corrosion from soil moisture. Ensure you have a balanced compost with a Carbon-to-Nitrogen (C:N) ratio of 30:1 to top-dress the planting site after the structure is secure.
Timing:
The biological clock of your plants dictates the installation schedule. In Hardiness Zones 5 through 7, the optimal window for installation and planting is late autumn or early spring when the plant is in a state of dormancy. This timing allows the root system to establish in the rhizosphere before the metabolic demands of the spring flush begin. If you plant during the peak of summer, the high evapotranspiration rates will likely lead to cellular collapse and transplant shock. Monitor the local frost-date windows; you want the arbor in the ground at least 14 days before the final spring frost. This allows the soil to settle around the footings before the first application of nitrogen-rich fertilizer. Understanding the photoperiod requirements of your vines is also critical. Ensure the arbor is positioned to receive at least six hours of direct solar radiation to trigger the reproductive stage and maximize bloom density.
Phases:
Sowing and Site Preparation
Begin by excavating post holes to a depth of 24 to 36 inches, depending on your local frost line. The hole diameter should be three times the width of the post to allow for a substantial concrete collar. Clear all competitive weed species within a three-foot radius to reduce nutrient competition.
Pro-Tip: Utilize mycorrhizal inoculants in the planting hole. This encourages a symbiotic relationship between fungi and roots, effectively increasing the surface area for water absorption and phosphorus uptake through hyphal networks.
Transplanting and Anchoring
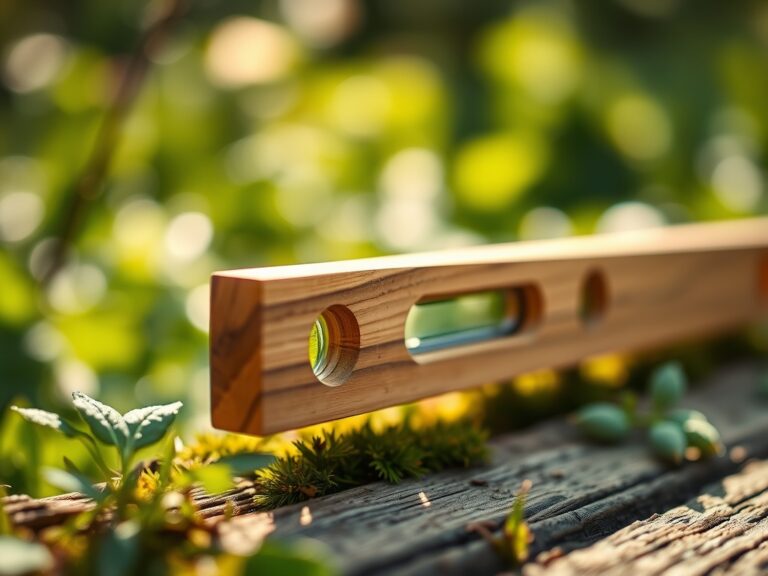
Set the arbor posts and verify they are plumb using a level. Once the concrete has cured for 48 hours, backfill the remaining space with the prepared friable loam. When placing the vine at the base, ensure the root ball is level with the soil surface to prevent stem rot.
Pro-Tip: Angle the root ball slightly toward the arbor structure. This utilizes positive thigmotropism, the biological response where a plant grows toward a solid object upon contact, allowing the vine to find its support more efficiently.
Establishing and Training
Secure the primary canes to the arbor using soft garden twine. Do not tie them tightly; leave room for secondary growth and the expansion of the vascular cambium. Monitor soil moisture daily for the first 21 days to ensure the plant maintains maximum turgor.
Pro-Tip: Use apical dominance to your advantage by heading back the main leader. This suppresses auxin flow to the tip and stimulates lateral bud break, resulting in a fuller, more robust covering of the arbor.
The Clinic:
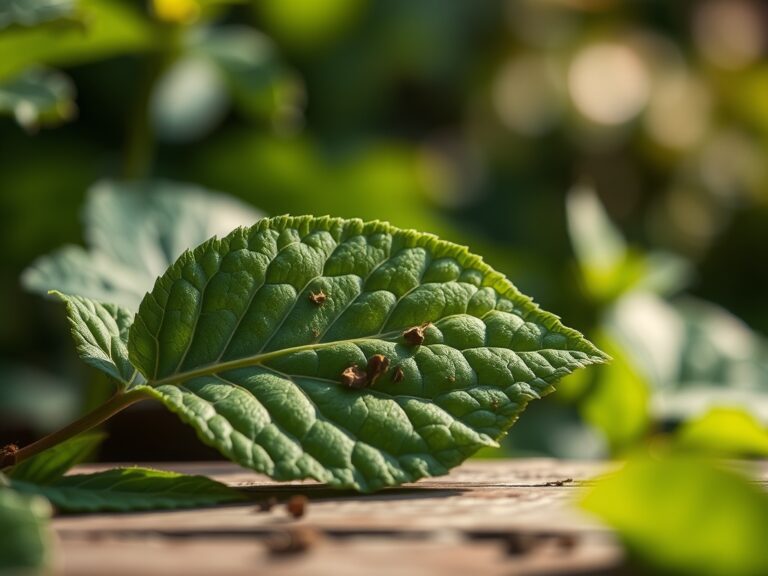
Physiological disorders often manifest through visual cues in the foliage.
- Symptom: Interveinal chlorosis on young leaves.
Solution: This typically indicates an Iron deficiency. Check soil pH; if it is above 7.5, iron becomes chemically locked. Lower the pH using elemental sulfur. - Symptom: Marginal leaf burn or necrosis.
Solution: This is often a sign of salt accumulation or potassium deficiency. Flush the soil with 2 inches of water to leach excess salts and apply a 0-0-50 sulfate of potash. - Symptom: Stunted growth with purple-tinted undersides of leaves.
Solution: Phosphorus deficiency. This occurs frequently in cold, wet soils where phosphorus mobility is limited. Apply a bone meal or triple superphosphate (0-45-0) directly to the root zone.
Fix-It for Nitrogen Chlorosis: If the older, lower leaves are turning a uniform pale yellow, the plant is scavenging nitrogen for new growth. Apply a quick-release urea-based fertilizer (46-0-0) at a rate of 0.5 pounds per 100 square feet to restore chlorophyll production.
Maintenance:
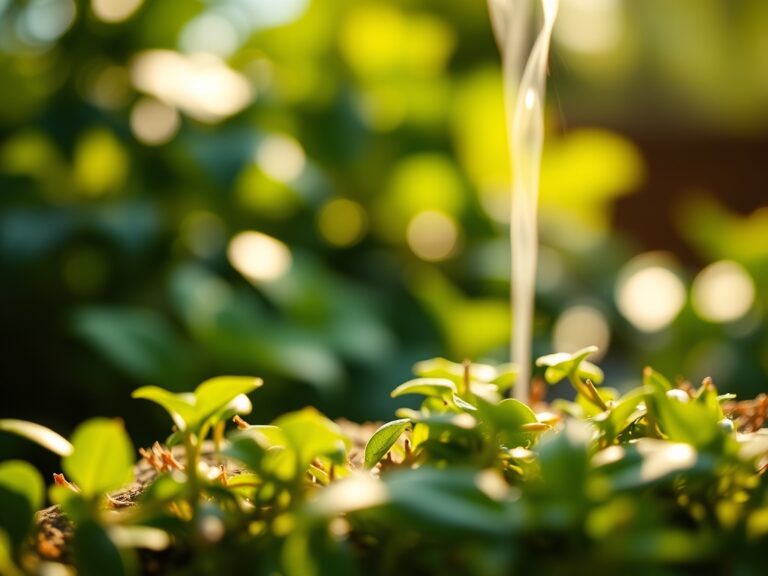
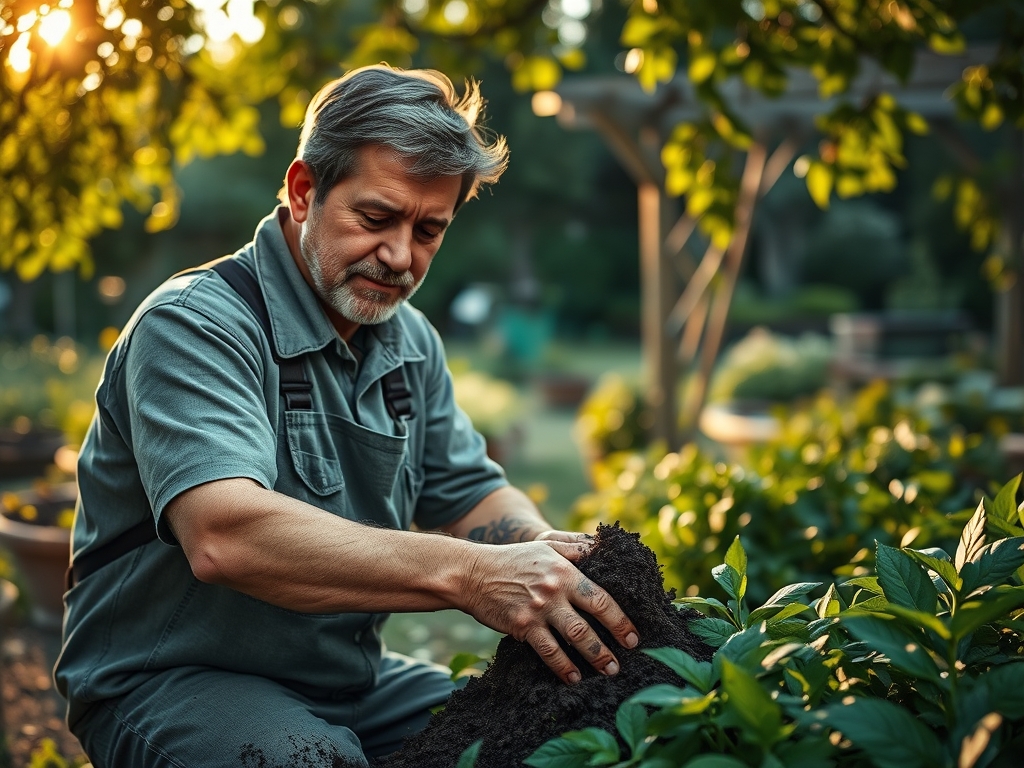
Consistency is the hallmark of professional horticulture. Provide exactly 1.5 inches of water per week at the drip line, delivered via drip irrigation to minimize foliar pathogens. Use a soil moisture meter twice weekly to ensure the root zone remains at field capacity without becoming anaerobic. During the dormant season, use bypass pruners to remove dead, damaged, or diseased wood (the "3 Ds"). For precise root pruning or weeding near the base, a hori-hori knife is the superior tool for cutting through compacted soil without damaging the primary taproot. Apply a 3-inch layer of organic mulch annually to regulate soil temperature and maintain the cation exchange capacity of the upper soil horizons.
The Yield:
For flowering vines like Wisteria or Jasmine, timing the harvest of blooms is essential for longevity. Cut flowers in the early morning when the cool temperatures have preserved maximum cellular turgor. Use a sharp, sterilized blade to make a 45-degree angle cut, which increases the surface area for water uptake. Immediately submerge the stems in 100-degree Fahrenheit water to remove air embolisms from the xylem. For "day-one" freshness, store the cuttings in a high-humidity environment at 38 to 42 degrees Fahrenheit. This slows the rate of senescence and preserves the aromatic volatile compounds within the petals.
FAQ:
How deep should I set the arbor posts?
Set posts at least 24 to 36 inches deep. In colder climates, you must reach below the local frost line to prevent soil heaving from displacing the structure during freeze-thaw cycles.
What is the best NPK ratio for new vines?
Use a 10-30-20 ratio. High phosphorus levels are critical for early root establishment and the development of reproductive tissues, while moderate nitrogen supports steady vegetative growth without causing weak, spindly stems.
How do I prevent root rot in heavy clay?
Amend the site with expanded shale or coarse organic matter to improve macropore space. This increases oxygen availability in the rhizosphere and prevents the anaerobic conditions that lead to Phytophthora and other fungal pathogens.
When is the best time to prune arbor vines?
Most woody vines should be pruned in late winter or early spring while dormant. This minimizes sap loss and allows the plant to direct all its stored energy into new growth once temperatures rise.