9 Steps to Clean a Garden Trowel After Annual Use
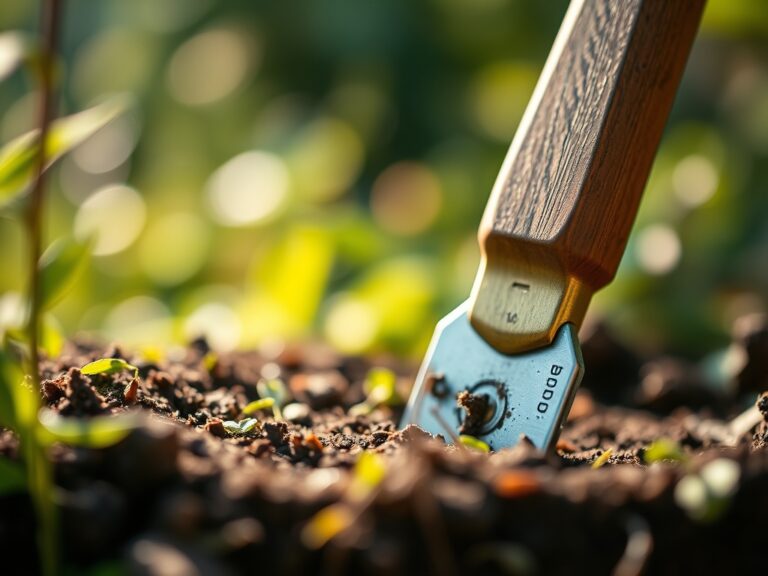
Damp earth clings to the forged steel blade; its scent is a mix of geosmin and decomposing organic matter. This residue represents a season of shifting soil aggregates and maintaining plant turgor pressure. Neglecting tool hygiene allows pathogens to overwinter in the crust. Establishing rigorous steps for cleaning a garden trowel after use ensures the longevity of the tool and prevents the transmission of soil-borne diseases like Fusarium wilt or Pythium. A clean edge reduces the physical force required to penetrate high-clay soils, protecting the structural integrity of the tool handle.
Cleaning is not merely an aesthetic choice; it is a bio-security measure for the rhizosphere. When metal remains encased in moist soil, oxidation occurs, leading to pitting and structural failure. This process accelerates in acidic soils where the pH falls below 5.5. By following a systematic protocol, you remove the abrasive grit that dulls the blade and the microscopic fungal spores that threaten next season's crop. Professional horticulture demands precision in every action, starting with the maintenance of the primary hand tool used for transplanting and soil amendment.
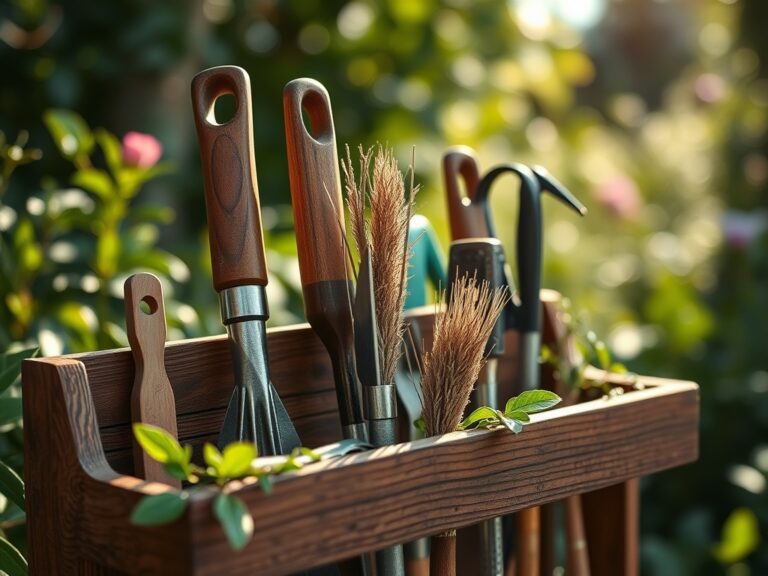
Materials:
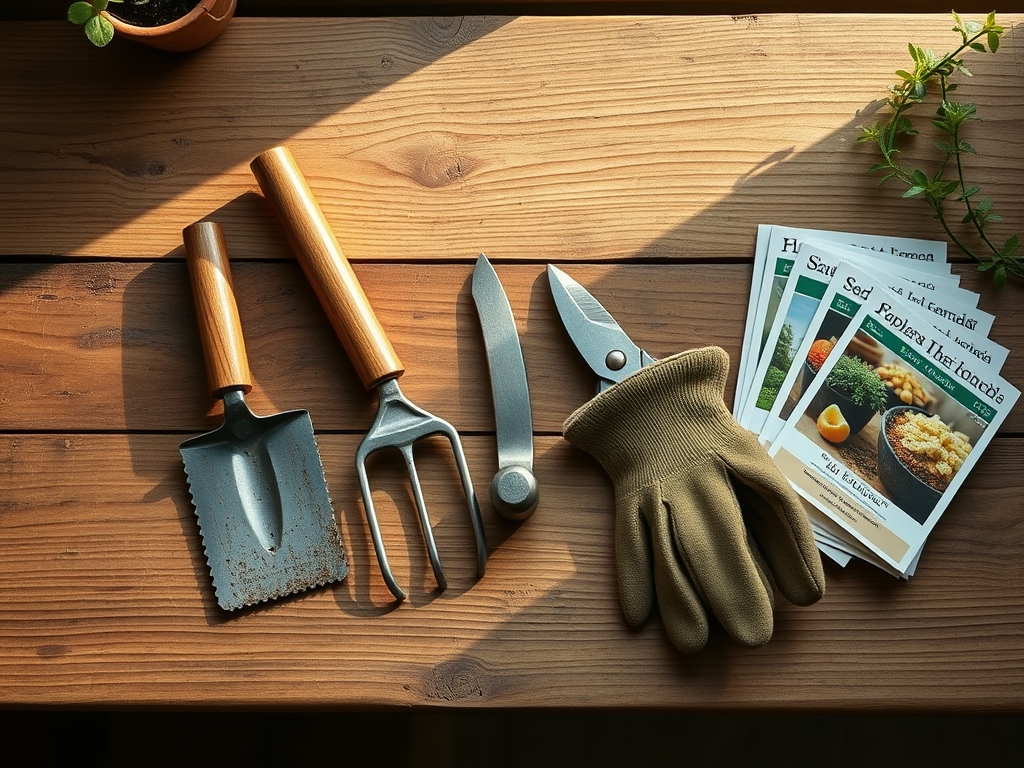
To maintain a trowel, you must understand the substrate it penetrates. An ideal **friable loam** consists of 40 percent sand, 40 percent silt, and 20 percent clay. This balance provides a high **Cation Exchange Capacity (CEC)**, usually ranging from 15 to 25 meq/100g. When working with fertilizers, such as a **10-10-10 NPK ratio**, the salts can corrode carbon steel. You will need a five-gallon bucket filled with sharp builder’s sand and one quart of mineral oil. Avoid vegetable oils as they can become rancid and attract pests. Additionally, gather a stiff-bristled nylon brush, a wire wool pad (grade 00), and a 70 percent isopropyl alcohol solution for sterilization.
Timing:
Maintenance must align with the horticultural calendar. In Hardiness Zones 5 through 7, the primary cleaning window opens after the first hard frost, typically between October 15 and November 15. This period marks the onset of senescence, where deciduous perennials move nutrients from the foliage to the root system for winter dormancy. The biological clock of the garden has shifted from the reproductive stage (fruiting and seeding) to the dormant stage. Performing deep maintenance during this window ensures tools are sterile before the spring surge. In warmer Zones 9 and 10, where the growing season is nearly continuous, this cleaning should occur every 90 days to prevent the buildup of mineral salts and anaerobic bacteria.
Phases:

### Sowing
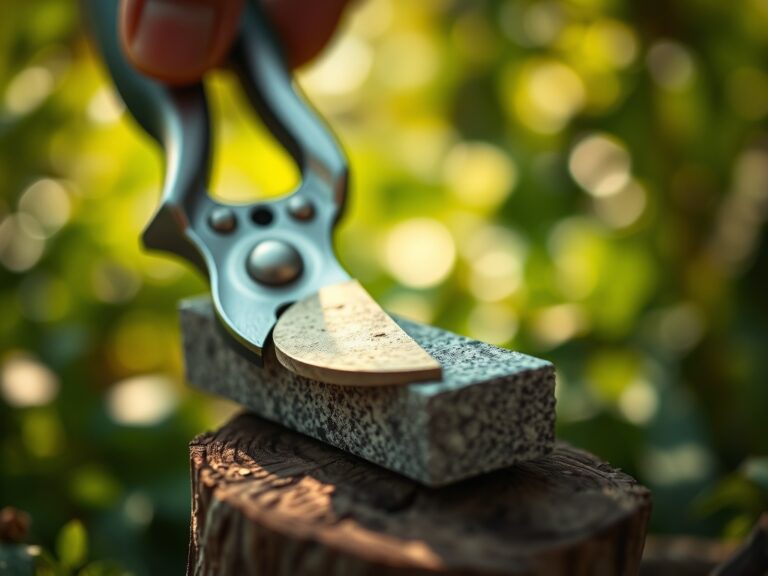
Before the first seed hits the furrow, the trowel must be free of all rust. Use the wire wool to scrub the blade until the metal sheen returns. Rinse with water and dry immediately with a microfiber cloth.
Pro-Tip: Removing rust prevents the introduction of oxidized iron particles that can interfere with mycorrhizal symbiosis. These beneficial fungi require a stable chemical environment to form the hyphal networks that assist plants in phosphorus uptake.
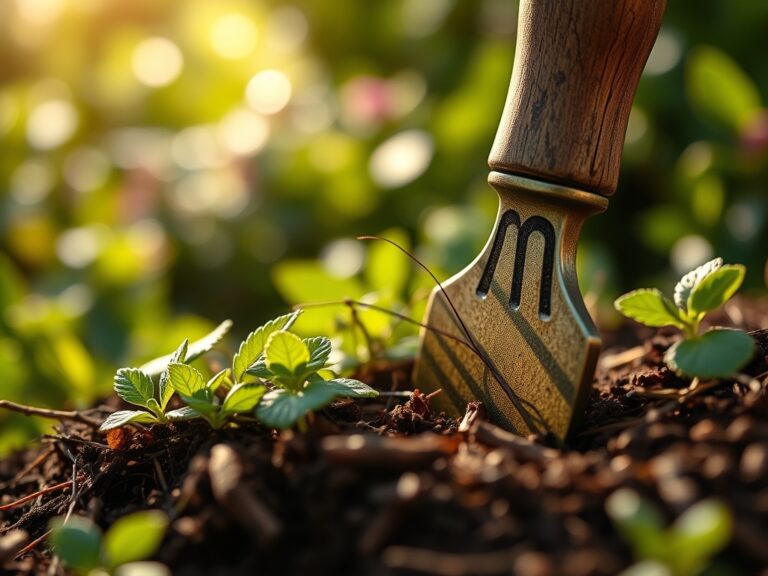
Transplanting
During the active season, use a hori-hori knife to loosen the root ball, but use the cleaned trowel for the final placement. After each use, plunge the trowel into the sand and oil bucket three times. This abrasive action removes wet soil before it can harden.
Pro-Tip: Sterilizing the blade between different plant species prevents the spread of tobacco mosaic virus. This is critical because the virus can survive on metal surfaces and enter the plant through microscopic wounds created during the transplanting process.
Establishing
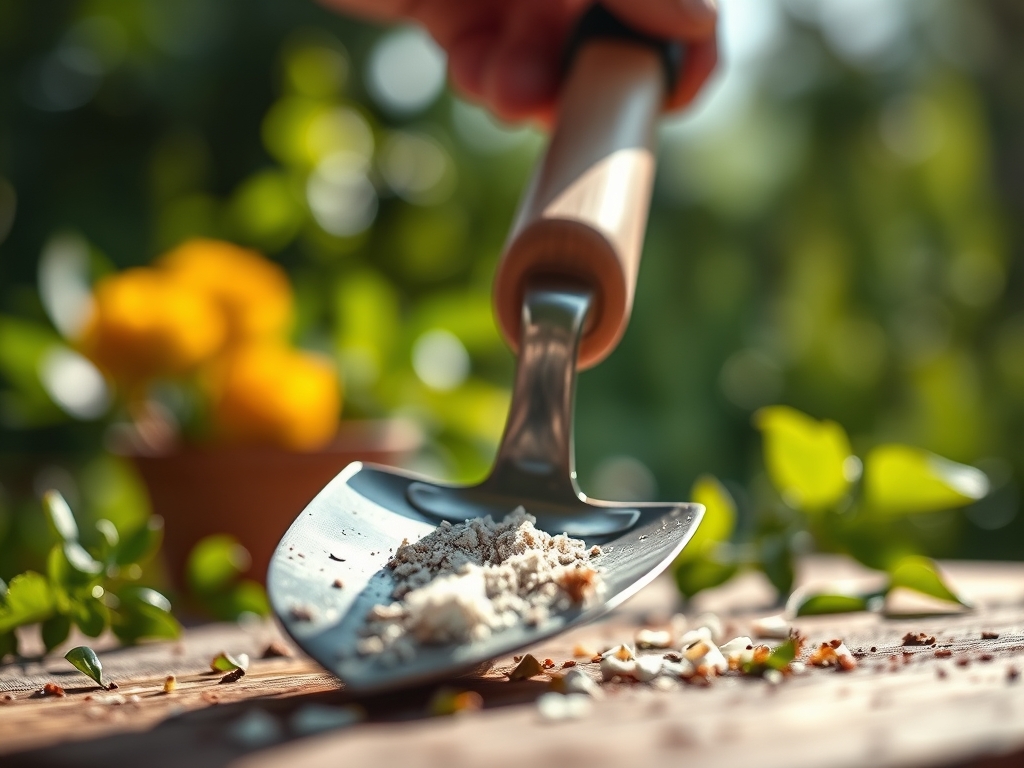
Once the plants are in the ground, the trowel is used for side-dressing fertilizers. Apply a 5-10-5 NPK blend at a rate of 2 pounds per 100 square feet. After application, the trowel must be washed with soap and water to remove chemical salts.
Pro-Tip: Salt buildup on tools can cause localized osmotic stress if the tool touches a young stem. This stress draws water out of the plant cells, leading to a loss of turgor and potential localized necrosis.
The Clinic:
Physiological disorders often stem from poor tool hygiene or soil imbalances. Observe the following symptoms and apply the necessary fixes.
-
Symptom: Interveinal chlorosis in new growth.
-
Solution: This indicates a lack of iron or manganese, often caused by a pH above 7.0.
-
Fix-It: Apply chelated iron and lower the soil pH using elemental sulfur to reach a target of 6.5 pH.
-
Symptom: Stunted growth and purple tint on underside of leaves.
-
Solution: Phosphorus deficiency.
-
Fix-It: Incorporate bone meal or a high-phosphorus starter fertilizer (e.g., 10-52-10) directly into the root zone.
-
Symptom: Marginal leaf burn on older foliage.
-
Solution: Potassium deficiency or salt toxicity.
-
Fix-It: Flush the soil with 2 inches of water to leach salts and apply sulfate of potash.
-
Symptom: Rapid wilting despite moist soil.
-
Solution: Root rot caused by Phytophthora.
-
Fix-It: Remove the infected plant and sterilize your trowel in a 10 percent bleach solution for 10 minutes to kill remaining oospores.
Maintenance:
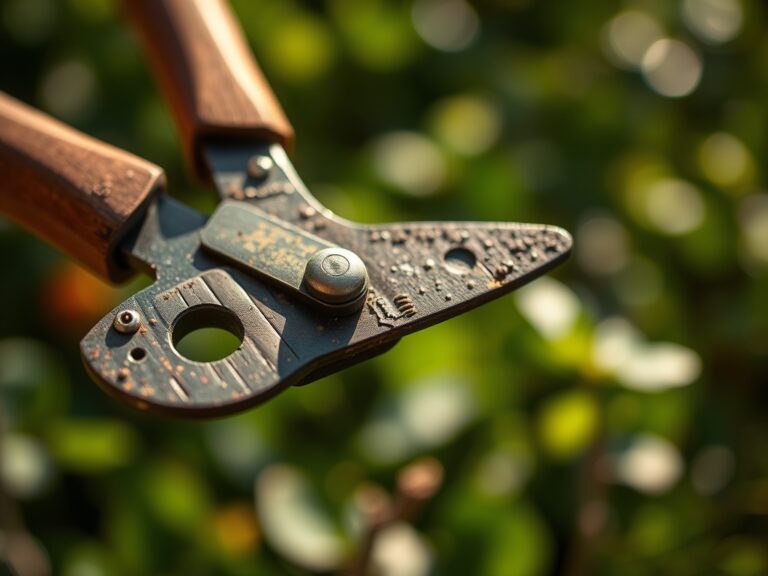
Precision irrigation is the partner to tool maintenance. Provide 1.5 inches of water per week delivered at the drip line to keep the soil at a consistent moisture level of 60 to 80 percent field capacity. Use a soil moisture meter to verify depth; the water must reach 8 inches deep for established perennials. When pruning, use bypass pruners for clean cuts on green wood and reserve the trowel for soil work only. Never use the trowel to pry rocks, as this creates micro-fractures in the steel that harbor bacteria. Store tools in a low-humidity environment (below 50 percent) to prevent atmospheric corrosion.
The Yield:
Harvesting requires the same level of sanitation as planting. For root crops like carrots or parsnips, use the trowel to loosen the soil 3 inches away from the shoulder of the vegetable. This avoids mechanical injury to the epidermis. Harvest during the "cool of the day," typically between 5:00 AM and 8:00 AM, when the plant has maximum turgor. Post-harvest, submerge the produce in water that is 10 degrees Fahrenheit cooler than the field temperature. This rapid cooling, or hydro-cooling, slows the respiration rate and preserves the sugars within the plant tissue for extended freshness.
FAQ:
How often should I oil my garden trowel?
Apply a thin layer of mineral oil after every deep cleaning or before winter storage. This creates a hydrophobic barrier that prevents oxygen and moisture from reacting with the steel, stopping rust before it starts.
Can I use dish soap to clean my tools?
Yes, a mild dish soap effectively breaks down organic resins and oils. Ensure you rinse the tool thoroughly and dry it completely. Residual soap can alter the local soil pH if not removed before the next use.
What is the best way to remove hardened sap?
Apply a small amount of 70 percent isopropyl alcohol or a dedicated citrus-based solvent to a cloth. Rub the affected area until the resin dissolves. Alcohol also acts as a disinfectant, killing bacterial pathogens on contact.
Why is my trowel blade turning black?
This is likely "patina" or a thin layer of oxidation. While not as destructive as red rust, it indicates the metal is reacting to soil acidity. Regular polishing with a fine-grit sandpaper or wire wool will maintain the original finish.