7 Steps to Prepare a Professional Tool Maintenance Plan
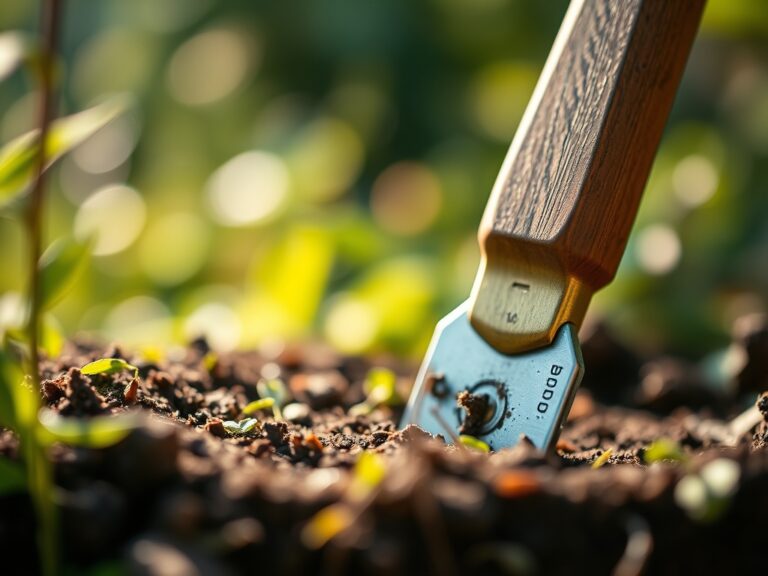
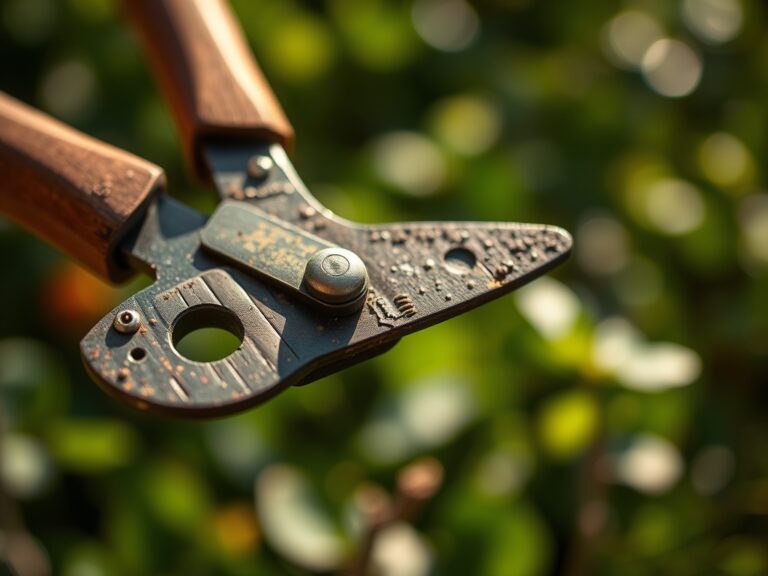
Turgor pressure dictates the structural integrity of a plant; when a leaf loses its crisp rigidity, the cellular collapse signals a failure in the vascular system. The scent of damp, mineral-rich earth indicates a healthy rhizosphere where microbial activity is at its peak. To maximize this biological potential, a grower must understand how to prepare a garden for a tool maintenance plan. This preparation ensures that every cut made with a blade is surgical rather than traumatic. Dull shears crush the xylem and phloem tissues, creating jagged wounds that invite pathogens. A professional maintenance plan begins with the soil itself, as the physical properties of the substrate dictate the wear and tear on your equipment. High silica content in sandy soils accelerates the dulling of steel, while heavy clays require increased torque and leverage. By organizing the garden layout and soil structure specifically to accommodate tool efficiency, you reduce mechanical stress on both the plant and the operator. Precision in the garden starts with the sharpness of the edge and the calibration of the instrument.
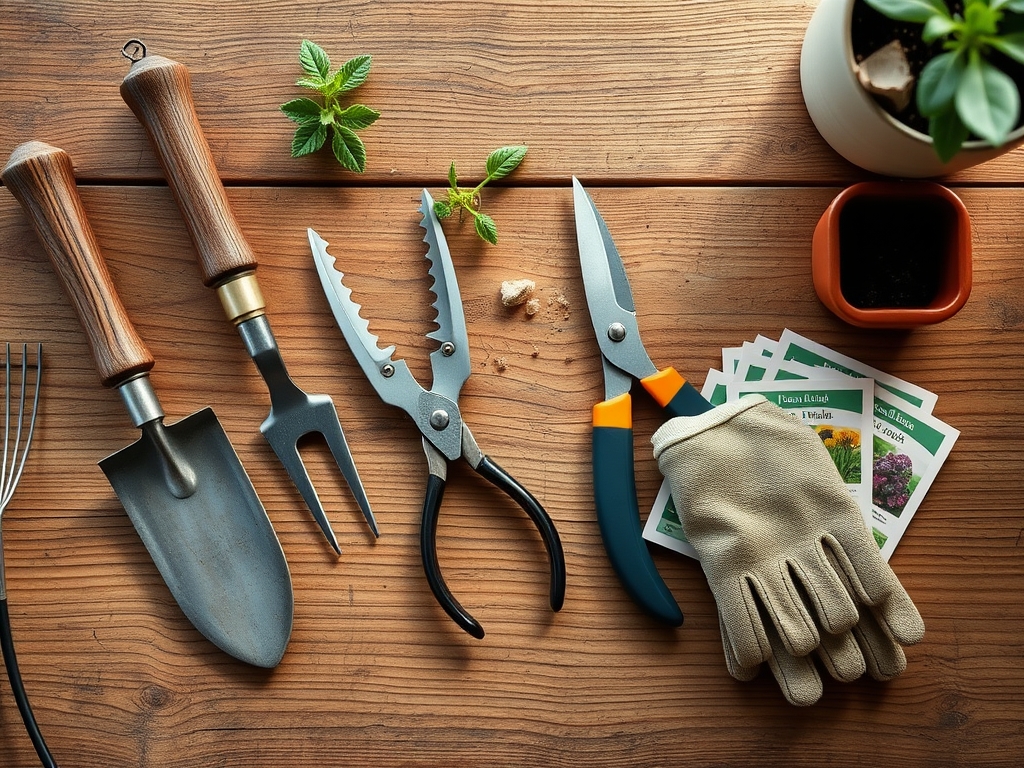
Materials:
Successful cultivation requires a substrate with a high **Cation Exchange Capacity (CEC)**, typically found in a **friable loam** composed of 40 percent sand, 40 percent silt, and 20 percent clay. This texture allows for optimal root penetration and moisture retention without the abrasive qualities of pure sand. The chemical profile must be precise; maintain a **soil pH between 6.2 and 6.8** to ensure nutrient bioavailability.
For the vegetative stage, utilize a fertilizer with an NPK ratio of 10-5-5 to prioritize nitrogen for chlorophyll production. As plants transition to the reproductive phase, shift to a 5-10-10 ratio to support root development and floral induction. Ensure the organic matter content remains at a steady 5 percent to buffer against pH fluctuations and provide a reservoir for micronutrients like manganese and iron.
Timing:
Hardiness Zones determine the operational window for both the plant and the tool. In Zones 5 through 7, the primary maintenance window opens 14 days after the last predicted frost, typically when soil temperatures reach a consistent 55 degrees Fahrenheit. This timing aligns with the biological clock of most temperate perennials as they exit dormancy and enter the vegetative stage.
Monitoring the photoperiod is essential; as day length exceeds 12 hours, plants experience a surge in auxin production, leading to rapid apical growth. Maintenance plans must be executed before the plant reaches the reproductive stage, as pruning during flowering diverts energy away from seed production and can induce unnecessary senescence. Track your local "First Frost" date to ensure all heavy mechanical work is completed at least six weeks prior, allowing vascular tissues to lignify and harden for winter.
Phases:

Sowing
Direct sow seeds at a depth exactly three times the diameter of the seed. This ensures the hypocotyl has enough energy to reach the surface before exhausting the endosperm's nutrient reserves. Maintain a consistent soil moisture level of 70 percent field capacity during the germination window.
Pro-Tip: Proper sowing depth leverages skotomorphogenesis, the developmental strategy of seedlings in the dark. This ensures the plant develops a strong primary root before the first true leaves begin photosynthesis.
Transplanting
When moving starts from flats to the field, ensure the root ball is saturated to maintain turgor pressure. Dig a hole twice the width of the root mass to reduce soil compaction in the immediate vicinity of the new root hairs.
Pro-Tip: Introducing mycorrhizal fungi during transplanting creates a symbiotic relationship that increases the effective root surface area by up to 1,000 percent, significantly enhancing phosphorus uptake.
Establishing
During the first 21 days, focus on deep root establishment by watering infrequently but deeply. This encourages roots to seek moisture in lower soil horizons rather than remaining near the surface where they are vulnerable to thermal fluctuations.
Pro-Tip: Suppressing auxin in the apical meristem through strategic pinching encourages lateral branching. This creates a sturdier, bushier plant architecture that can better withstand wind shear and heavy fruit loads.
The Clinic:
Physiological disorders often mimic infectious diseases but result from environmental or nutritional imbalances.
- Symptom: Interveinal chlorosis in new leaves.
Solution: This indicates an Iron (Fe) deficiency, often caused by a pH above 7.0. Lower the pH using elemental sulfur to increase solubility. - Symptom: Blossom end rot in Solanaceous crops.
Solution: This is a Calcium (Ca) transport issue. Ensure consistent irrigation; calcium moves through the plant via the transpiration stream, and erratic watering halts its delivery to the fruit. - Symptom: Leaf tip burn or marginal necrosis.
Solution: This suggests Potassium (K) deficiency or salt accumulation. Flush the soil with 2.0 inches of water to leach excess salts and supplement with sulfate of potash. - Fix-It: For general Nitrogen (N) chlorosis (yellowing of older leaves), apply a water-soluble nitrate-based fertilizer for immediate uptake, followed by an organic blood meal for sustained release.
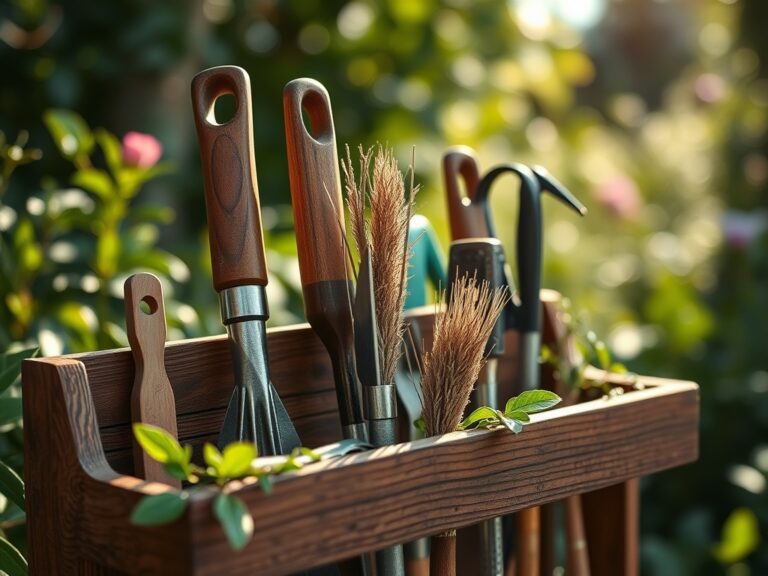
Maintenance:
Precision irrigation is the cornerstone of garden health. Deliver 1.5 inches of water per week directly at the drip line using a soaker hose or drip emitters to prevent foliar diseases. Use a soil moisture meter to verify that the moisture has penetrated at least 6 inches into the profile.
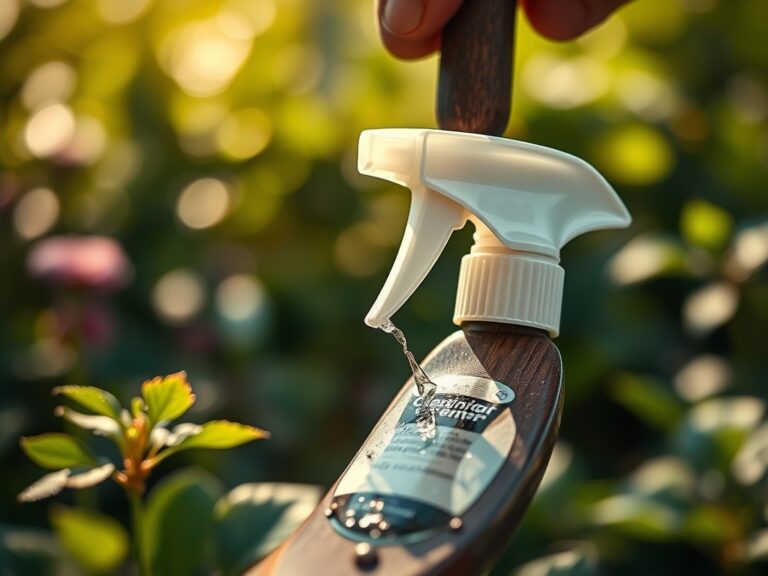
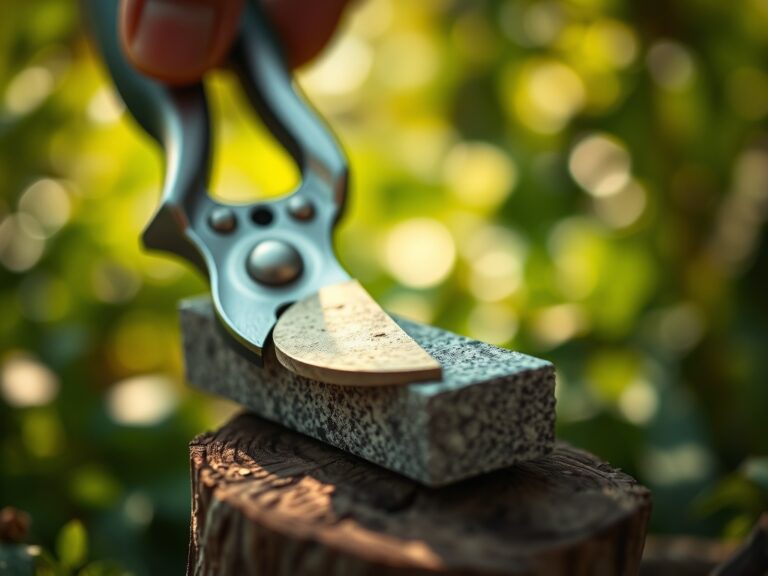
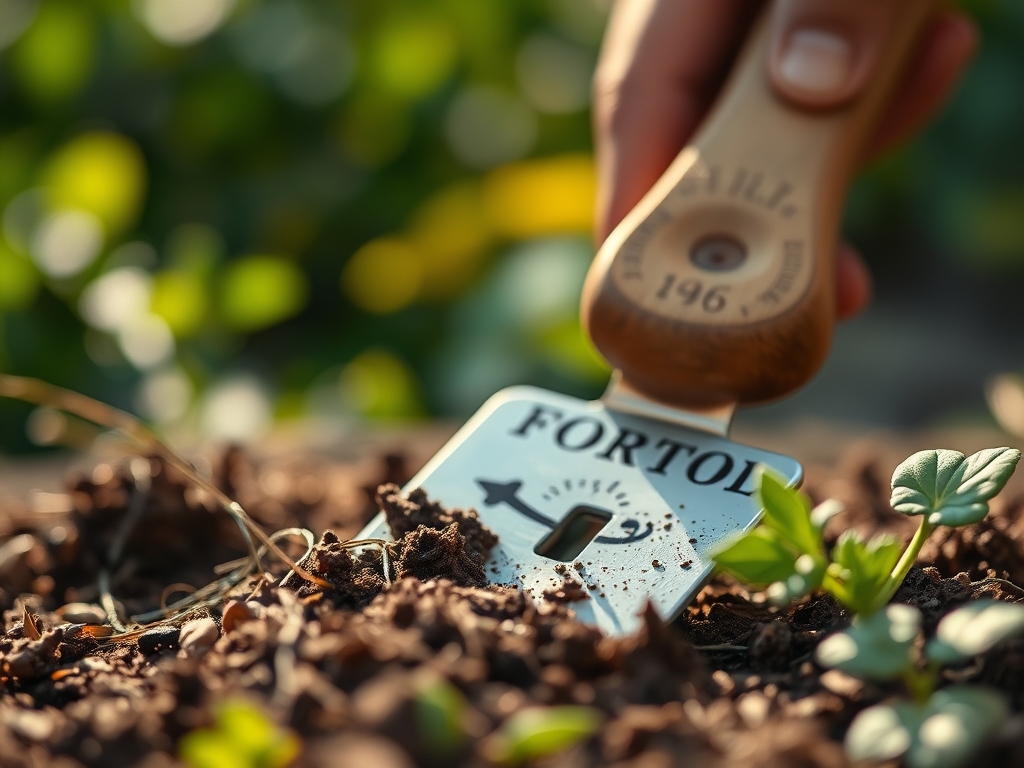
Maintain your hardware with the same rigor as your plants. Use a hori-hori knife for weeding and planting; its serrated edge must be sharpened to a 20-degree angle to slice through heavy roots. Clean bypass pruners with a 10 percent bleach solution or 70 percent isopropyl alcohol between every plant to prevent the mechanical transmission of viral pathogens. Lubricate pivot points with food-grade mineral oil to ensure smooth operation and prevent hand fatigue during long sessions.
The Yield:
Harvesting is the culmination of the biological cycle and requires surgical timing. For leafy greens, harvest at dawn when turgor pressure is at its maximum; this ensures the leaves remain crisp and have a longer shelf life. For fruiting bodies, monitor the Brix level (sugar content) using a refractometer.
Once harvested, field heat must be removed immediately. Submerge produce in 40-degree Fahrenheit water or move it to a refrigerated environment within 30 minutes. This process, known as hydro-cooling, slows the respiration rate and preserves the cellular structure. For flowers, cut stems at a 45-degree angle under water to prevent air embolisms from blocking the xylem, ensuring maximum hydration and longevity.
FAQ:
How often should I sharpen my bypass pruners?
Sharpen blades every 10 to 15 hours of active use. Use a diamond whetstone to maintain a clean edge. Sharp tools prevent crushing the plant's vascular tissue, which reduces the risk of opportunistic fungal infections.
What is the best way to clean rusty garden tools?
Soak metal components in distilled white vinegar for 24 hours to dissolve iron oxide. Scrub with steel wool, rinse with water, and neutralize with baking soda. Apply a thin coat of linseed oil to prevent future oxidation.
Why does soil pH matter for tool maintenance?
Highly acidic or alkaline soils accelerate the corrosion of metal tools. Maintaining a neutral pH of 6.5 protects the integrity of steel implements while simultaneously ensuring that essential macronutrients remain chemically available for plant root uptake.
How do I know if my soil has high CEC?
Soils with high clay or organic matter content typically have a higher Cation Exchange Capacity. You can test this via a professional laboratory analysis. High CEC means the soil holds more nutrients, requiring less frequent fertilization for sustained growth.