6 Steps to Prepare a Level Landscape Garden Deck Site
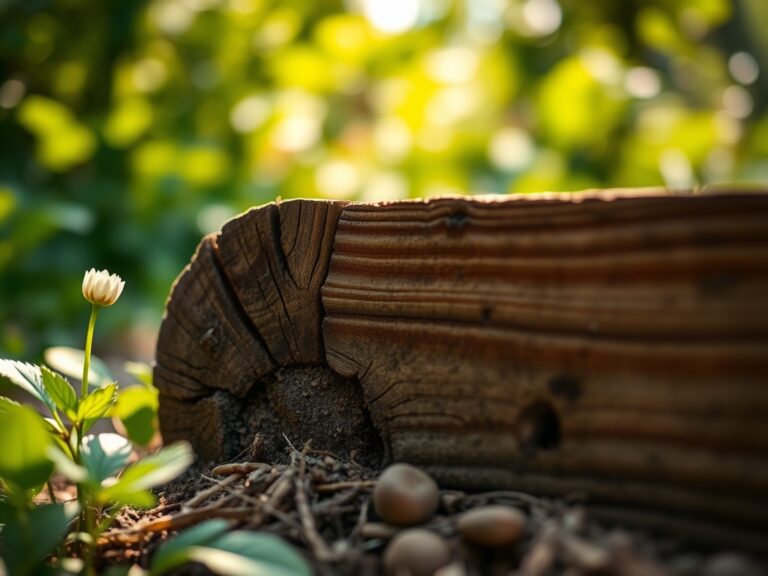
The scent of damp, disturbed earth signals the beginning of a structural transformation in the landscape. When you break the surface of a friable loam, you are interacting with a complex biological matrix of fungi and mineral particles. Learning how to prepare a site for a garden deck requires more than just mechanical leveling; it necessitates an understanding of soil compaction and drainage kinetics. A stable deck depends on a substrate that maintains its structural integrity under varying turgor pressure and moisture levels.
Failure to address the subterranean environment leads to frost heaving and fungal decay. You must evaluate the soil profile to ensure it can support the dead load of the timber and the live load of the occupants. Proper site preparation begins with the removal of all organic matter that could undergo anaerobic decomposition beneath the structure. This process ensures the longevity of the wood and the health of the surrounding rhizosphere.
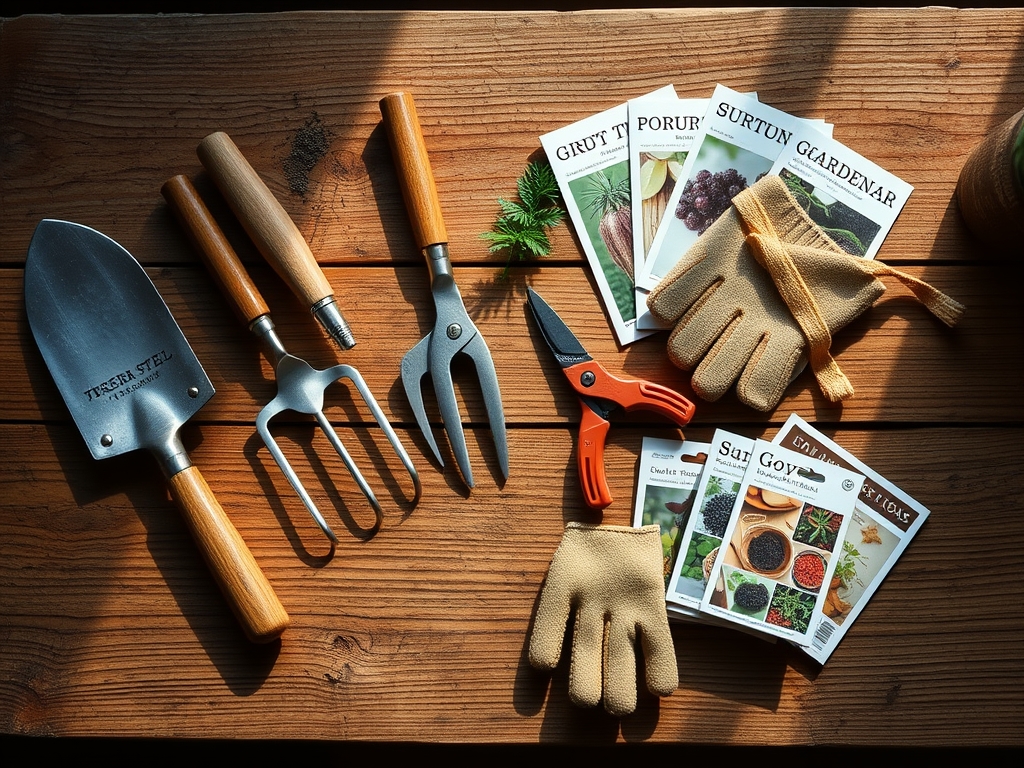
Materials:
The ideal substrate for a garden deck perimeter is a well-drained, friable loam with a soil pH between 6.0 and 7.0. This acidity range optimizes the Cation Exchange Capacity (CEC), allowing for the efficient movement of minerals in the surrounding soil. For the areas immediately adjacent to the deck where ornamental plants will be established, utilize a balanced 10-10-10 NPK ratio starter fertilizer.
The physical texture of the soil should be granular. Avoid heavy clays with high plasticity indexes, as these retain excessive moisture and cause wood rot. You will need non-woven geotextile fabric with a weight of at least 4 ounces per square yard to suppress weed growth while maintaining permeability. Top this with 2 to 4 inches of 3/4-inch crushed angular stone. Unlike rounded river rock, angular stone interlocks to provide a stable, non-shifting base that facilitates rapid drainage.
Timing:
Successful site preparation is dictated by the thermal properties of the soil. In Hardiness Zones 4 through 7, work should begin after the final spring frost when soil temperatures consistently reach 50 degrees Fahrenheit. Working saturated, cold soil destroys its structure through compaction, leading to a loss of pore space essential for oxygen exchange.
The biological clock of the surrounding flora must be considered. Perform heavy excavation during the dormant stage of nearby perennial species to minimize root shock. If you are integrating the deck with a planting plan, time your final site grading to coincide with the transition from vegetative to reproductive stages in your specific climate zone. This ensures that any transplanting occurs when the plant is most resilient to physiological stress.
Phases:

Sowing the Foundation
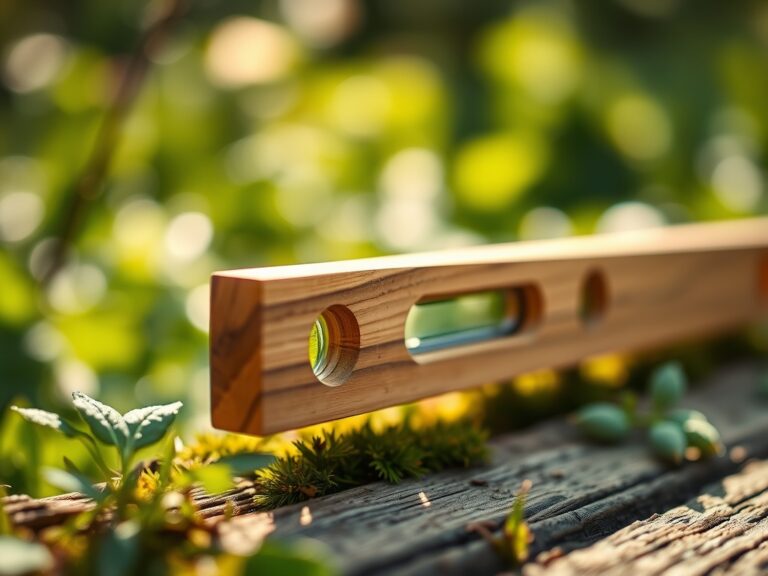
Clear the site of all vegetation using a hori-hori knife for precision removal of deep-taproot weeds. Excavate the top 4 to 6 inches of topsoil to reach the more stable subsoil layers. Level the area using a transit level to ensure a slope of 1/8 inch per foot away from any permanent structures to prevent hydrostatic pressure buildup.
Pro-Tip: Removing the O-horizon (organic layer) prevents anaerobic decomposition. When organic matter is trapped under a deck without oxygen, it produces methane and hydrogen sulfide, which can acidify the soil and damage the cellular structure of nearby plant roots.
Transplanting and Perimeter Integration
When moving plants to accommodate the deck footprint, preserve the root ball diameter at a ratio of 12 inches for every 1 inch of trunk caliper. Dig the new holes twice as wide as the root ball but no deeper. This prevents the plant from settling too deep, which causes stem girdle necrosis.
Pro-Tip: Use a mycorrhizal inoculant during transplanting. This encourages mycorrhizal symbiosis, a fungal-root relationship that increases the surface area for water absorption by up to 1,000 times, significantly reducing transplant shock.
Establishing the Barrier
Lay the geotextile fabric across the leveled subsoil. Secure it with 6-inch galvanized sod staples every 12 inches. Overlap seams by at least 6 inches to prevent opportunistic weed seeds from reaching the soil. Pour the crushed stone over the fabric, leveling it with a steel rake.
Pro-Tip: Maintaining a clear stone barrier prevents auxin suppression. When soil or mulch is piled too high against wood or plant stems, it disrupts the flow of auxins (growth hormones), leading to stunted development or localized tissue death.
The Clinic:
Monitoring the physiological health of the landscape during construction is vital.
-
Symptom: Yellowing of older leaves while veins remain green (Interveinal Chlorosis).
-
Solution: This often indicates a Magnesium deficiency. Apply Epsom salts (Magnesium Sulfate) at a rate of 1 tablespoon per foot of plant height.
-
Symptom: General paling of the entire plant, starting with lower leaves (Nitrogen Chlorosis).
-
Solution: Apply a high-nitrogen fertilizer with a 20-10-10 NPK ratio to restore chlorophyll production and turgor pressure.
-
Symptom: Wilting despite moist soil (Root Rot/Phytophthora).
-
Solution: Improve drainage immediately by increasing the depth of the crushed stone layer or installing a French drain with a 2 percent slope.
Maintenance:
Post-construction maintenance requires a data-driven approach. Use a soil moisture meter to ensure the rhizosphere receives exactly 1.5 inches of water per week at the drip line. Avoid overhead irrigation which increases humidity under the deck and encourages fungal pathogens.
Inspect the deck footings annually for signs of soil subsidence. Use bypass pruners to maintain a 12-inch clearance between any foliage and the deck boards. This gap ensures adequate airflow, preventing the microclimate from reaching the high humidity levels required for wood-decay fungi to proliferate.
The Yield:
If your deck site includes integrated planter boxes for herbs or edibles, harvest timing is critical for nutrient density. Harvest leafy greens when the turgor pressure is highest, typically between 6:00 AM and 8:00 AM. Use a sharp blade to make clean transverse cuts, minimizing the surface area of the wound to prevent excessive transpiration. Immediately submerge the harvest in 40-degree Fahrenheit water to remove field heat and preserve "day-one" freshness through cellular stabilization.
FAQ:
How deep should I excavate for a garden deck?
Excavate 4 to 6 inches to remove the organic layer. This depth allows for a 2-inch base of compacted gravel and a geotextile weed barrier, preventing frost heave and organic decomposition under the structure.
Why is geotextile fabric necessary under a deck?
It separates the soil from the stone layer, preventing sediment migration. This maintains the drainage capacity of the stone and suppresses weed growth by blocking light, preventing the germination of seeds in the seed bank.
Can I use mulch instead of stone under my deck?
No. Mulch is organic and undergoes senescence and decomposition. This process traps moisture against the joists and can harbor wood-boring insects. Crushed stone is inorganic, providing superior drainage and a permanent barrier against pests.
What is the best soil for plants near a deck?
Use a friable loam with a CEC of 15-25 meq/100g. This ensures the soil can hold essential nutrients like Potassium and Calcium while allowing excess water to drain away from the deck's structural posts.