7 Steps to Install a Secure Landscape Garden Gate
Crushed stone crunches under a heavy boot while the scent of damp, disturbed earth rises from a freshly dug post hole. A secure entrance is the structural backbone of any managed perimeter; it protects the high turgor pressure of delicate seedlings from wind and intrusion. Mastering the steps for installing a garden gate requires more than basic carpentry. It demands an understanding of soil mechanics and structural load to ensure the gate remains plumb through years of seasonal expansion and contraction.
Materials:

The foundation of a gate starts with the substrate. You must assess the soil texture before setting posts. A friable loam with a balanced Cation Exchange Capacity (CEC) of 15 to 25 is ideal for surrounding plantings, but for the gate posts, you require a stable, non-organic base. If your soil pH is below 6.0, the high acidity can accelerate the corrosion of galvanized hardware.
Standard materials include pressure-treated 4×4 or 6×6 timber posts, fast-setting concrete with a compressive strength of at least 4,000 PSI, and heavy-duty stainless steel hinges. For the surrounding rhizosphere, maintain a nutrient profile of 10-10-10 NPK to support the groundcover that will stabilize the soil around the gate's footprint. Avoid high-nitrogen fertilizers near the posts; excess nitrogen can leach and increase the rate of wood rot in certain environments.
Timing:
Installation should occur during the dormant season or early spring when the ground is workable but before the primary vegetative growth phase begins. In Hardiness Zones 5 through 7, the window opens once the frost line has receded, typically between late March and early May. You must complete the heavy excavation before the "Biological Clock" of your garden triggers the transition from dormancy to active root elongation.
Avoid installation during periods of high soil saturation. Saturated soil loses its structural integrity, leading to "post lean" as the weight of the gate pulls against the mud. Aim for a period when the soil moisture meter reads between 20% and 40%. This ensures the concrete cures properly without losing water too quickly to dry surrounding earth or becoming diluted by groundwater.
Phases:

Sowing the Foundation
The first step is excavation. Dig holes to a depth of at least 36 inches or below the local frost line to prevent heaving. The diameter of the hole should be three times the width of the post. Clear all organic debris and large stones that might interfere with the concrete bond.
Pro-Tip: Apply a layer of crushed gravel at the base of the hole for drainage. This prevents water from pooling at the bottom of the post, which stops anaerobic bacteria from colonizing the wood and causing premature senescence of the structural fibers.
Transplanting the Structure
Position the hinge post first. Use a level on two adjacent sides to ensure it is perfectly vertical. Pour the concrete mix, stopping 3 inches below the soil surface. Slope the top of the concrete away from the post to shed water. Allow the concrete to cure for a minimum of 48 hours before hanging the gate.
Pro-Tip: While the concrete sets, minimize foot traffic around the site. Heavy vibration can disrupt the mycorrhizal symbiosis in the nearby soil, temporarily stalling the nutrient uptake of adjacent perennial borders.
Establishing the Swing
Attach the hinges to the gate frame first, then to the post. Maintain a ground clearance of 2 to 4 inches to allow for seasonal soil heave and airflow. A gate that sits too low will trap moisture, creating a microclimate that encourages fungal pathogens to migrate from the soil to the gate wood.
Pro-Tip: Ensure the gate latch has at least 1/4 inch of play. As wood undergoes hygroscopic expansion, the gate dimensions will fluctuate. This prevents mechanical stress on the hinges, which would otherwise cause the gate to sag and disrupt the phototropism of nearby plants by casting inconsistent shadows.
The Clinic:
Even a perfectly installed gate can face issues related to environmental stress and soil chemistry.
- Symptom: Gate sag or dragging on the substrate.
- Solution: Install a diagonal cross-brace running from the bottom hinge corner to the top latch corner. This transfers the load to the hinge post.
- Symptom: Post "heaving" where the post rises out of the ground.
- Solution: This is caused by ice lenses forming under the post. Ensure future holes are dug deeper than the frost line and flared at the bottom to "lock" the concrete in place.
- Symptom: Rapid corrosion of metal latches.
- Solution: Check soil pH. High acidity or high salt content in the air (coastal regions) requires Grade 316 stainless steel or powder-coated hardware.
Fix-It for Nitrogen Chlorosis: If the plants immediately surrounding your new gate show yellowing leaves with green veins, they may be suffering from nitrogen tie-up. As organic mulch or wood chips used during construction decompose, microbes consume available nitrogen. Apply a liquid 20-0-0 fertilizer to the root zone to restore balance.
Maintenance:
A garden gate requires a maintenance schedule as rigorous as your irrigation routine. Inspect the hardware every six months. Lubricate hinges with a silicone-based spray to prevent friction. Monitor the soil compaction around the entrance; high-traffic areas often suffer from reduced oxygen levels in the rhizosphere.
Use a hori-hori knife to remove weeds that grow directly against the gate base, as these trap moisture against the wood. If you notice nearby shrubs encroaching on the gate's swing path, use bypass pruners to maintain a 6-inch clearance. Ensure the area receives at least 1.5 inches of water per week at the drip line of surrounding plants to prevent the soil from shrinking away from the concrete footings during droughts. Use a soil moisture meter to verify that the deep soil around the posts remains stable.
The Yield:
The "yield" of a secure gate is the protection of your harvest. By excluding large herbivores, you ensure that your crops reach peak physiological maturity. For fruiting plants like tomatoes or peppers, harvest when the fruit reaches full color but retains firm turgor pressure.
For flowers, cut early in the morning when the stems are most hydrated. Use a sharp blade to make a clean diagonal cut. Place the stems immediately into cool water to prevent air embolisms in the xylem. A secure gate ensures that these delicate biological products are not damaged by pests or wind before they reach your table.
FAQ:
How deep should I dig the gate posts?
Dig at least 36 inches deep or 6 inches below your local frost line. This depth prevents the post from shifting during freeze-thaw cycles and provides the necessary leverage to support the gate's weight without sagging.
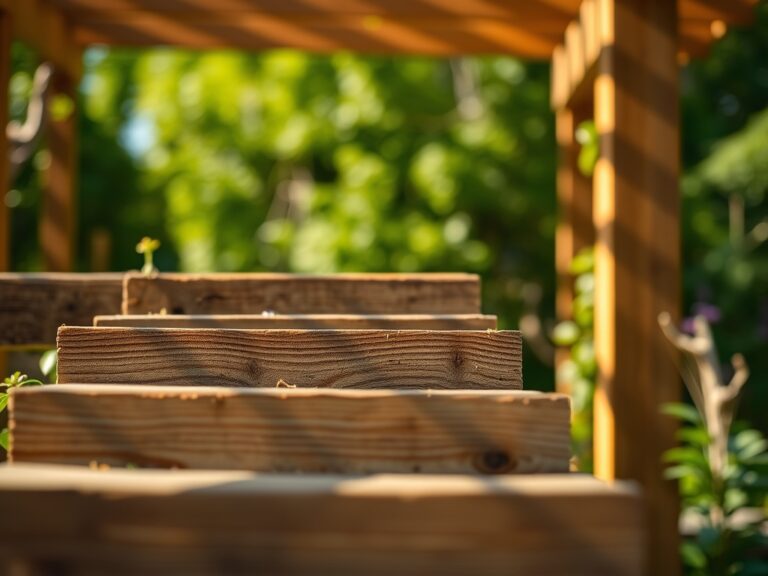
What is the best wood for a garden gate?
Use Western Red Cedar or pressure-treated pine. Cedar contains natural oils that resist decay and insects; pressure-treated lumber is infused with chemical preservatives that protect the wood fibers from soil-borne pathogens and moisture-induced rot.
How do I prevent the gate from sagging over time?
Install a structural cross-brace or a tension cable with a turnbuckle. The brace must run diagonally from the lower hinge side to the upper latch side to effectively distribute the gravitational load back to the hinge post.
Can I set gate posts in dirt instead of concrete?
While possible in very dense clay, it is not recommended for longevity. Concrete provides a stable, non-compressible mass that resists the lateral force exerted by the gate. Without concrete, the post will eventually lean due to soil compression.