9 Tips to Use a Digging Spade for Custom Landscape Design
The smell of damp earth after a rain is the scent of geosmin; it is the olfactory signature of a healthy soil microbiome. When you drive a sharp blade into a heavy clay or a friable loam, you feel the resistance of the substrate and the turgor of the roots within. Using a spade for landscape design is not merely about moving dirt; it is an act of surgical precision that alters the rhizosphere to favor specific plant physiology. A high-quality digging spade allows for the manipulation of soil structure without destroying the delicate fungal networks essential for nutrient uptake. By mastering the leverage and the edge of this tool, a designer can create clean edges, prepare planting pockets with minimal compaction, and ensure that the root ball of a transplant maintains its structural integrity. Successful landscaping requires an understanding of how mechanical intervention affects the soil's bulk density. A spade is the primary instrument for managing this interface between biology and geology.
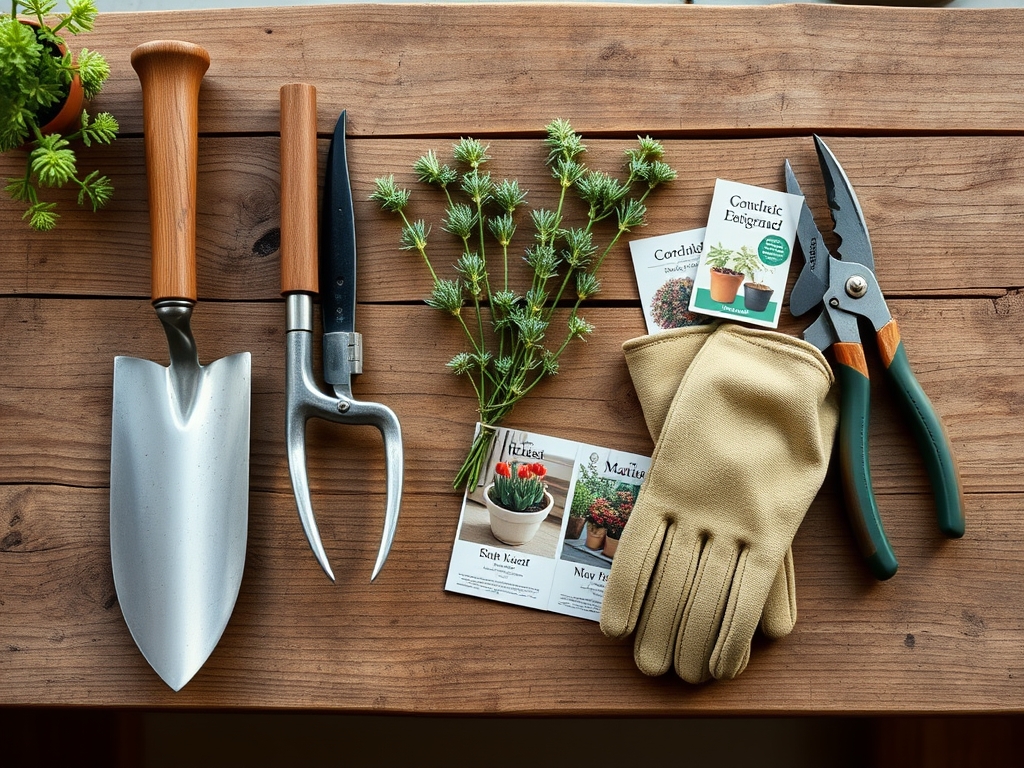
Materials:
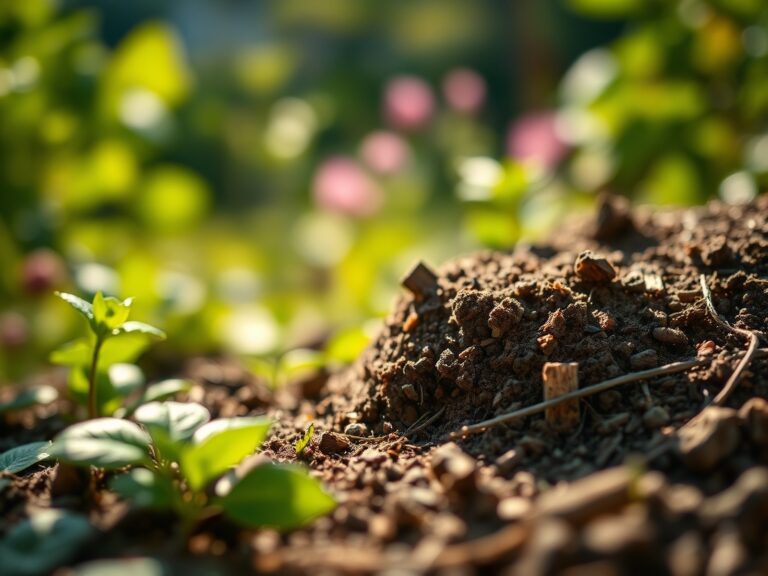
Before using a spade for landscape design, you must assess the chemical and physical properties of your substrate. The ideal growing medium for most ornamental and edible landscapes is a **friable loam** with a composition of approximately **40 percent sand, 40 percent silt, and 20 percent clay**. This balance ensures a high Cation Exchange Capacity (CEC), allowing the soil to retain essential nutrients like ammonium, calcium, and magnesium.
For high-performance landscapes, target a soil pH between 6.0 and 7.0. If the pH drops below 5.5, phosphorus becomes chemically locked and unavailable to the plant. Conversely, a pH above 7.5 can lead to iron and manganese deficiencies. When preparing a site, integrate organic matter to reach a target NPK ratio of 10-10-10 for general establishment or a 5-10-10 ratio for root-heavy development. The physical texture should allow for easy penetration; if the spade cannot enter the soil with moderate foot pressure, the bulk density is likely above 1.6 g/cm3, which will inhibit root elongation and gas exchange.
Timing:
Landscape installation must align with the biological clock of the species involved. In Hardiness Zones 4 through 7, the primary window for major earthwork and transplanting occurs during the dormant season or early spring, at least three to four weeks before the last frost date. This timing allows roots to establish in the cool soil before the plant enters the high-transpiration demands of the vegetative growth phase.
The transition from vegetative to reproductive stages is governed by the photoperiod. For many woody perennials, using a spade for landscape design during the late autumn senescence period is ideal. As the plant pulls carbohydrates from the leaves into the root system for storage, the risk of transplant shock decreases. Avoid heavy digging when soil moisture is at field capacity; working saturated soil destroys the pore space necessary for oxygen diffusion, leading to anaerobic conditions that can trigger root rot.
Phases:

Sowing and Site Prep
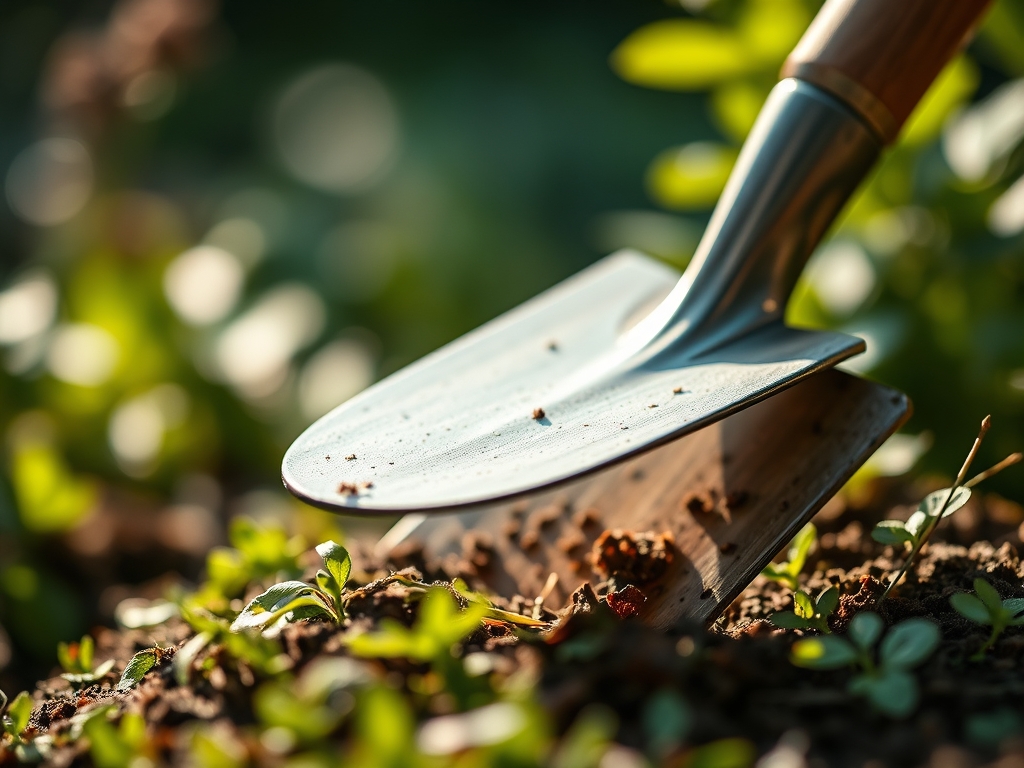
Using a spade for landscape design begins with clearing the "A" horizon of the soil profile. Use the spade to slice beneath the crowns of existing vegetation at a depth of 3 to 4 inches. This removes the seed bank of unwanted species while preserving the deeper soil structure. For large-seeded species, use the spade to create a shallow trench, ensuring the soil is firmed but not compacted over the seed to maintain capillary action.
Pro-Tip: Maintaining soil porosity is vital for mycorrhizal symbiosis. These fungi extend the root system's reach for phosphorus; excessive tilling or heavy spade work in wet conditions shears the hyphae, reducing the plant's future drought resistance.
Transplanting
When moving established plants, the spade must be used to cut a circular trench at the drip line of the canopy. For a shrub with a 24-inch spread, the root ball should be at least 18 inches in diameter. Drive the spade vertically to a depth of 12 to 15 inches to sever lateral roots cleanly. A clean cut allows the plant to seal the wound quickly, preventing the entry of pathogens.
Pro-Tip: Clean cuts on roots stimulate the production of auxins at the wound site. This hormonal response triggers the development of adventitious roots, which are critical for the plant's ability to stabilize itself in its new location.
Establishing and Edging
The final phase involves defining the boundaries between turf and planting beds. A digging spade is the superior tool for creating a "V-trench" edge. Cut at a 90-degree angle on the bed side and a 45-degree angle on the grass side. This physical barrier prevents rhizomatous grasses from encroaching into the cultivated area.
Pro-Tip: Deep edging prevents rhizome encroachment by exposing the growing tips of invasive grasses to air. This process, known as air-pruning, utilizes the plant's own physiological limits to maintain the landscape's design integrity.
The Clinic:
Physiological disorders often manifest when the spade work has been improper or soil conditions are sub-optimal.
- Symptom: Interveinal chlorosis (yellowing between leaf veins) in new growth.
- Solution: This indicates a Nitrogen or Iron deficiency. Check the soil pH first. If the pH is above 7.0, apply chelated iron. If the pH is correct, top-dress with a high-nitrogen fertilizer (e.g., 21-0-0) at a rate of 0.5 lbs per 100 square feet.
- Symptom: Marginal leaf burn or necrosis on established transplants.
- Solution: This is often a sign of root desiccation or high salt index in the soil. Use a soil moisture meter to ensure the root zone is at 60 percent of field capacity. Flush the area with water to leach excess salts.
- Symptom: Wilting despite adequate soil moisture.
- Solution: This suggests root rot (Phytophthora) caused by soil compaction. Use a spade to gently aerate the soil around the perimeter of the root ball, being careful not to damage the primary structural roots.
Maintenance:
Precision maintenance requires the right tools and a data-driven approach. Provide 1.5 inches of water per week delivered at the drip line; use a rain gauge to verify the amount. For woody perennials, use bypass pruners to remove dead, damaged, or diseased wood (the 3 Ds) to prevent the spread of fungal spores.
A hori-hori knife is an essential companion to the digging spade for precision weeding and planting small bulbs at the correct depth (usually 3 times the bulb's diameter). Check soil compaction annually with a penetrometer or by simply testing the ease of spade entry. If the soil becomes too dense, top-dress with 0.5 inches of high-quality compost to encourage earthworm activity, which naturally aerates the substrate.
The Yield:
When harvesting flowers or herbs from your designed landscape, timing is everything. Harvest in the early morning when turgor pressure is at its highest. This is the point when the plant cells are fully hydrated, ensuring the longest possible shelf life. Use a sharp knife to make a clean, diagonal cut, which increases the surface area for water uptake. Immediately submerge the stems in 40-degree Fahrenheit water to slow the rate of respiration and delay senescence. For woody stems, a slight crush at the base can further facilitate hydration.
FAQ:
What is the best spade for heavy clay soil?
A spade with a rounded point and a high-carbon steel blade is best. The pointed tip focuses the force, making it easier to penetrate dense clay, while the steel resists bending under high leverage.
How deep should I dig a planting hole?
Dig the hole no deeper than the root ball but twice as wide. Planting too deep causes oxygen deprivation in the root zone, while a wide hole encourages lateral root expansion into the surrounding soil.
How do I maintain my digging spade?
Clean the blade after every use to prevent the spread of soil-borne pathogens. Sharpen the edge with a mill file at a 45-degree angle and coat the metal with linseed oil to prevent oxidation and rust.
Can I use a spade to divide perennials?
Yes. Use the spade to lift the entire clump, then drive the blade vertically through the center of the crown. Ensure each division has at least three healthy buds and a substantial portion of the root system.