6 Steps to Build a Sturdy Landscape Garden Pergola
Crushed stone aggregate provides the structural foundation for any architectural installation, but the surrounding soil determines the long term stability of the structure. The smell of damp, anaerobic clay indicates poor drainage that will eventually lead to wood rot and frost heave. Successful execution of the steps for building a garden pergola requires a deep understanding of soil mechanics and wood preservation. You must ensure the ground possesses the necessary turgor to support vertical loads without shifting during the seasonal freeze thaw cycles that characterize temperate climates.
Materials:
A stable pergola requires a site with **friable loam** and a high **Cation Exchange Capacity (CEC)** to ensure that the surrounding ornamental plantings thrive without compromising the structural footings. The ideal soil pH for the perimeter of the structure is **6.2 to 6.8**. Before construction, amend the site with a balanced **10-10-10 NPK ratio** fertilizer to support the root systems of climbing vines. For heavy clay soils, incorporate expanded shale to improve aeration. For sandy soils with low CEC, add organic matter to increase water retention and nutrient holding capacity.
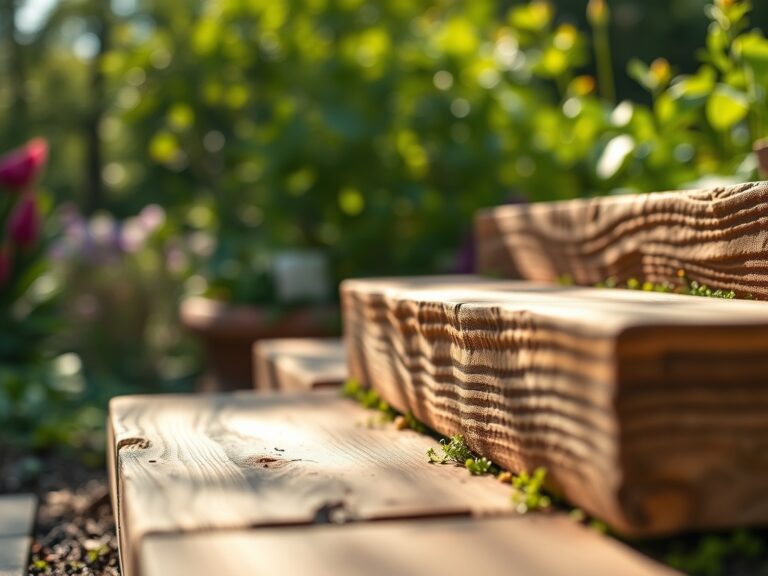
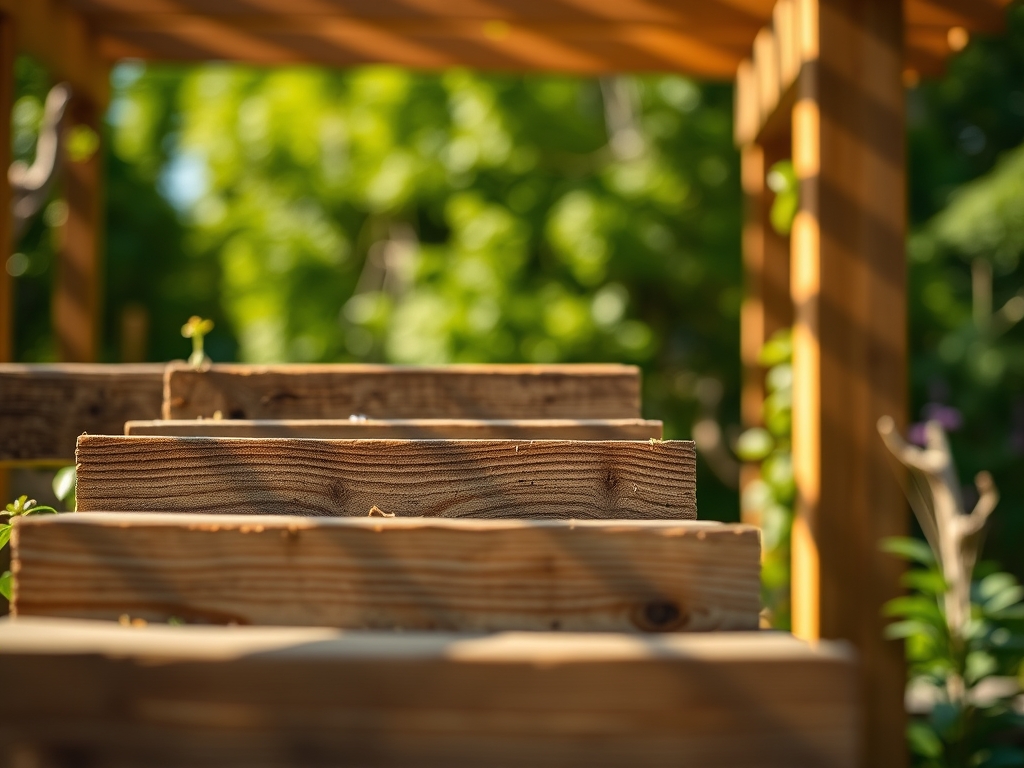
The structural components must be Pressure-Treated (PT) lumber or naturally rot resistant species like Western Red Cedar. Use Grade 304 or 316 stainless steel fasteners to prevent galvanic corrosion. You will need 80-pound bags of high-strength concrete for the footings, aiming for a compressive strength of 4,000 PSI after a 28 day cure.
Timing:
Construction should align with the dormant period of your local Hardiness Zone. In Zones 5 through 7, the ideal window is late autumn or early spring when the ground is not frozen but the biological clock of local flora is in senescence. This timing prevents soil compaction during the vegetative growth phase. Avoid excavation during the spring thaw when soil moisture is at field capacity; working wet soil destroys the pore space necessary for oxygen exchange in the rhizosphere. Ensure all structural work is completed at least three weeks before the first predicted frost to allow concrete footings to hydrate properly without the risk of ice crystal formation within the matrix.
Phases:

Sowing the Footings
Excavate holes to a depth of at least 36 inches, or 6 inches below the local frost line. The diameter should be three times the width of the post. Fill the bottom with 4 inches of compacted gravel to facilitate drainage away from the timber.
Pro-Tip: Use a soil moisture meter to ensure the subsoil is not saturated before pouring. Biological Why: Excessive soil moisture during the pour can lead to "wicking," where the dry concrete mix pulls water and pathogens from the soil, weakening the cure and introducing fungal spores to the wood interface.
Transplanting the Posts
Set 6×6 posts into the holes using temporary bracing. Use a level to ensure verticality on two adjacent faces. Pour the concrete, sloping the top surface away from the post to prevent water pooling. Allow a 72-hour period for initial set before adding horizontal loads.
Pro-Tip: Apply a copper-naphthenate preservative to the end grain of the posts. Biological Why: The end grain acts like a series of straws; through capillary action, it pulls moisture upward into the cellular structure of the wood, creating a buffet for wood-decay fungi.
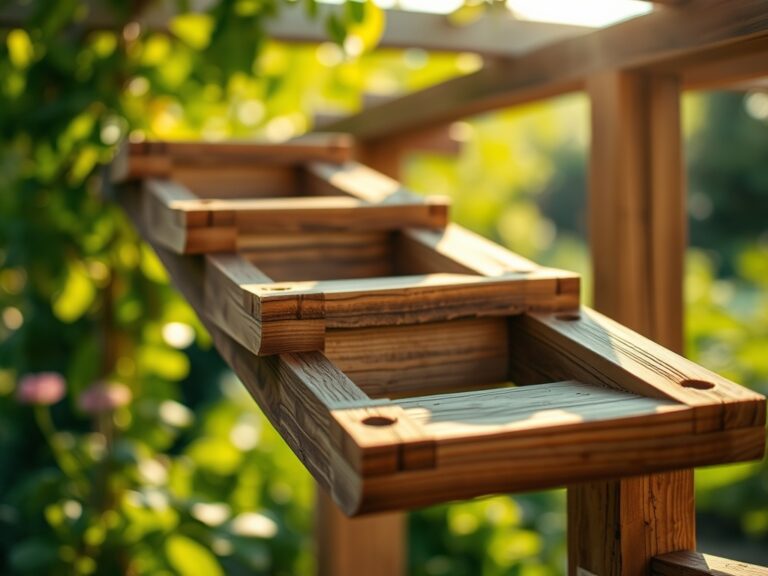
Establishing the Canopy
Install the headers and rafters using 1/2-inch galvanized carriage bolts. Space the rafters 12 to 16 inches on center to provide adequate shade and structural surface area for climbing plants. Ensure the structure is perfectly square by measuring the diagonals; they must be equal within 1/8 of an inch.
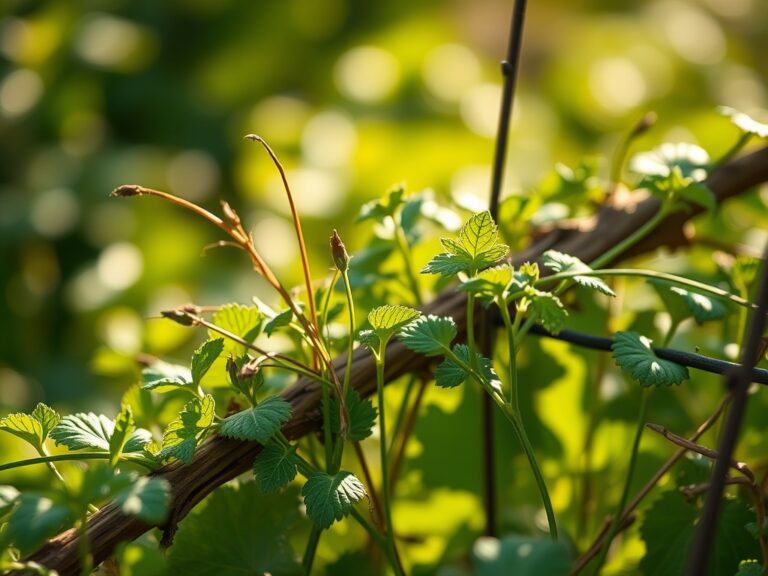
Pro-Tip: If planting climbers like Wisteria or Clematis, provide a secondary wire trellis. Biological Why: Many climbing plants utilize thigmotropism, a directional growth movement which occurs as a mechanosensory response to a touch stimulus. Without thin wires to wrap around, the plant will waste energy producing excess lignin rather than foliage.
The Clinic:
Physiological disorders in the landscape surrounding the pergola often stem from the construction process.
-
Symptom: Interveinal chlorosis (yellowing leaves with green veins) on new growth.
-
Solution: This indicates Iron deficiency, often caused by high pH from concrete runoff. Apply chelated iron and sulfur to lower pH to 6.5.
-
Symptom: Marginal leaf burn or necrosis.
-
Solution: Likely Potassium deficiency. Apply a 0-0-50 sulfate of potash to regulate osmotic pressure and improve the plant's drought resistance.
-
Symptom: Stunted growth and pale green older leaves.
-
Solution: Nitrogen chlorosis. Apply a slow-release organic nitrogen source to the drip line to restore chlorophyll production.
Fix-It Section: For structural issues like post-lean, check for frost heave. This occurs when the footing is too shallow. The only fix is to re-excavate below the frost line and pour a "bell-bottom" footing to anchor the structure against upward soil pressure.
Maintenance:
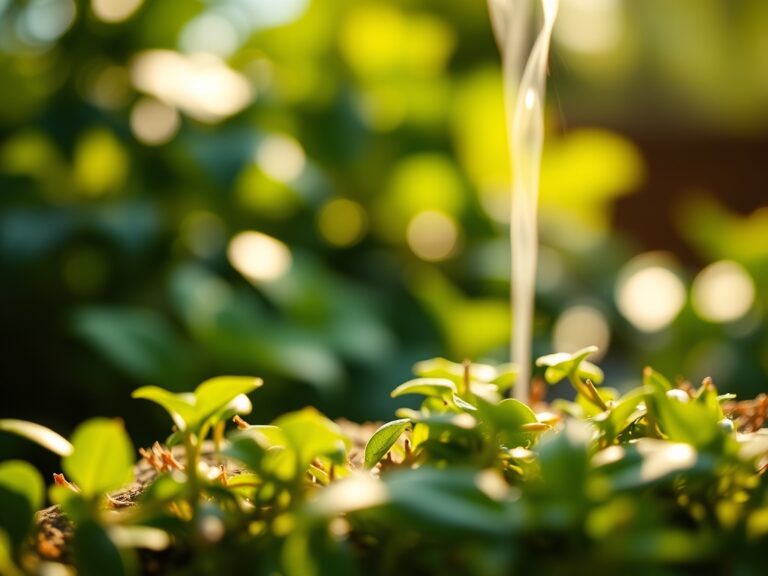
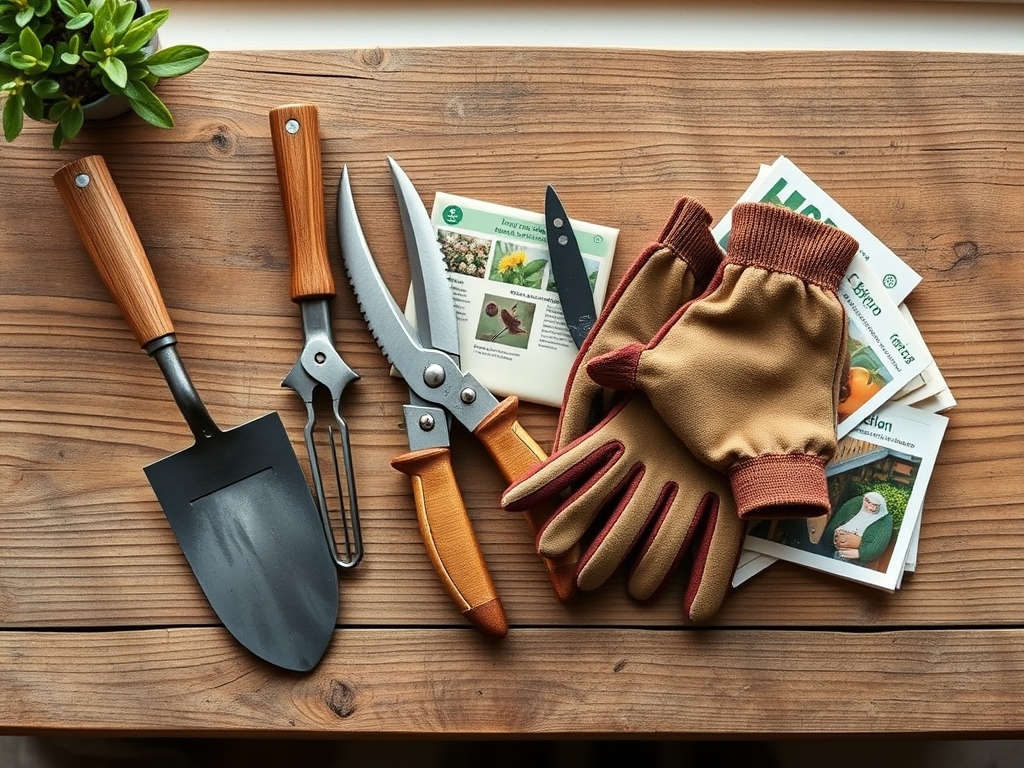
Maintain the health of the surrounding ecosystem by providing 1.5 inches of water per week at the drip line of any climbing plants. Use a hori-hori knife to remove deep-rooted weeds that compete for nutrients in the rhizosphere. Annually inspect the structural hardware using a socket wrench to tighten any bolts loosened by the natural expansion and contraction of the wood. Use bypass pruners to manage the biomass of climbing vines; remove no more than 25 percent of the canopy in a single season to prevent stress-induced hormonal imbalances. Monitor soil compaction around the posts with a penetrometer; if the soil is too dense, use a core aerator to restore gas exchange to the roots.
The Yield:
If your pergola supports fruiting vines like Vitis vinifera (grapes), harvest timing is critical. Use a refractometer to measure the Brix level (sugar content). For most table grapes, a Brix reading of 16 to 18 is ideal. Harvest during the cool morning hours to maintain maximum turgor pressure in the fruit. Use sharp snips to cut the rachis; do not pull the clusters, as this damages the fruiting spurs. Store the yield at 32 degrees Fahrenheit with 90 percent humidity to delay senescence and maintain "day-one" crispness.
FAQ:
How deep should pergola posts be buried?
Posts must reach 6 inches below the frost line, typically 36 to 48 inches in temperate climates. This prevents frost heave and ensures structural stability against lateral wind loads. Always use a gravel base for drainage.
What is the best wood for a garden pergola?
Western Red Cedar and Black Locust are superior for their natural rot resistance. If using Pressure-Treated lumber, ensure it is rated for Ground Contact (UC4A) to withstand the high microbial activity in the rhizosphere.
Can I grow heavy vines on a pergola?
Yes, but the structure must account for the static and dynamic load of the mature plant. A mature Wisteria can weigh over 1,000 pounds when wet. Ensure headers are doubled 2×8 or 2×10 members.
How do I prevent the wood from rotting in the soil?
Use concrete footings that extend above the soil grade. Slope the concrete away from the timber. Apply a zinc or copper-based preservative to the wood base to inhibit fungal hyphae from penetrating the cellulose.
When is the best time to plant around a new pergola?
Plant during the dormant season or early spring. This allows the root system to establish via mycorrhizal symbiosis before the high transpiration demands of the summer heat stress the plant's vascular system.