6 Steps to Sharpen a Garden Lopper with a Precision File
The smell of damp earth and the high turgor pressure of a healthy leaf signify a garden in peak physiological activity. When a stem resists a cut, it creates jagged wounds that invite fungal pathogens and disrupt the vascular flow within the xylem. A dull blade crushes the cambium layer rather than slicing it; this inhibits the plant's ability to compartmentalize decay. Mastering the steps for sharpening a garden lopper with a file ensures every cut is surgical and promotes rapid callous formation. Precision maintenance is not an aesthetic choice; it is a biological necessity for maintaining the structural integrity of woody perennials. A sharp edge minimizes the physical force required by the operator and prevents the stripping of bark that often leads to secondary infections. By following a technical protocol, you maintain the factory-specified bevel angle, which is critical for the mechanical leverage of the tool. Proper sharpening requires a steady hand and an understanding of steel hardness to restore the bypass action of the blades.
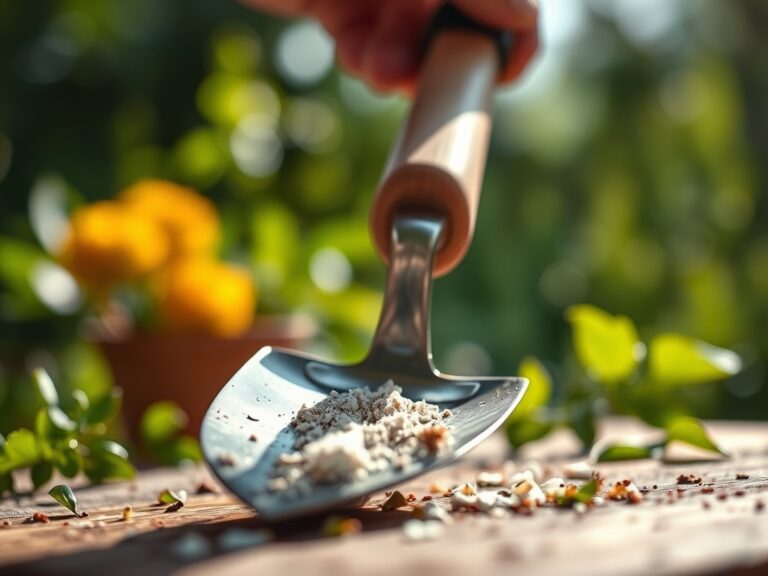
Materials:
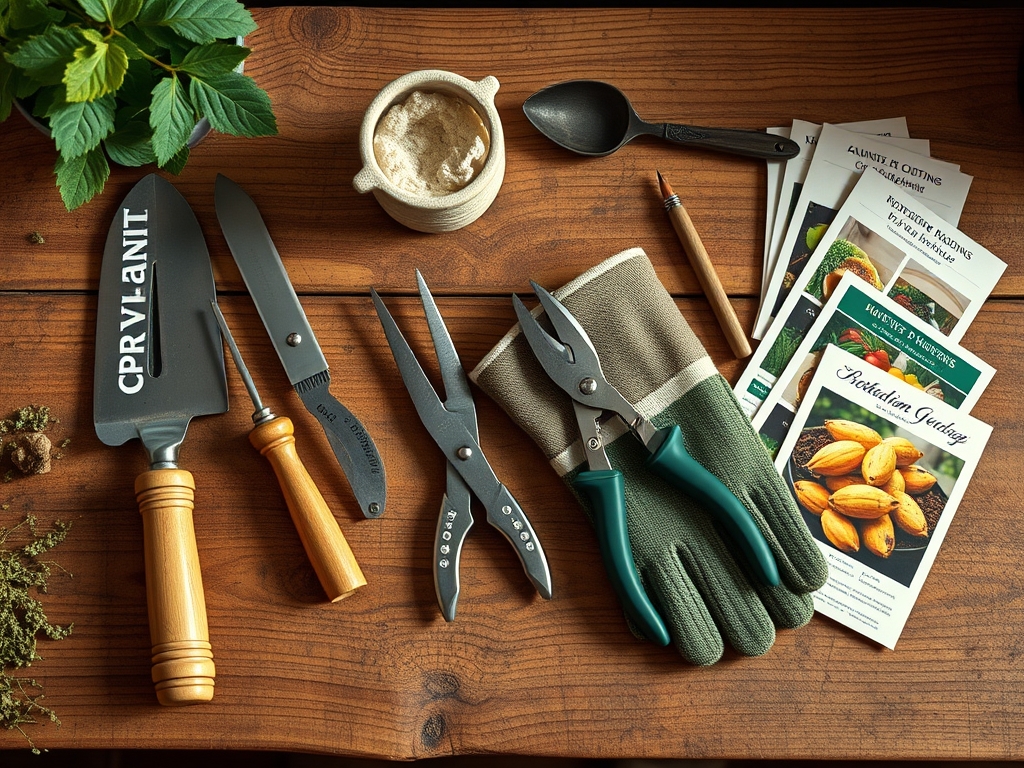
While the primary focus is tool maintenance, the environment in which these tools operate dictates the frequency of sharpening. Plants grown in high-silica soils or substrates with a high Cation Exchange Capacity (CEC) often develop tougher cellular structures. In a friable loam with a pH of 6.5, woody stems may accumulate minerals that dull steel more rapidly than those in sandy soils. Ensure your workspace is clean to avoid introducing contaminants into the tool’s pivot point. You will need a **10-inch mill bastard file**, a **diamond honing stone**, and a **wire brush**. For the tool itself, maintain a clean surface using a solvent to remove sap and resin. If you are working in a greenhouse environment with high humidity, keep a light machine oil or a silicone-based lubricant ready to prevent oxidation of the newly exposed steel.
Timing:
In Hardiness Zones 4 through 7, the ideal window for tool maintenance occurs during the dormant season, typically between the first hard frost and the late winter thaw. This aligns with the plant's biological clock, specifically the transition from senescence to the early stages of bud swell. Sharpening should be completed before the spring flush, as the rise in sap pressure makes clean cuts even more vital. In warmer zones 8 through 10, maintenance follows the peak of the summer heat when many woody plants enter a semi-dormant state to conserve moisture. Performing your sharpening routine during these windows ensures that when you move to prune, the tool is prepared to handle the specific lignin density of the season. Never wait for the blade to show visible nicks; a proactive sharpening schedule based on every 50 to 100 cuts will maintain the edge geometry consistently.
Phases:

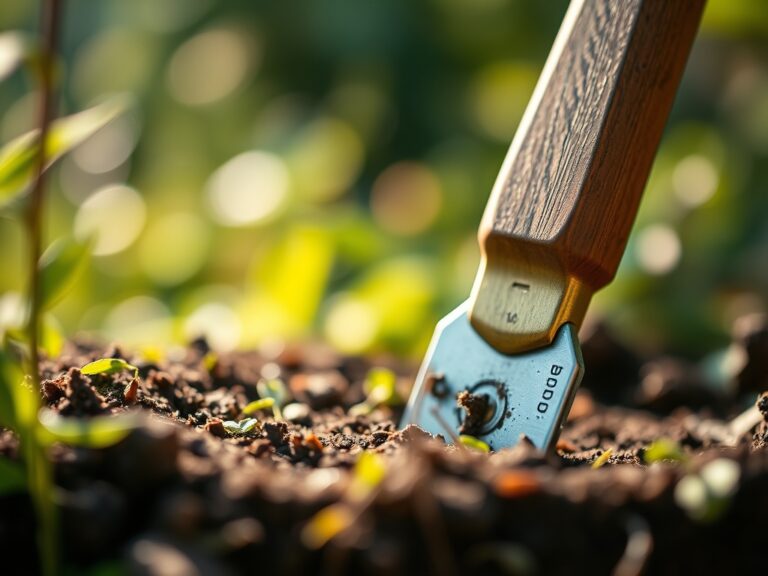
Preparation and Cleaning
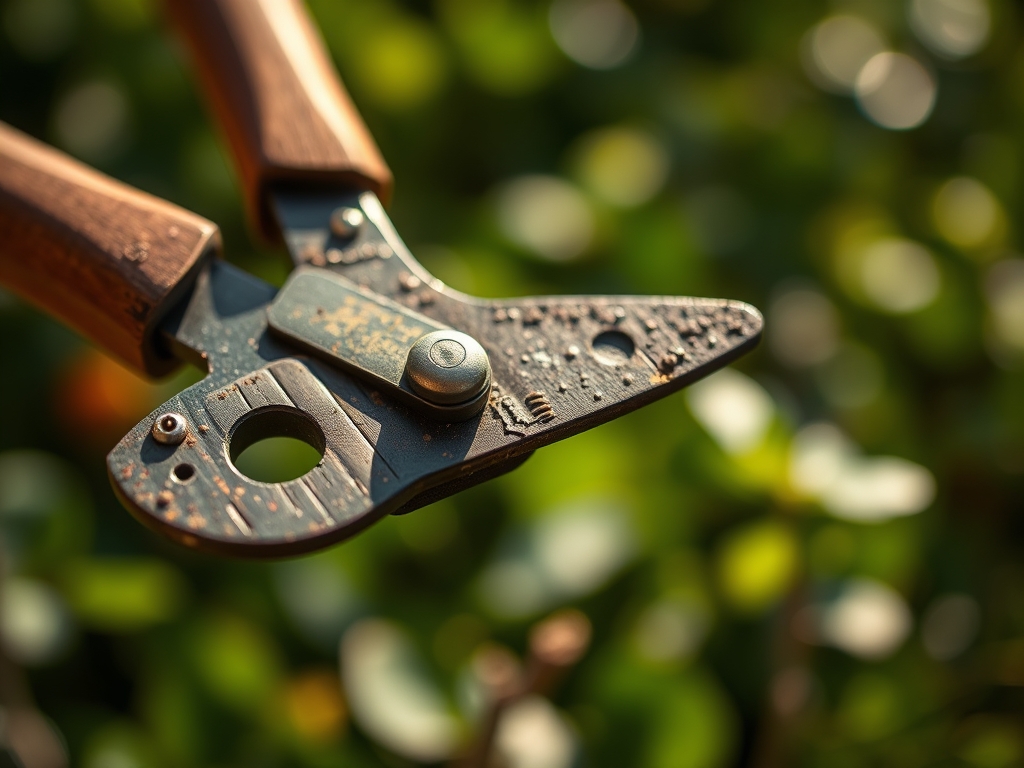
Before applying a file, the tool must be free of organic debris. Use a stiff wire brush to remove dried sap and soil particles from the blade surfaces. If the sap is stubborn, apply a solvent like isopropyl alcohol. This prevents the file from "loading up" with debris, which would otherwise result in an uneven grind. Inspect the pivot bolt for tightness; a loose pivot causes the blades to twist, leading to "tearing" rather than cutting.
Pro-Tip: Removing organic residue prevents the cross-contamination of pathogens such as Botrytis cinerea. This biological hygiene ensures that the rhizosphere of one plant does not infect the vascular system of another through contaminated steel.
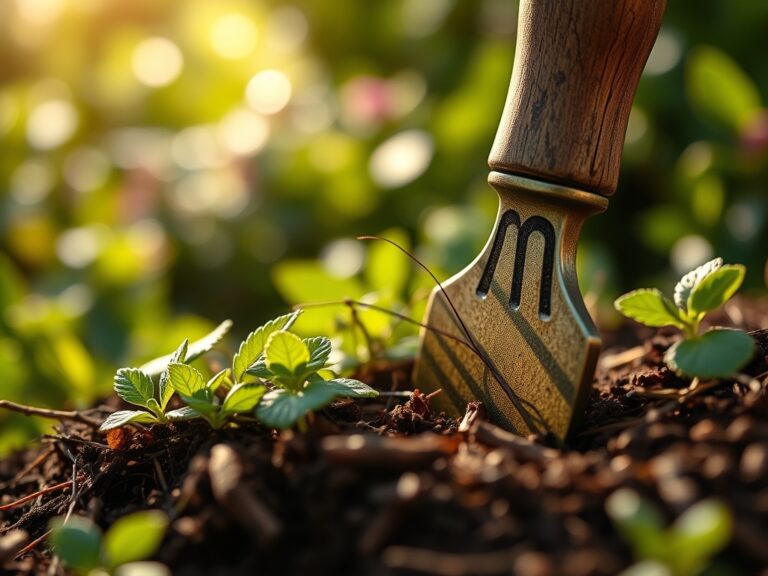
Establishing the Bevel
Identify the factory bevel, which is usually between 20 and 30 degrees. Secure the lopper in a vise with the cutting blade facing upward. Place the mill bastard file against the edge at the matching angle. Push the file away from your body in a single, smooth motion, following the curve of the blade. Do not use a back-and-forth sawing motion, as this creates heat and can ruin the steel's temper. Repeat this process until a clean, bright line of steel appears across the entire length of the blade.
Pro-Tip: Maintaining the exact factory angle is crucial for bypass action. If the angle is too steep, the blade will dull quickly; if it is too shallow, the edge will be brittle and prone to chipping under the stress of high turgor pressure in woody stems.
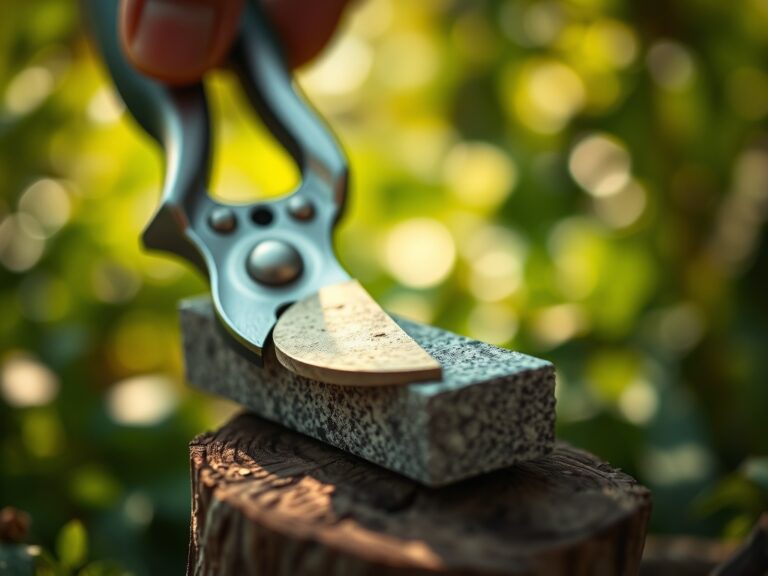
Honing and Deburring
Once the primary edge is established, a small "burr" or wire edge will form on the flat side of the blade. Switch to a fine-grit diamond honing stone. Lay the stone flat against the back (unbeveled) side of the blade and lighty stroke it to remove the burr. Finally, use the honing stone on the beveled side with a circular motion to polish the edge. This creates a razor-sharp finish that slices through cellulose fibers with minimal resistance.
Pro-Tip: A polished edge reduces friction during the cut. This minimizes the mechanical heat generated at the wound site, which preserves the auxin suppression levels in the remaining lateral buds and encourages healthy regrowth.
The Clinic:
Symptom: Crushed Stem Tissue
Solution: This is a clear indicator of a dull blade or a loose pivot bolt. When the blades do not meet with precision, they pinch the stem. Re-tighten the center bolt and re-sharpen the bevel to restore the shearing action.
Symptom: Blade "Sticking" in Wood
Solution: This occurs when the blade is pitted or covered in resin. Use a fine-grit sandpaper (400 grit) to smooth the face of the blade, then apply a dry lubricant. This reduces the drag coefficient as the blade passes through the lignified tissue.
Symptom: Nitrogen Chlorosis (Yellowing Leaves)
Fix-It: While not a tool issue, if you notice yellowing in the plants you are pruning, check the soil nitrogen levels. Apply a fertilizer with an NPK ratio of 10-5-5 to restore chlorophyll production. Ensure the soil pH is between 6.0 and 7.0 to maximize nutrient availability.
Maintenance:
Post-sharpening care is essential for longevity. After every use, wipe the blades with a clean cloth to remove moisture and sap. Apply a thin layer of mineral oil to the cutting surfaces to prevent rust. In the field, carry a hori-hori knife for weeding and a soil moisture meter to ensure your plants are receiving exactly 1.5 inches of water per week at the drip line. For smaller tasks, keep a pair of bypass pruners calibrated to the same sharpness standards as your loppers. Check the tension of the lopper handles regularly; if the handles have too much "give," the energy of your stroke is lost before it reaches the blade.
The Yield:
When pruning for harvest, timing is dictated by the sugar content and moisture levels within the fruit or flower. For woody herbs, harvest in the early morning when the essential oil concentration is highest. Use your sharpened loppers to make clean, 45-degree cuts just above a node. This technique maximizes the surface area for water uptake if the harvest is for floral display. For fruit-bearing trees, a clean cut prevents the entry of insects that are attracted to the pheromones released by damaged tissue. Handle all harvested material with care to maintain the "day-one" freshness; avoid piling stems, which can lead to heat buildup and rapid senescence.
FAQ:
How often should I sharpen my loppers?
Sharpen your loppers every 50 to 100 cuts or whenever you notice the tool crushing rather than slicing the wood. Regular maintenance prevents deep nicks and preserves the blade's original geometry.
Can I use a power grinder to sharpen garden tools?
Avoid power grinders because they generate excessive heat, which can ruin the steel's temper and make the blade brittle. A mill bastard file provides the necessary control for a precision edge.
What is the best angle for a lopper blade?
Most garden loppers require a bevel angle between 20 and 30 degrees. Always follow the existing factory bevel to ensure the tool functions according to its mechanical design and leverage.
Why is my lopper tearing the bark?
Tearing is usually caused by a dull blade or a loose pivot bolt that allows the blades to spread apart. Sharpen the edge and tighten the bolt to ensure a clean bypass action.