8 Tips to Use a Spirit Level for Accurate Landscape Work
The smell of damp, anaerobic silt rising from a poorly drained trench is the first sign of a failed grade. A garden that lacks structural precision will inevitably face issues with hydraulic pressure and root rot. Using a level for landscape design ensures that water moves away from foundations and toward the rhizosphere where it can be utilized. Proper leveling prevents the pooling of stagnant water that leads to fungal pathogens and decreased turgor pressure in woody perennials. Precision in the horizontal plane is the difference between a thriving ecosystem and a saturated, dying landscape.
Materials:

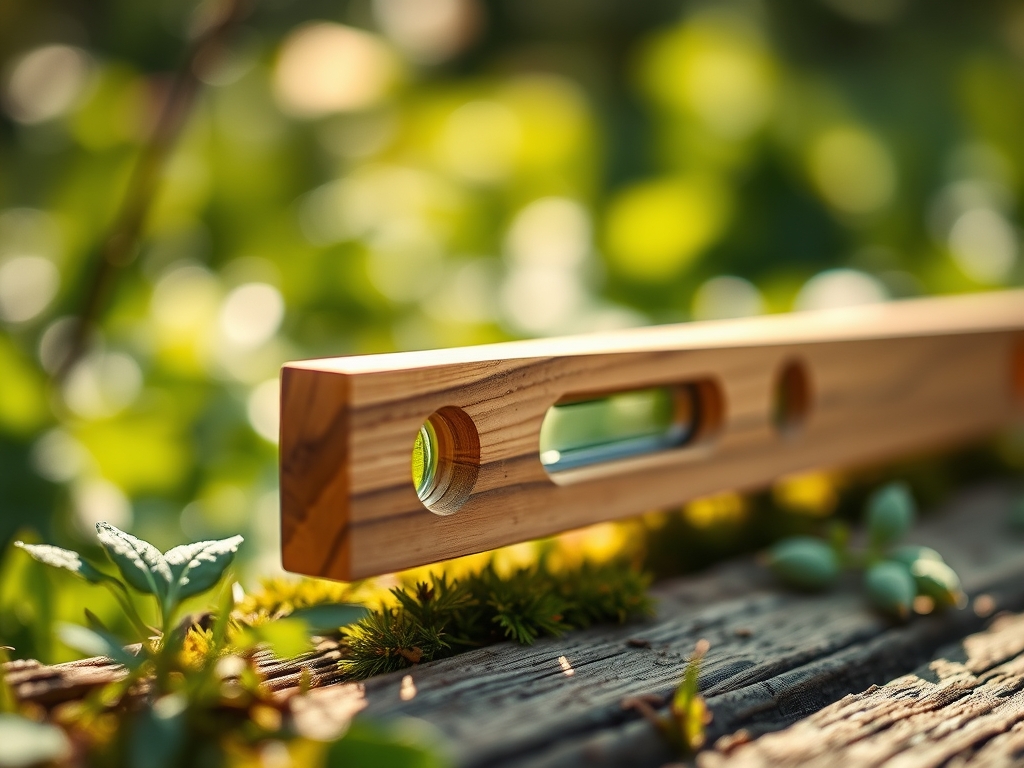
Before establishing hardscape or raised beds, the substrate must be analyzed. Ideal landscape soil is a **friable loam** with a **Soil Cation Exchange Capacity (CEC)** between **15 and 25 milliequivalents per 100 grams**. This texture allows for adequate pore space for gas exchange. For vegetable production within leveled beds, maintain a **pH of 6.2 to 6.8**. Incorporate a starter fertilizer with an **NPK ratio of 5-10-5** to stimulate early root development without excessive vegetative surge. Ensure your spirit level is a professional grade **48-inch I-beam level** or a **laser level** for distances exceeding **20 feet**.
Timing:
Landscape leveling should occur during the dormant season or early spring when soil moisture is between 15% and 20%. In Hardiness Zones 5 through 7, this window typically opens after the final frost date when the ground is no longer frozen but before the spring flush of growth. Excavation during the vegetative stage can cause significant root pruning and transplant shock. Timing your leveling work to coincide with the "Biological Clock" of your plants ensures that root systems can re-establish during the high-auxin period of early spring. Avoid heavy grading in mid-summer when high evapotranspiration rates put maximum stress on the plant's vascular system.
Phases:

Sowing and Grading
Begin by clearing the site of all organic debris. Use a spirit level atop a straight 2×4 screed board to check for high spots. For lawn areas, aim for a 2% slope away from structures. This equates to a 1/4-inch drop per foot. If the grade is too flat, water will sit; if it is too steep, seed and topsoil will wash away before germination.
Pro-Tip: Proper grading facilitates gravitropism in emerging seedlings. By ensuring a consistent slope, you prevent "damping off," a condition where soil-borne pathogens thrive in oversaturated micro-depressions and kill young sprouts.
Transplanting and Leveling
When installing large specimens or retaining walls, the level is your primary tool for stability. Dig a hole twice the width of the root ball but no deeper than the original container. Use the level to ensure the root flare sits exactly at or slightly above the finished grade. A tilted tree will develop reaction wood, an anatomical response to gravity that consumes energy better spent on fruit or flower production.
Pro-Tip: Maintaining a level root flare prevents adventitious root growth from the trunk. If the plant is buried too deep, gas exchange in the rhizosphere is restricted, leading to cellular senescence and eventual death.
Establishing and Hardscaping
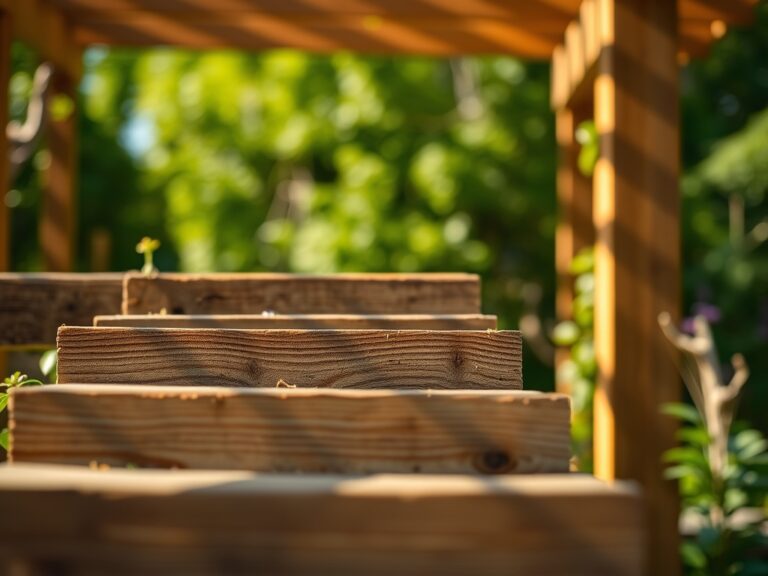
For stone paths or timber borders, a level prevents shifting during freeze-thaw cycles. Set your base of compacted 3/4-inch minus gravel to a depth of 4 to 6 inches. Use the level to verify a consistent plane across the entire surface. This prevents point-loading, where weight is concentrated on a single stone, causing it to crack or sink.
Pro-Tip: Level hardscaping encourages mycorrhizal symbiosis in the surrounding soil. By preventing soil compaction and erratic water runoff, you maintain the stable moisture levels required for beneficial fungi to colonize plant roots.
The Clinic:
Physiological disorders often stem from poor site leveling. Observe the following symptoms to diagnose site issues:
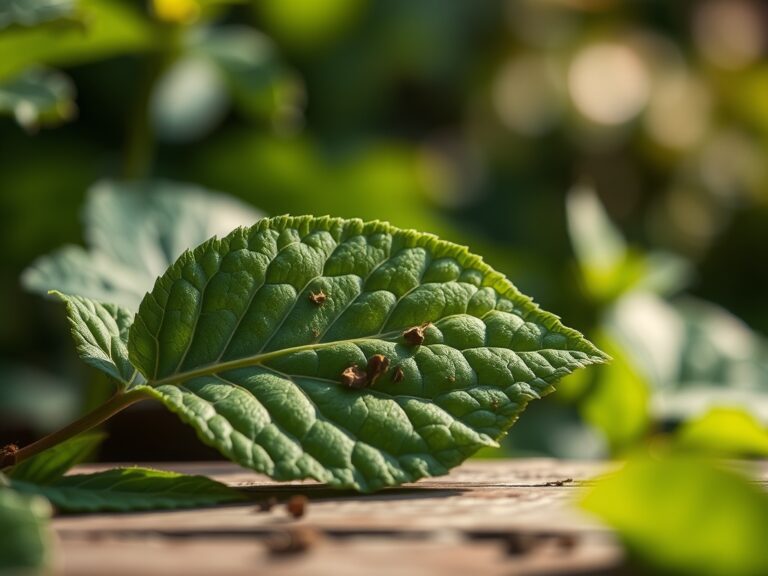
- Symptom: Leaf Epinasty (downward curling). Solution: This is often caused by waterlogged soil due to a low spot in the grade. Use a level to identify the depression and fill it with a 70/30 sand-compost mix to improve drainage.
- Symptom: Nitrogen Chlorosis (yellowing of older leaves). Solution: Excessive runoff on steep, unleveled slopes leaches nitrogen. Apply a slow-release 10-10-10 fertilizer and terrace the area to slow water velocity.
- Symptom: Iron Deficiency (interveinal chlorosis in new growth). Solution: High water tables in unlevel areas can raise soil pH. Check the level of the planting bed; if it is a "sink," raise the bed by 6 inches and add chelated iron.
- Symptom: Localized Wilting. Solution: Check for "dry spots" on high mounds. Level the soil to ensure even water distribution across the root zone.
Maintenance:
A leveled landscape requires consistent monitoring. Use a soil moisture meter to verify that water is penetrating to a depth of 6 to 8 inches. Most established landscapes require 1.5 inches of water per week delivered at the drip line. Periodically re-check the level of retaining walls and raised beds; soil settling is natural but should not exceed 1 inch per year. Use a hori-hori knife to remove deep-rooted weeds that disrupt the soil surface. Prune any damaged limbs with bypass pruners to maintain the plant's center of gravity, which prevents the specimen from leaning and ruining the visual level of your design.
The Yield:
When harvesting from leveled raised beds, timing is critical. For leafy greens, harvest when turgor pressure is highest, usually between 5:00 AM and 8:00 AM. Use a sharp knife to make a clean cut, avoiding damage to the meristematic tissue. For fruiting crops like tomatoes, wait for 90% color saturation to ensure peak sugar content. Immediately plunge harvested produce into an ice-water bath at 34 degrees Fahrenheit to remove field heat. This process slows the rate of respiration and preserves the cellular structure for maximum shelf life.
FAQ:
How do I check the level over long distances?
Use a string level or a laser level. Stretch a nylon line tightly between two stakes and hang the level in the center. For distances over 30 feet, a laser level provides accuracy within 1/8 of an inch.
Why does my level show a slope on a flat path?
Soil settling or frost heave often shifts pavers. Check the base compaction. If the base was not compacted to 95% Proctor density, the weight of the materials will cause the level to shift over time.
Can I use a level for planting trees?
Yes. Place a straight board across the planting hole and use a spirit level to ensure the root flare is exactly at grade. This prevents deep-planting stress and promotes healthy lateral root expansion.
What is the best slope for drainage?
A 2% slope is the standard for landscape drainage. This equates to a 2-foot drop for every 100 feet of distance. This angle is steep enough to move water but shallow enough to prevent soil erosion.
How do I level a slope for a garden?
Use a series of terraces. Build retaining walls using a level to ensure each course is plumb. Backfill with high-CEC soil and ensure each terrace is perfectly horizontal to prevent water from cascading over the edges.