7 Steps to Prepare a Level Landscape Garden Bench Site
The scent of damp, anaerobic clay mixed with the sharp musk of decomposing organic matter signals the start of any serious land modification. Successful installation begins with understanding the structural integrity of the soil profile and the turgor pressure of the surrounding vegetation. If the substrate is unstable, the weight of the furniture will cause uneven settling; this leads to structural failure and poor drainage. Learning how to prepare a site for a garden bench requires a technical approach to soil compaction and grading. You are not merely placing a seat; you are engineering a micro-environment that must withstand hydrostatic pressure and freeze-thaw cycles. A stable site ensures that the rhizosphere of nearby specimen plants remains undisturbed while providing a level plane for human rest. Precision in the excavation phase prevents the later development of localized puddling or root rot in adjacent perennials. Every measurement must be exact to ensure the longevity of both the bench and the surrounding landscape.
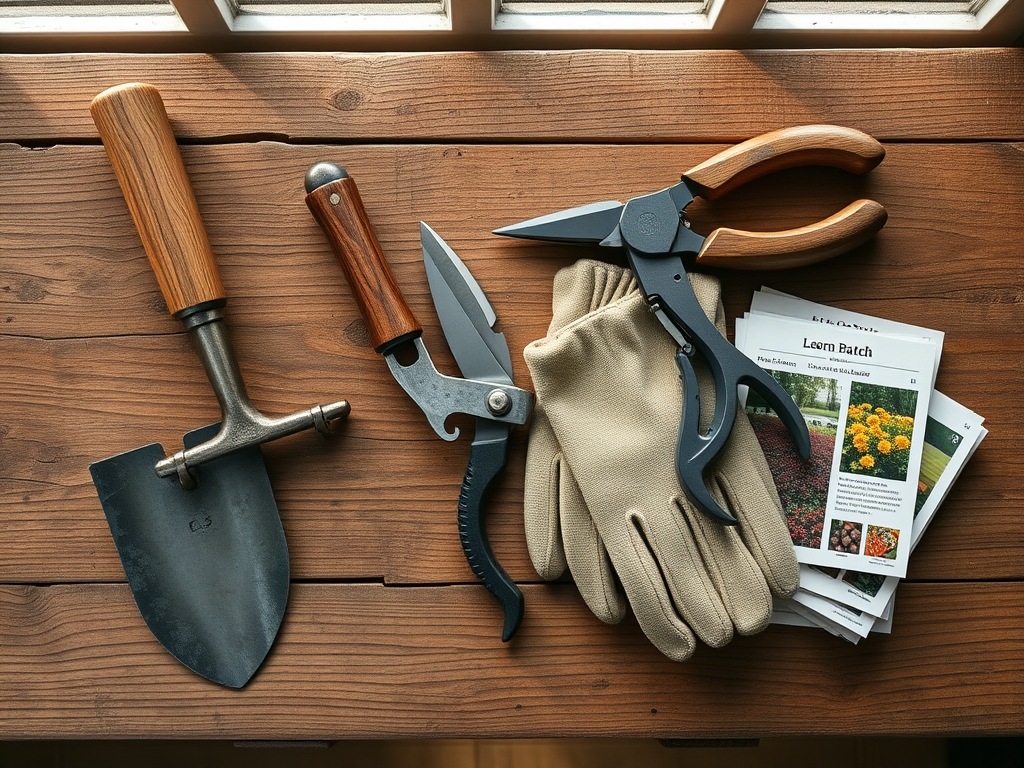
Materials:
The ideal substrate for a garden bench site is a **friable loam** with a high **Cation Exchange Capacity (CEC)** to support surrounding ornamental growth. The site requires a base of **crushed 3/4-inch angular stone** for drainage and a leveling layer of **coarse sand**. If you are planting around the bench, the soil pH should be maintained between **6.0 and 7.0** for maximum nutrient bioavailability. Use a balanced **10-10-10 NPK ratio** fertilizer for the immediate perimeter to encourage root establishment. For heavy feeders like roses or hydrangeas near the site, a **5-10-5 NPK ratio** is preferred to prioritize root and bloom development over excessive vegetative growth. Ensure the aggregate materials are free of limestone fines if you are working near acid-loving species like Azaleas, as these fines can raise the pH and cause iron chlorosis.
Timing:
Installation should occur during the dormant season or early spring before the Biological Clock triggers the transition from vegetative to reproductive stages in local flora. In Hardiness Zones 5 through 7, the window opens once the ground thaws but before the first flush of spring growth. This timing prevents the compaction of active root zones. Avoid excavation when the soil moisture exceeds 25 percent; working saturated soil destroys soil structure and collapses the macropores necessary for oxygen exchange. Monitor the photoperiod. As day length increases, plants begin auxin production for cell elongation. Completing the site preparation before this surge ensures that any minor root pruning during excavation does not stunt the plant during its primary growth window.
Phases:
Sowing the Perimeter
Establish a ground cover or border plants around the bench site using high-quality seed or plugs. Ensure the soil temperature is at least 55 degrees Fahrenheit for optimal germination.
Pro-Tip: Focus on mycorrhizal symbiosis by inoculating the soil with beneficial fungi. This biological partnership extends the root system's reach; it allows the plants to better access phosphorus and water in the compacted zones near the bench.
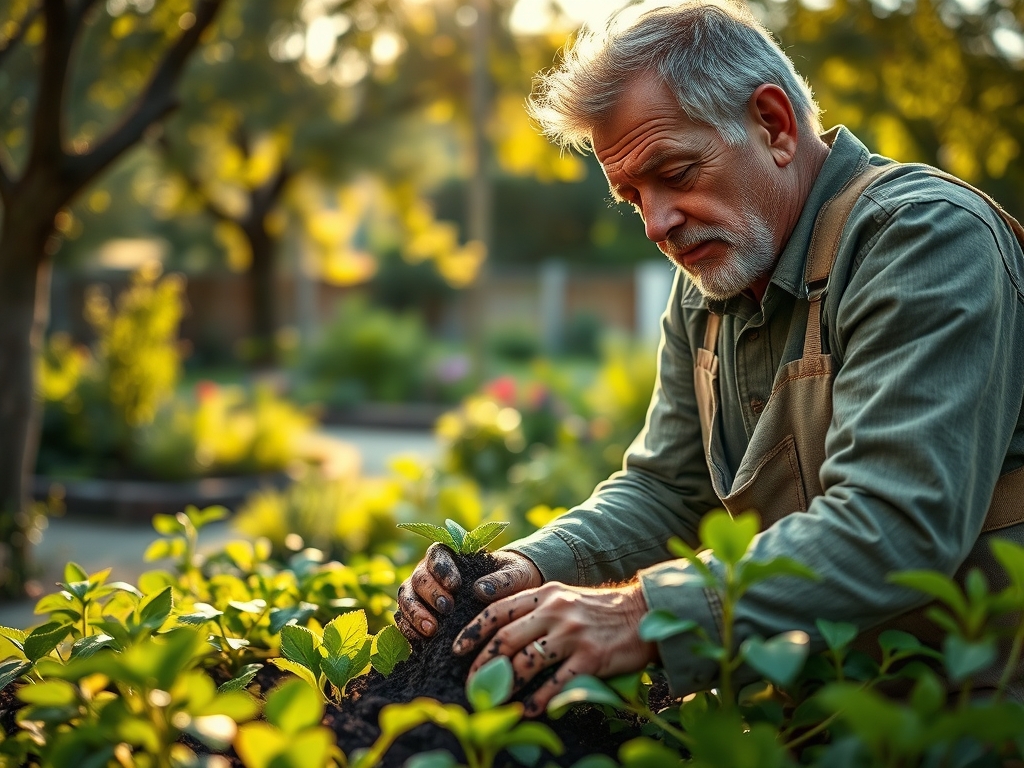
Transplanting Specimen Plants
When moving established plants to frame the bench, maintain the integrity of the root ball. Use a hori-hori knife to cleanly cut through any circling roots. The transplant hole should be twice as wide as the root system but no deeper.
Pro-Tip: Minimize transplant shock by maintaining high turgor pressure. Water the plants deeply 24 hours before moving them. This ensures the cells are fully hydrated; it provides a buffer against the desiccation that occurs when roots are exposed to air.
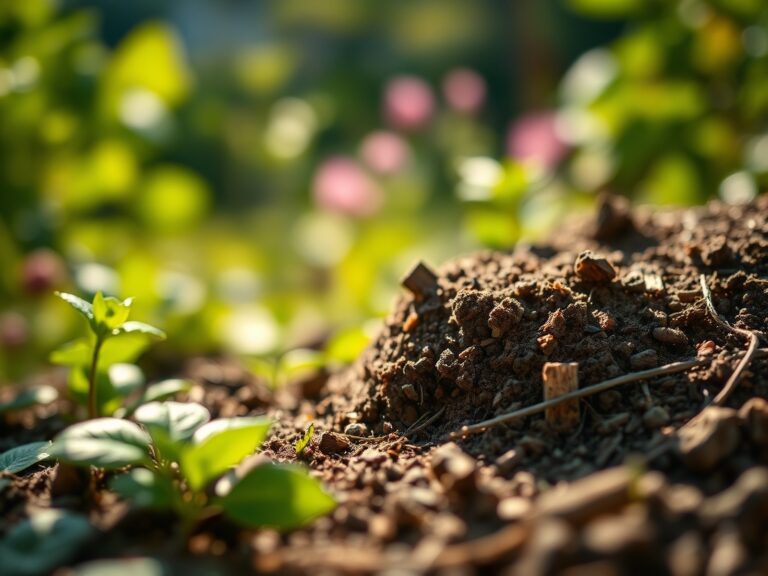
Establishing the Base
Excavate the site to a depth of 6 inches. Level the subsoil and compact it using a hand tamper. Add 4 inches of gravel followed by 2 inches of leveling sand. Use a 4-foot carpenter's level to ensure a 1 percent slope away from the bench to prevent water accumulation.
Pro-Tip: Understand phototropism when placing the bench near tall shrubs. If the bench or its backing blocks significant light, the plants behind it will lean toward the sun. This creates an asymmetrical, weakened growth habit over time.
The Clinic:
Physiological disorders in the landscape often mimic disease but result from site conditions.
- Symptom: Interveinal chlorosis (yellow leaves with green veins).
Solution: This indicates a high pH or iron deficiency. Test the soil; apply chelated iron or elemental sulfur to lower the pH to the 6.5 range. - Symptom: Leaf scorch or marginal necrosis.
Solution: This is often caused by high salts or drought stress. Increase irrigation to 1.5 inches per week and ensure the drainage layer under the bench is not leaching alkaline salts into the root zone. - Symptom: Stunted growth and purpling of lower leaves.
Solution: This is a classic Phosphorus deficiency. Apply a 0-20-0 superphosphate treatment to the root zone to encourage ATP production and cellular energy transfer. - Fix-It for Nitrogen Chlorosis: If the entire leaf turns pale yellow, the plant lacks Nitrogen. Apply a quick-release high-N fertilizer (20-0-0) to restore chlorophyll density and stimulate vegetative vigor.
Maintenance:
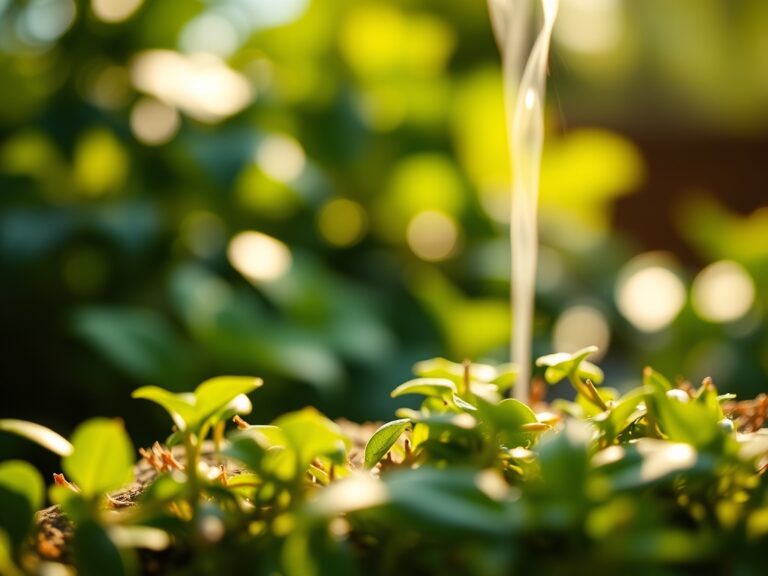
Precision maintenance is required to keep the site stable. Monitor the area with a soil moisture meter twice weekly. Plants at the bench perimeter require 1.5 inches of water per week delivered at the drip line. Use bypass pruners to remove any dead or senescing wood; this prevents the spread of fungal pathogens in the high-traffic area. Check the level of the bench annually. If settling occurs, use a hori-hori knife to lift the edge and pack additional leveling sand beneath the feet. Avoid using de-icing salts near the bench in winter; the sodium ions displace calcium and magnesium in the soil. This destroys the soil flocculation and leads to a collapsed, anaerobic rhizosphere.
The Yield:
If the bench site includes lavender or herbs, harvest during the peak of essential oil concentration. This usually occurs in the morning after the dew has evaporated but before the heat of the day. Use sharp shears to cut stems just above a node. To maintain "day-one" freshness, place the stems immediately in a cool, shaded container. For floral yields, harvest when the buds are in the "tight-fisted" stage. This maximizes the vase life by delaying the onset of senescence, the biological aging process of the plant tissue.
FAQ:
How deep should I dig for a bench base?
Excavate to a depth of 6 inches. This allows for 4 inches of compacted aggregate and 2 inches of leveling sand. A deep base prevents frost heave and ensures the bench remains level during soil expansion.
What is the best material for a bench foundation?
Use 3/4-inch crushed angular stone for the primary base. Unlike rounded pea gravel, angular stone locks together under pressure. This creates a stable, non-shifting platform that facilitates rapid vertical drainage away from the bench legs.
Can I put a bench directly on the grass?
Placing a bench on turf leads to soil compaction and crown rot. The lack of oxygen in the rhizosphere will kill the grass. Constant moisture contact with the bench feet also accelerates wood rot or metal oxidation.
How do I prevent weeds under the garden bench?
Install a heavy-duty geotextile fabric between the subsoil and the gravel layer. This barrier prevents weed seeds from germinating in the soil while allowing water to pass through. It maintains the separation of soil and stone.