7 Steps to Build a Professional Landscape Garden Patio
The scent of damp, disturbed earth signals the start of a structural intervention in the landscape. When the soil reaches a consistent temperature of 55 degrees Fahrenheit, the microbial activity in the rhizosphere accelerates; this is the optimal moment to begin the physical transformation of your outdoor space. Understanding the mechanical steps for building a garden patio requires more than aesthetic vision. It demands a rigorous analysis of soil compaction, drainage coefficients, and the structural integrity of the underlying geological strata. A professional patio is not merely a surface; it is a multi-layered system designed to withstand hydrostatic pressure and seasonal freeze-thaw cycles while integrating seamlessly with the surrounding botanical environment.
Materials:

Success begins with the substrate. For the planting pockets surrounding the patio, you require a **friable loam** with a Cation Exchange Capacity (CEC) between **15 and 25 meq/100g**. This ensures the soil can hold and exchange essential cations like potassium and magnesium. The target soil pH should sit between **6.2 and 6.8** to maximize nutrient bioavailability.
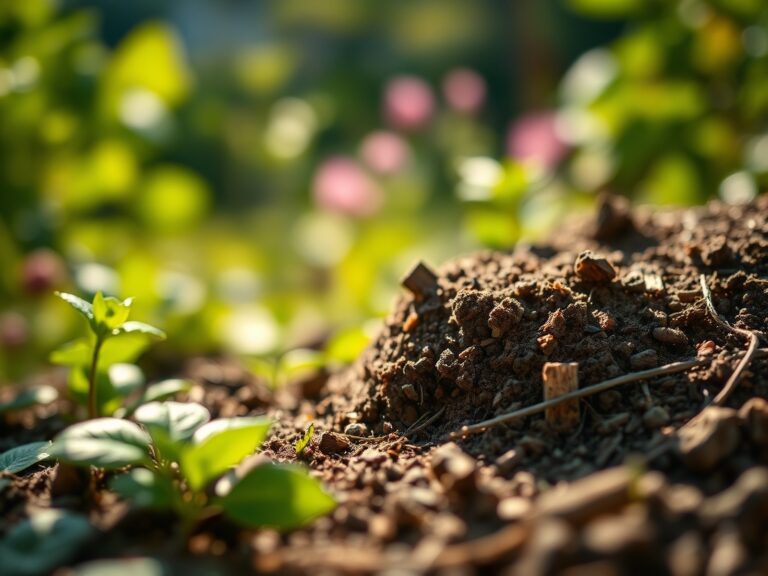
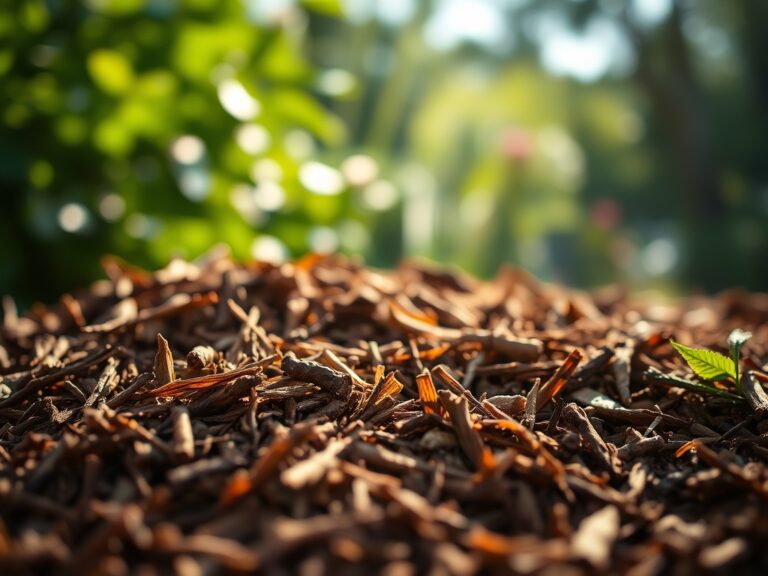
The base layers require specific geological aggregates. You will need CR6 or 21A crushed limestone for the sub-base, providing a stable foundation that allows for vertical drainage. The bedding layer should consist of coarse washed concrete sand, which provides a leveling medium that does not shift under load. For the surrounding vegetation, incorporate a slow-release organic fertilizer with an NPK ratio of 5-10-5 to encourage root development without forcing excessive, weak vegetative growth.
Timing:
In USDA Hardiness Zones 5 through 7, the window for patio construction opens after the final spring frost and closes four weeks before the first autumn frost. This timing respects the biological clock of the surrounding flora. Most temperate perennials transition from vegetative growth to reproductive stages as the photoperiod shifts. Excavating during the peak of summer can induce high transpiration rates and moisture stress in nearby specimen trees. Aim for a soil moisture level where a squeezed handful of earth crumbles under light pressure; if it smears, the clay content is too wet for compaction, which will lead to anaerobic conditions in the soil profile.
Phases:

Sowing the Foundation
The first of the steps for building a garden patio involves excavation to a depth of 8 to 10 inches. This removes the organic O-horizon and exposes the more stable B-horizon subsoil. Ensure a 2 percent slope away from any permanent structures to prevent water accumulation.
Pro-Tip: Maintaining a consistent slope prevents localized hypoxia in the roots of adjacent plants. Excess water displaces oxygen in the soil pores, halting cellular respiration and leading to root rot.
Transplanting and Integration
When placing large pavers or stones, leave designated gaps for "steppable" groundcovers like Thymus praecox. When transplanting these into the patio margins, ensure the root ball is set 0.5 inches above the surrounding soil grade to account for future settling. Use a hori-hori knife to tease out circling roots, ensuring they can interface with the new soil chemistry.
Pro-Tip: Manipulating the roots triggers a hormonal response. By severing the tips of circling roots, you suppress apical dominance in the root system and stimulate the production of lateral roots through auxin redistribution.
Establishing the Microclimate
Once the stones are set and the polymeric sand is swept into the joints, the patio becomes a thermal mass. It will absorb solar radiation during the day and release it at night. This can extend the growing season for nearby plants but also increases the rate of evaporation.
Pro-Tip: Use mulch in the transition zones to foster mycorrhizal symbiosis. These beneficial fungi extend the reach of plant roots, allowing them to scavenge for phosphorus and water more effectively in the compacted zones near the patio edge.
The Clinic:
Physiological disorders often manifest shortly after heavy construction due to soil compaction or pH shifts.
Symptom: Interveinal chlorosis (yellowing leaves with green veins) in new growth.
Solution: This indicates a lack of iron or manganese, often caused by high pH levels from leaching concrete or mortar. Apply chelated iron and acidify the soil with elemental sulfur to bring the pH back below 7.0.
Symptom: Marginal leaf burn or necrosis.
Solution: This is often a sign of "drought stress" caused by root severance during excavation. Increase irrigation frequency and apply a seaweed-based biostimulant to encourage rapid root regeneration.
Symptom: Stunted growth and purplish tint on older foliage.
Solution: This is a classic Phosphorus deficiency. Phosphorus is immobile in the soil. If roots were damaged during patio installation, the plant cannot reach the nutrient. Use a high-phosphorus "starter" fertilizer (NPK 10-52-10) to bridge the gap.
Maintenance:
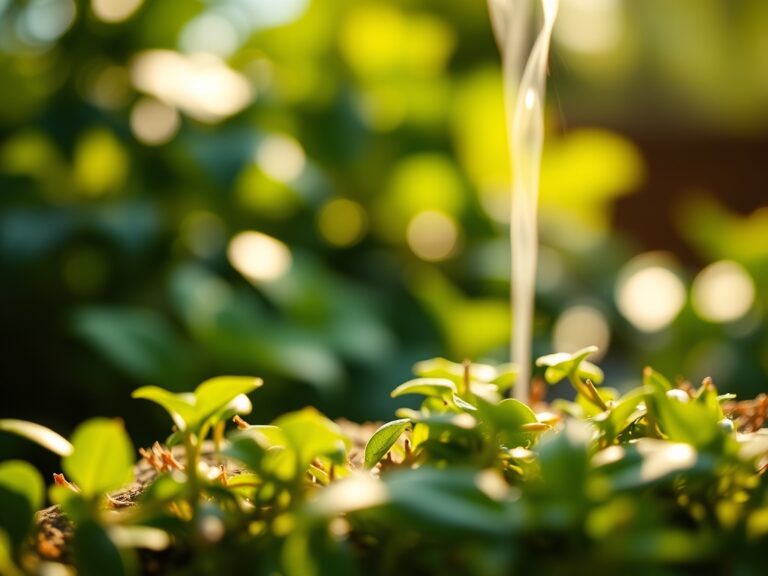
Precision is the hallmark of a professional landscape. Use a soil moisture meter to ensure the ground remains at a consistent 25 to 30 percent moisture content. Provide 1.5 inches of water per week delivered at the drip line of surrounding shrubs; do not spray the foliage, as this increases the risk of fungal pathogens.
For pruning the surrounding screen, use bypass pruners to make clean, slanted cuts just above a lateral bud. This preserves the plant's turgor pressure and prevents the entry of opportunistic insects. Check the patio joints annually. If the polymeric sand has eroded, replenish it to prevent weed seeds from germinating in the nutrient-rich debris that accumulates in the cracks.
The Yield:
If your patio includes integrated herb planters or edible borders, harvest timing is critical for essential oil density. Harvest herbs like rosemary or thyme just before they flower, during the early morning hours when the dew has dried but before the sun triggers the volatilization of aromatic compounds. Use sharp shears to avoid crushing the vascular tissue. For flowers, cut when the buds are in the "colored-pencil" stage; this ensures maximum vase life and maintains the parent plant's energy for subsequent blooms. Immediately submerge the stems in 40-degree Fahrenheit water to slow the rate of senescence.
FAQ:
What is the best base for a patio?
A compacted layer of CR6 or 3/4-inch minus crushed stone provides the best structural integrity. It allows for drainage while preventing the shifting caused by the expansion and contraction of clay-heavy soils.
How deep should I excavate for a stone patio?
Excavate to a total depth of 8 to 12 inches. This allows for 6 inches of compacted gravel base, 1 inch of bedding sand, and the thickness of the stone or paver itself.
How do I prevent weeds between pavers?
Use polymeric sand in the joints. When activated with water, the polymers bind the sand particles together, creating a firm but flexible seal that inhibits seed germination and prevents ant infestations.
Can I build a patio over tree roots?
Avoid excavating within the Critical Root Zone (CRZ), which is typically one foot of radius for every inch of trunk diameter. Cutting large structural roots can lead to tree instability and eventual death.