6 Steps to Install a Modern Landscape Garden Screen
Damp earth releases a sharp, geosmin-heavy scent as the spade breaks the surface tension of a compacted horizon. A healthy leaf maintains high turgor pressure; its cells are rigid with water; providing the structural integrity required to withstand wind shear against a vertical barrier. Mastery of the steps for installing a garden screen requires more than aesthetic placement. It demands a rigorous understanding of soil mechanics and plant physiology to ensure the living or structural partition does not succumb to root rot or mechanical failure. Success depends on the intersection of structural engineering and horticultural science. Every post hole and every root ball must be calibrated to the specific density of the substrate. This guide provides the technical framework to install a screen that survives seasonal expansion and contraction while fostering a robust rhizosphere. Precision in the early stages prevents physiological stress that leads to premature senescence.
Materials:
The foundation of any living screen is the substrate. For woody perennials or dense hedging, the soil must be a **friable loam** with a Cation Exchange Capacity (CEC) between **15 and 25 meq/100g**. This ensures the soil can hold and exchange essential cations like Calcium and Magnesium. The ideal soil pH for a mixed-species screen sits between **6.0 and 6.8**. If the pH drops below 5.5, aluminum toxicity becomes a risk; if it rises above 7.5, iron becomes insoluble, leading to interveinal chlorosis.
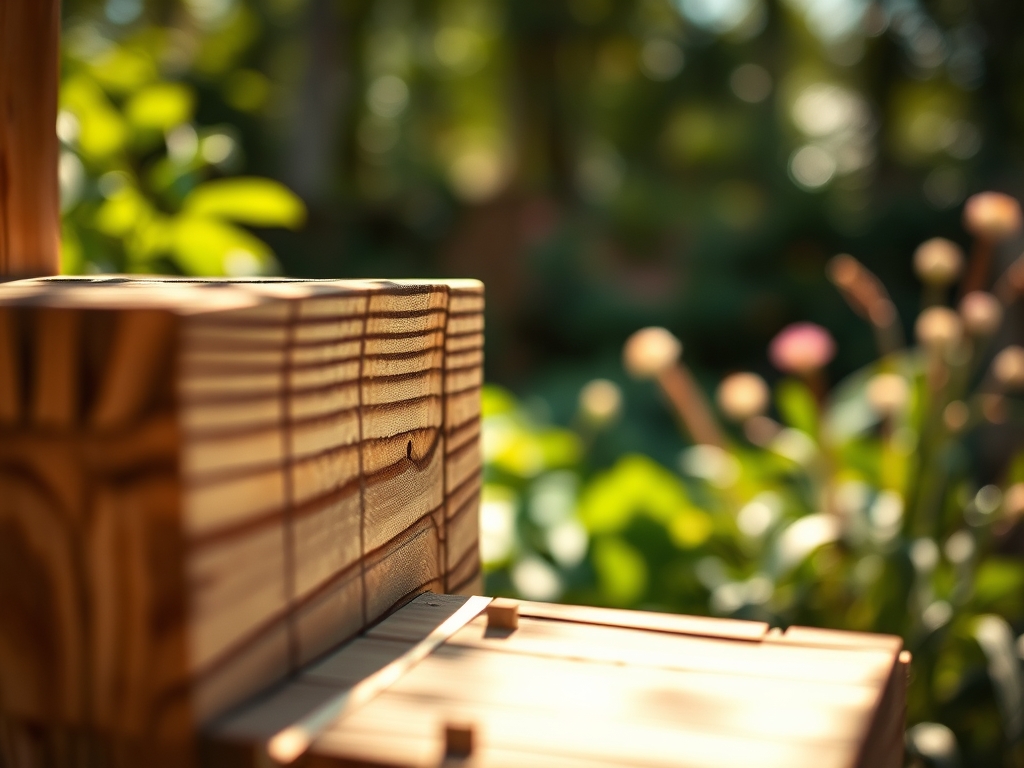
Nutrient requirements during the installation phase should focus on root development rather than rapid foliar extension. Utilize a fertilizer with an NPK ratio of 10-20-10. The high phosphorus content supports ATP production and cellular division in the root meristems. Avoid high nitrogen (N) inputs during the first 60 days to prevent lanky, weak growth that lacks the structural lignin to support its own weight. For the physical structure, use pressure-treated 4×4 posts or galvanized steel frames. If using timber, ensure it is rated for ground contact to prevent fungal decay from the Basidiomycota phylum.
Timing:
Installation windows are dictated by USDA Hardiness Zones and the biological clock of the chosen species. In Zones 5 through 7, the primary installation window occurs during the dormant season or early spring, at least six weeks before the last frost date. This allows roots to establish in soil temperatures between 45 and 55 degrees Fahrenheit before the plant enters its high-transpiration vegetative stage.
The biological clock of a screen plant transitions from dormancy to the vegetative stage as photoperiods lengthen. Installing during this transition leverages the plant's natural surge in auxin production, which stimulates root elongation. If you are installing a non-living screen, timing is less about biology and more about soil moisture. Avoid digging when the soil is saturated; this causes compaction and destroys the macropores necessary for oxygen diffusion to the roots of surrounding flora.
Phases:

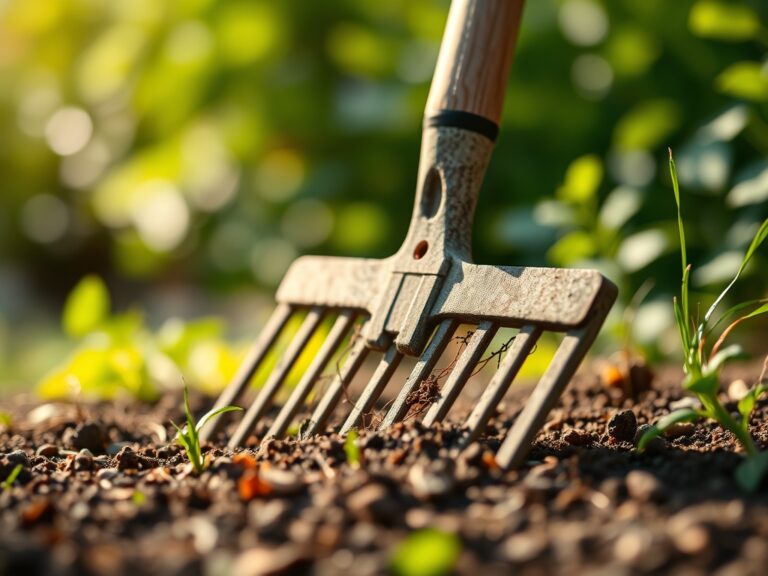
Sowing and Site Preparation
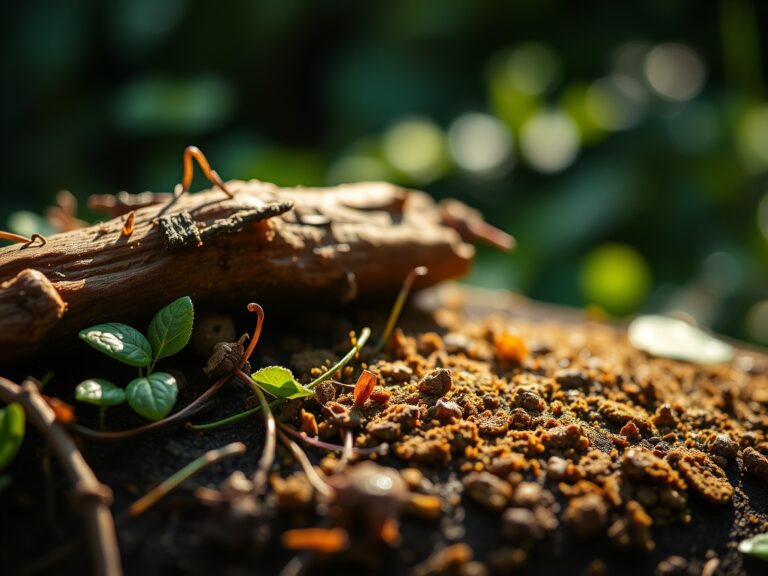
Clear the installation line of all competitive vegetation. Excavate a trench or post holes to a depth of at least 24 to 36 inches, depending on the frost line in your region. For a living screen, the planting hole must be twice as wide as the root ball to allow for lateral root expansion into uncompacted soil. Incorporate organic matter to improve the water-holding capacity of sandy soils or the drainage of heavy clays.
Pro-Tip: Ensure the soil remains aerated to support mycorrhizal symbiosis. These beneficial fungi extend the root system's reach; increasing the uptake of phosphorus and water by a factor of ten.
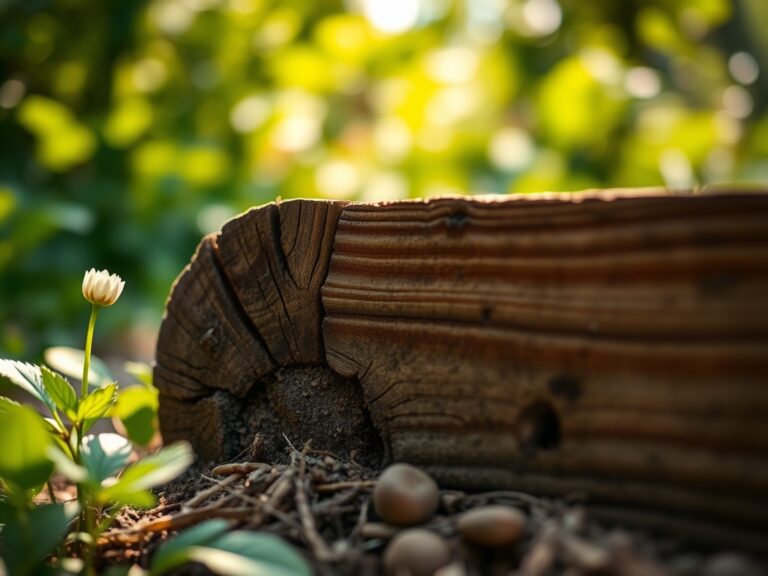
Transplanting and Anchoring
When placing the plant or post, verticality is non-negotiable. Use a level to ensure a 90-degree angle relative to the horizon. For living screens, ensure the root flare (the point where roots join the stem) is at or slightly above the soil grade. Burying the flare leads to stem suffocation and opportunistic fungal infections. Backfill with the native soil modified by your NPK amendments; tamping down firmly to eliminate air pockets without crushing the soil structure.
Pro-Tip: Use a hori-hori knife to score the sides of a pot-bound root ball. This breaks the circular growth pattern and triggers apical dominance in the root tips; forcing them to grow outward into the new substrate.
Establishing the Screen
Once the physical structure is set, the establishment phase begins. This is the period where the plant or structure settles into its environment. For living screens, this requires consistent moisture to maintain cell turgor. For hardscape screens, check the tension of wires or the stability of panels after the first heavy rain or wind event.
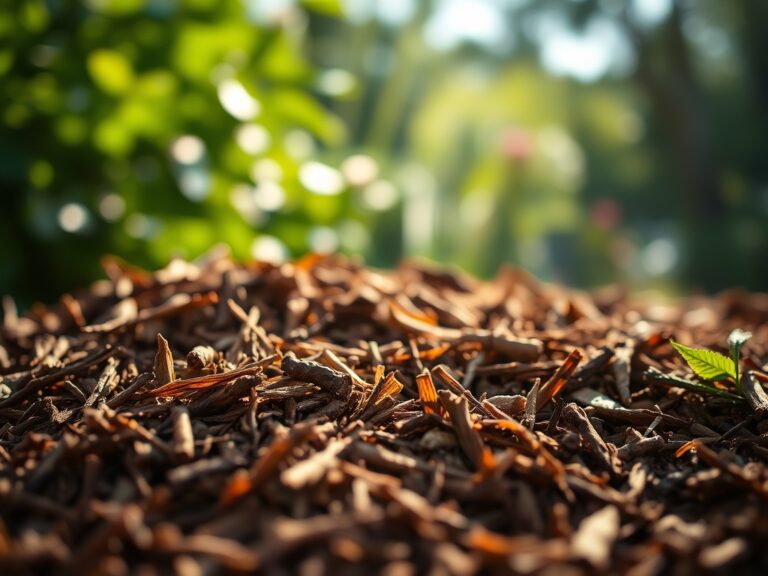
Pro-Tip: Apply a 3-inch layer of organic mulch (such as arborist wood chips) around the base. This regulates soil temperature and prevents phototropism from causing uneven growth in the lower canopy by reducing light reflection from the bare ground.
The Clinic:
Physiological disorders often mimic disease but are usually the result of environmental stress or nutrient imbalances.
-
Symptom: Yellowing of older leaves while veins remain green.
-
Solution: This is Magnesium deficiency. Apply Epsom salts (Magnesium Sulfate) at a rate of 1 tablespoon per gallon of water to restore chlorophyll production.
-
Symptom: Leaf margins appear scorched or "burnt" on the edges.
-
Solution: This indicates Potassium deficiency or salt buildup. Flush the rhizosphere with clean water and apply a 0-0-50 sulfate of potash amendment.
-
Symptom: New growth is stunted, twisted, or pale.
-
Solution: This suggests Calcium deficiency or erratic watering. Maintain consistent moisture levels to ensure the steady flow of Calcium through the xylem.
Fix-It: Nitrogen Chlorosis
If the entire plant turns a uniform pale green or yellow, it is likely Nitrogen chlorosis. Apply a quick-release blood meal or urea-based fertilizer to boost vegetative growth. Ensure the soil temperature is above 55 degrees Fahrenheit for the nitrogen to be microbially processed and available for uptake.
Maintenance:
A garden screen is a dynamic system requiring precise inputs. Deliver 1.5 inches of water per week directly at the drip line. Use a soil moisture meter to verify that the moisture has penetrated at least 8 inches deep. Shallow watering leads to surface rooting, which makes the screen vulnerable to drought and wind-throw.
Pruning should be performed with bypass pruners to ensure clean cuts that heal quickly. For living screens, prune to maintain a "tapered" shape where the base is wider than the top. This ensures light reaches the lower branches; preventing bottom-up senescence. Use a hori-hori knife for weeding around the base to avoid damaging the shallow feeder roots.
The Yield:
For screens utilizing flowering species like Hydrangea paniculata or Prunus laurocerasus, harvest timing is critical for floral density. Prune immediately after the flowering cycle to encourage the development of new wood for the following season. If the screen includes edible components like Laurus nobilis (Bay Laurel), harvest leaves in the early morning when essential oil concentration is at its peak. Handle all harvested material with care to avoid bruising the cell walls; which leads to rapid oxidation and loss of potency.
FAQ:
How deep should I set the posts for a garden screen?
Set posts at a depth of at least one-third of their total height. In cold climates, the post base must sit 6 inches below the frost line to prevent heaving caused by freeze-thaw cycles in the soil.
What is the best NPK ratio for a new living screen?
Use a 10-20-10 ratio. High phosphorus (the middle number) is essential for ATP production and vigorous root establishment. Avoid high nitrogen until the second growing season to ensure the plant develops strong structural lignin.
How do I prevent my wooden screen from rotting?
Ensure all wood is pressure-treated for ground contact. Use a gravel base in the post hole to facilitate drainage away from the timber. Apply a UV-rated sealant to prevent moisture from penetrating the wood fibers.
Why are the bottom leaves of my hedge falling off?
This is usually caused by shading or lack of airflow. Prune the top of the screen narrower than the bottom to allow light to reach the lower foliage. This prevents the plant from triggering senescence in its lower branches.