7 Humidity Steps to Install a Vegetable Garden Fountain
The cool mist rising from a fountain basin settles on tomato leaves at dawn, creating microclimates that reduce transplant shock and regulate leaf temperature during heat stress. Steps for installing a vegetable garden fountain require attention to water circulation, pump capacity measured in gallons per hour, and the interaction between humidity zones and crop transpiration rates. A properly positioned fountain raises ambient moisture by 12-18% within a 10-foot radius while attracting beneficial insects that require standing water for reproduction.
Materials
Fountain Components
- Submersible pump (200-400 GPH capacity)
- Food-grade reservoir liner (HDPE or pond-safe rubber)
- River stone (1-3 inch diameter for biological filtration)
- Copper or stainless steel fountain head (prevents algae via ion release)
Soil Amendments for Perimeter Planting
- Worm castings (1-0-0 NPK, pH 6.5-7.0) at 2 pounds per square foot
- Alfalfa meal (3-1-2 NPK) at 5 pounds per 100 square feet for nitrogen release
- Rock phosphate (0-3-0) to buffer pH between 6.2-6.8
- Mycorrhizal inoculant containing Glomus intraradices at 0.2 ounces per transplant hole
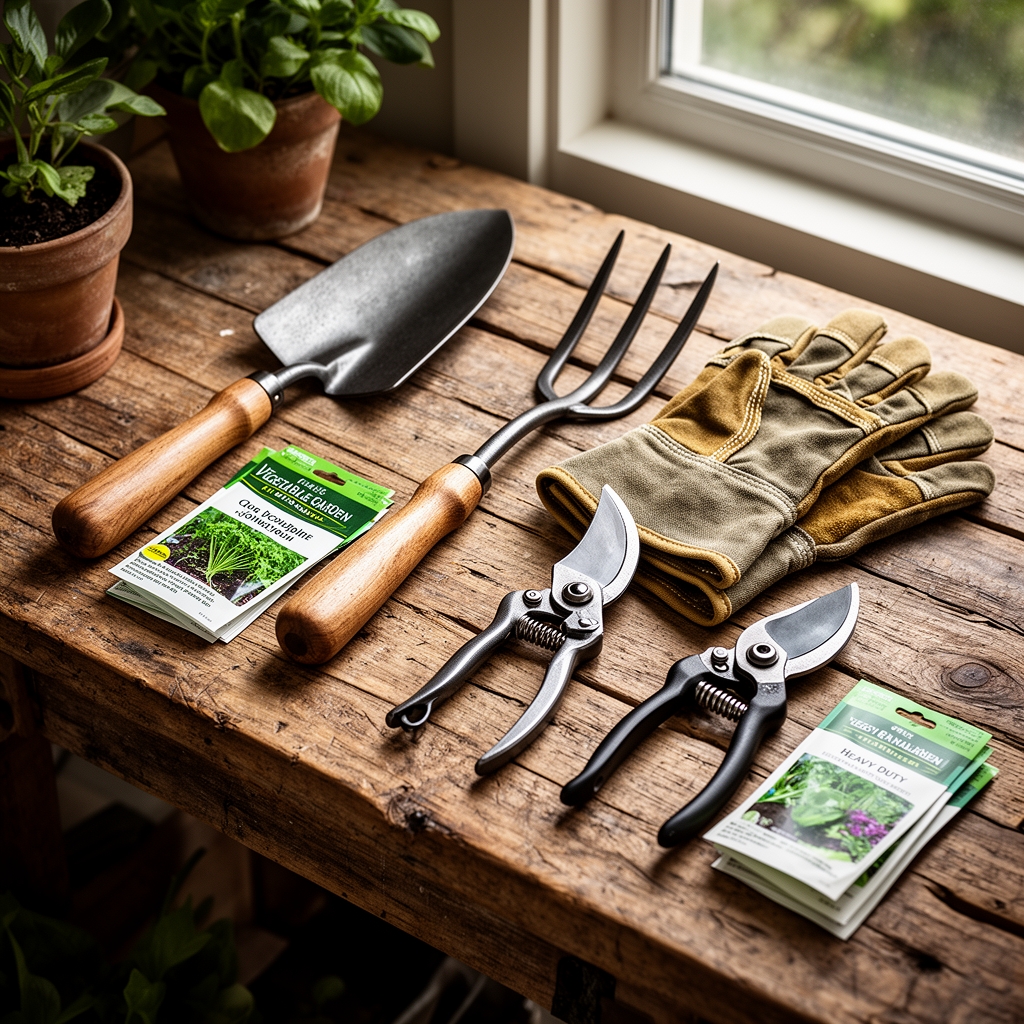
Construction Tools
- pH meter calibrated to 0.1 units
- Spade with 45-degree cutting angle
- GFCI outlet within 6 feet of installation site
- Bubble level for grade verification
Timing
Install fountains 3-4 weeks before last frost date in Zones 3-6, immediately after soil reaches 50°F at 4-inch depth. In Zones 7-9, autumn installation (September 15-October 30) allows establishment before winter brassicas require elevated humidity. Zone 10-11 gardeners should install during dry season onset to counteract low ambient moisture that causes blossom-end rot in peppers and tomatoes.
Coordinate fountain activation with transplant schedules. Begin circulation 7 days before setting out seedlings to stabilize water temperature and establish beneficial bacteria colonies in filter stone. Shut down systems when nighttime temperatures drop below 38°F to prevent pump damage and ice heaving of reservoir walls.
Phases
Phase 1: Excavation and Base Preparation
Dig a reservoir 18 inches deep and 24 inches in diameter. Remove rocks larger than 1 inch to prevent liner puncture. Compact base soil to 85% density using a hand tamper. Spread 2 inches of masonry sand as cushion layer. Test grade with bubble level. Slopes exceeding 2 degrees cause pump cavitation and uneven water distribution.
Pro-Tip: Line the excavation with hardware cloth (1/4-inch mesh) before installing the reservoir liner. This prevents vole tunneling that causes catastrophic drainage and eliminates 90% of root intrusion from perimeter willows or bamboo.

Phase 2: Pump Installation and Water Chemistry
Position the submersible pump on a brick pedestal 3 inches above reservoir floor. This elevation prevents sediment intake and extends motor life by 40%. Run electrical conduit through PVC sleeve to maintain code compliance. Fill reservoir with non-chlorinated water or age tap water for 48 hours to allow chloramine dissipation that otherwise inhibits nitrifying bacteria.
Add 1 tablespoon of molasses per 10 gallons to accelerate bacterial colonization. Target dissolved oxygen above 6 ppm using an aquarium test kit. Low oxygen levels trigger anaerobic decomposition that produces hydrogen sulfide, toxic to root systems within 8 feet of the fountain.
Pro-Tip: Introduce 6-8 mosquitofish (Gambusia affinis) or Bacillus thuringiensis israelensis dunks to eliminate mosquito larvae. Avoid goldfish, which excrete ammonia that volatilizes and burns lettuce leaf margins when humidity reaches 80%.
Phase 3: Perimeter Planting and Moisture Gradient Mapping
Create three concentric zones. Inner ring (0-3 feet): moisture-loving crops like celery, chard, and Asian greens requiring 70-85% relative humidity. Middle ring (3-6 feet): standard vegetables including tomatoes, beans, and summer squash thriving at 60-70%. Outer ring (6-10 feet): drought-adapted herbs like rosemary and sage preferring 40-50%.
Amend each zone according to water retention needs. Inner ring receives 30% compost by volume (cation exchange capacity 40-60 meq/100g). Outer ring incorporates coarse perlite at 20% to accelerate drainage and prevent root rot when fountain mist drifts beyond optimal range.
Pro-Tip: Install a max-min hygrometer at lettuce canopy height (8 inches) to track humidity fluctuations. Maintain readings between 65-75% during head formation. Levels exceeding 80% trigger tipburn via disrupted calcium transport through xylem tissue.
Troubleshooting
Symptom: White powdery residue on leaves within 4 feet of fountain
Solution: Hard water mineral deposition. Install inline sediment filter or switch to rainwater collection. Calcium carbonate accumulation above 200 ppm clogs stomata and reduces photosynthetic efficiency by 15%.
Symptom: Algae bloom in reservoir within 10 days
Solution: Excess light exposure. Position fountain in partial shade (4-6 hours direct sun maximum). Add barley straw at 1 ounce per 10 gallons. Decomposing straw releases hydrogen peroxide that suppresses algae without harming fish or plant roots.
Symptom: Pump cycling on/off every 30 seconds
Solution: Low water level triggering thermal shutoff. Maintain reservoir 2 inches below overflow. Evaporation rates reach 0.5 inches daily during 90°F+ temperatures. Check levels every 48 hours in summer.
Symptom: Leaf edema on tomatoes nearest fountain
Solution: Excessive nighttime humidity (above 90%) prevents transpiration. Run pump on timer: 6 AM-10 AM and 4 PM-8 PM only. Continuous operation in humid climates creates conditions favorable for Phytophthora infestans (late blight).
Symptom: Stunted root development in perimeter crops
Solution: Waterlogged soil from over-spray. Redirect fountain head to vertical flow pattern. Install French drain 12 inches deep around outer planting zone to capture excess runoff.
Maintenance
Refill reservoir weekly, adding 5-8 gallons depending on evaporation and fountain flow rate. Clean pump intake screen every 14 days by removing debris with a soft brush. Replace 25% of reservoir water monthly to prevent mineral concentration that raises electrical conductivity above 1.2 mS/cm.
Apply compost tea (1:10 dilution) to perimeter plantings every 21 days at 1 quart per plant. This replenishes beneficial bacteria populations that process organic matter and suppress soil-borne pathogens. Disassemble and vinegar-soak fountain head quarterly to dissolve calcium deposits that restrict flow and create uneven spray patterns.
Monitor soil moisture at 6-inch depth using a tensiometer. Maintain readings between 20-30 centibars for fruiting vegetables, 10-20 centibars for leafy greens. Fountains supplement but do not replace targeted irrigation. Root zones extending beyond humidity influence require drip lines delivering 1 inch of water weekly during active growth.
FAQ
How close can I plant tomatoes to a fountain?
Maintain 4-foot minimum spacing. Closer placement raises foliar humidity above 75%, creating ideal conditions for fungal diseases. Indeterminate varieties require 5-foot spacing due to larger canopy volume that traps moisture.
What fountain size suits a 100-square-foot garden?
A 200 GPH pump in a 15-gallon reservoir serves areas up to 120 square feet. Larger installations (200+ square feet) require 400 GPH capacity or multiple smaller units positioned 12-15 feet apart for overlapping humidity zones.
Can I add fertilizer directly to fountain water?
Never add nutrients to circulating water. Algae blooms accelerate exponentially with nitrogen above 5 ppm. Spray-borne salts accumulate on leaves, causing phytotoxicity. Apply fertilizers as soil drenches or foliar sprays separate from fountain operation.
Do fountains attract pests?
Properly maintained systems with moving water and biological controls (mosquitofish or BTI) do not increase pest pressure. Stagnant water breeds mosquitoes within 7 days. Check pump operation daily and skim floating debris that provides egg-laying habitat.
Should I winterize my fountain?
In Zones 6 and colder, drain completely before first hard freeze. Remove pump for indoor storage. Fill empty reservoir with leaves or straw bales to prevent soil heaving. In Zones 7-9, reduce operation to 2 hours daily. Zone 10+ fountains run year-round with monthly maintenance.