6 Steps to Prepare a Dedicated Desert Cactus Shelf
The smell of pulverized pumice and dry mineral dust marks the beginning of a professional indoor desert environment. Success in arid horticulture depends on managing turgor pressure within the plant parenchyma; if the cellular walls lose rigidity, the specimen collapses. Learning how to prepare a plant shelf for cacti requires a shift from standard gardening to structural engineering and light physics. You are not merely placing pots on a board; you are constructing a microclimate that mimics the high-UV, low-moisture conditions of the Sonoran or Chihuahuan deserts. Failure to calibrate light intensity or substrate drainage results in rapid root senescence. By focusing on the structural integrity of the shelving unit and the chemical composition of the rhizosphere, you ensure your collection thrives in a state of controlled stress. This guide provides the technical framework to build a dedicated system that supports long-term succulent health through precise environmental manipulation.
Materials:
The foundation of a desert shelf is the substrate. Forget standard potting soil; you require a friable medium with high macroporosity. The ideal mix consists of **70% inorganic grit** (pumice, perlite, or decomposed granite) and **30% organic matter** (calcined clay or aged pine bark). The target **soil pH must fall between 5.5 and 6.5** to ensure nutrient bioavailability. If the pH exceeds 7.0, iron and phosphorus become locked, leading to stunted growth.
For fertilization, utilize a low-nitrogen formula. A 2-7-7 or 5-10-10 NPK ratio is standard. High nitrogen levels (the first number) cause rapid, weak cellular expansion, which makes the plant susceptible to fungal pathogens. The Cation Exchange Capacity (CEC) of your mix will be low, meaning the substrate does not hold onto nutrients for long. Therefore, a water-soluble fertilizer applied at 25% strength during the active growing season is the most efficient delivery method. Ensure the shelving unit itself is made of powder-coated steel or sealed wood to resist the high humidity of localized watering.
Timing:
Cacti operate on a strict biological clock governed by photoperiod and temperature fluctuations. In Hardiness Zones 8 through 11, many species can remain outdoors until the first frost, but for an indoor shelf, you must simulate these seasonal shifts. The transition from the vegetative stage to the reproductive stage (flowering) is triggered by a period of cool, dry dormancy.
Set your shelf assembly for late winter or early spring, approximately 4 to 6 weeks before the local last frost date. This timing aligns with the plant's natural emergence from dormancy. During this window, increasing the light duration from 8 hours to 12 or 14 hours signals the apical meristem to begin new growth. If you initiate this process too early without sufficient light intensity, the plants will suffer from etiolation, a permanent stretching of the stem that weakens the vascular system.
Phases:
Sowing and Propagation
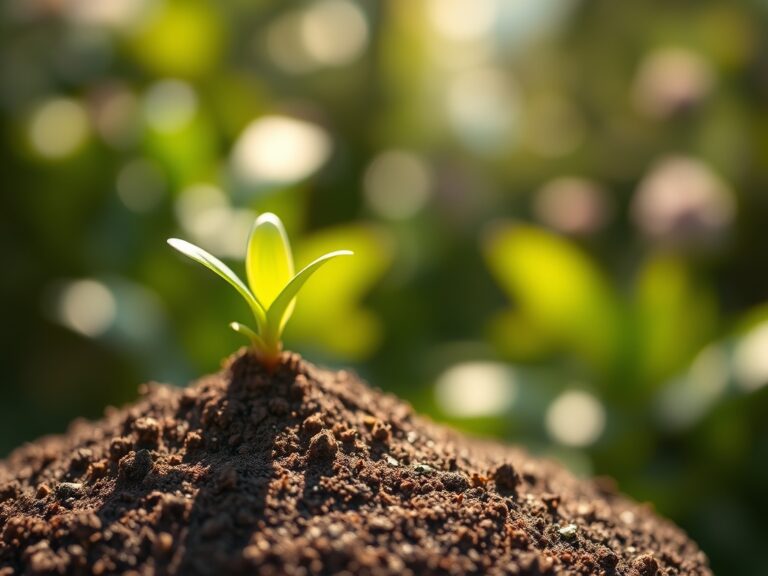
When starting from seed, use a sterile, fine-grade mineral mix. Maintain a consistent temperature of 70 to 80 degrees Fahrenheit. Place the seeds on the surface; many desert species are photoblastic and require light to break dormancy. Cover the tray with a clear humidity dome to prevent the desiccation of the emerging radicle.
Pro-Tip: Maintain high humidity only during germination. Once the first spines (areoles) appear, decrease humidity to prevent "damping off," a fungal infection. This transition is critical because it forces the seedling to develop a thicker cuticle to manage its own internal water storage.
Transplanting and Potting
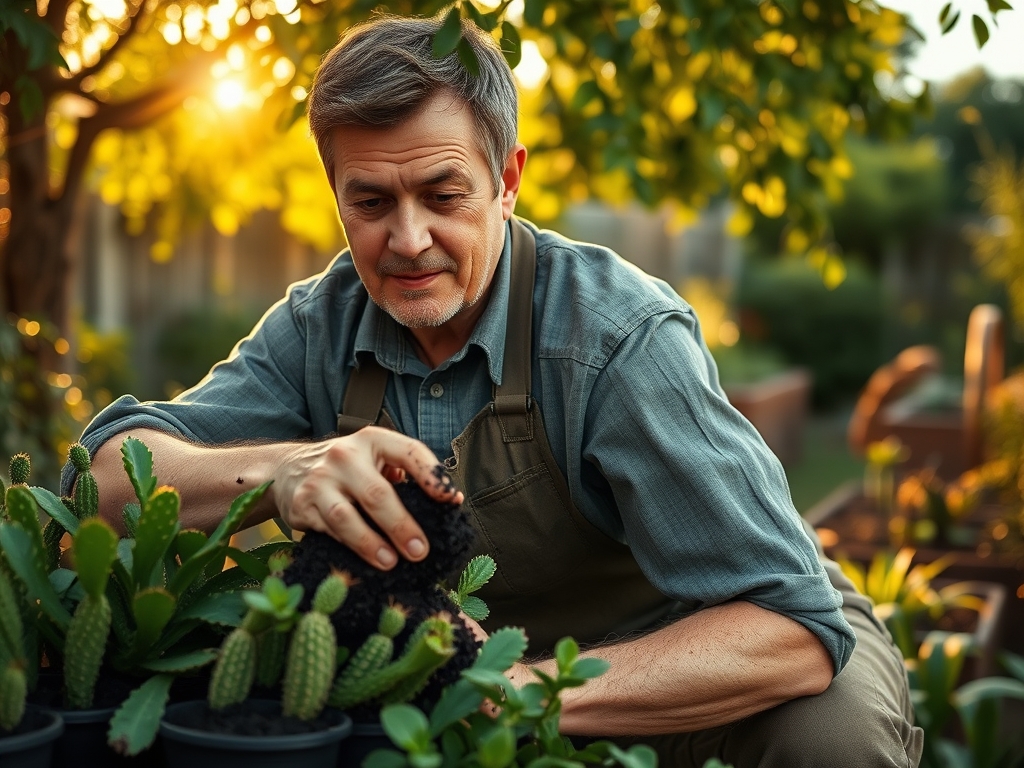
Select unglazed terracotta containers for your shelf. Terracotta is porous, allowing for gas exchange and lateral evaporation of moisture from the root zone. When moving a plant, inspect the roots for a healthy, white appearance. Use a hori-hori knife to gently tease out any pot-bound roots. Position the plant so the root neck sits exactly at the soil line; burying it deeper leads to basal rot.
Pro-Tip: Do not water for 5 to 7 days after transplanting. This allows any micro-fractures in the root system to callus over. Watering immediately can introduce soil-borne pathogens into open "wounds" before the plant can deploy its natural chemical defenses.
Establishing the Shelf Environment
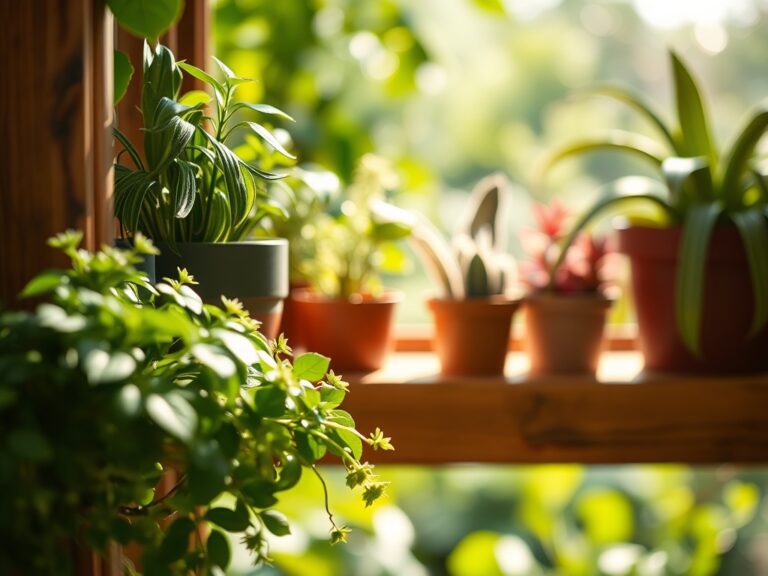
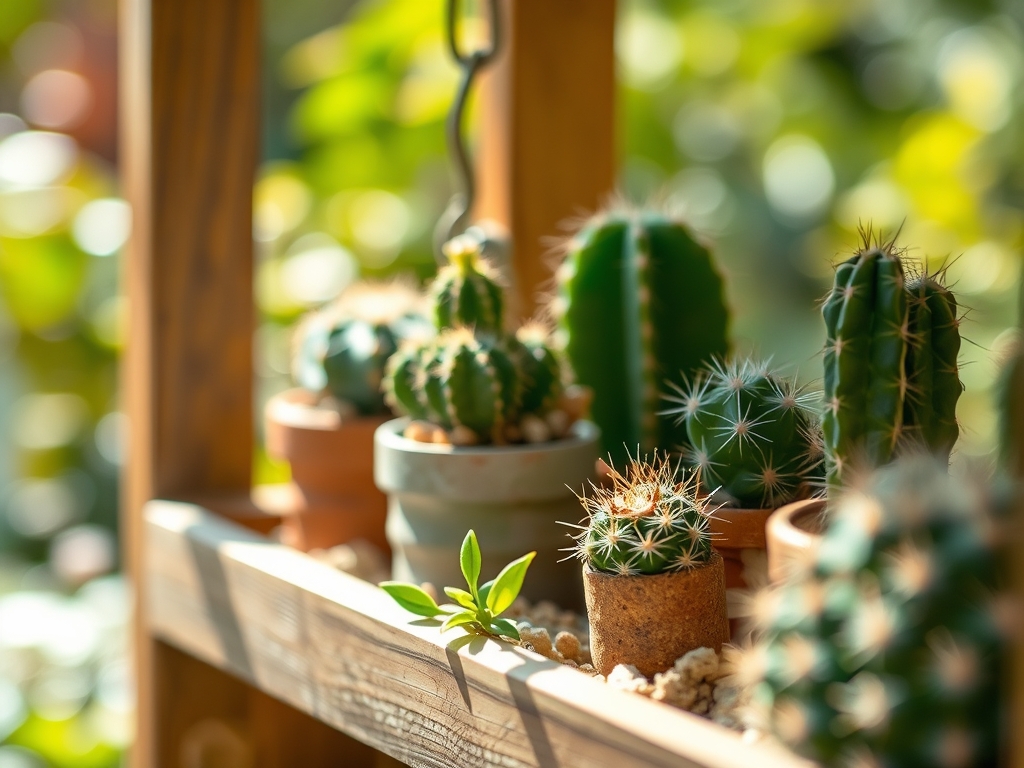
Once potted, organize the shelf by light requirements. Place South American species like Gymnocalycium on lower, slightly shaded shelves, while North American desert species like Ferocactus require the highest intensity light at the top. Use full-spectrum LED bars that provide at least 15,000 to 25,000 lux at the plant canopy.
Pro-Tip: Utilize a small oscillating fan to provide constant airflow. This mimics desert winds and strengthens the plant's structural tissues through a process called thigmomorphogenesis. Air movement also prevents the buildup of stagnant, humid air pockets that harbor pests.
The Clinic:
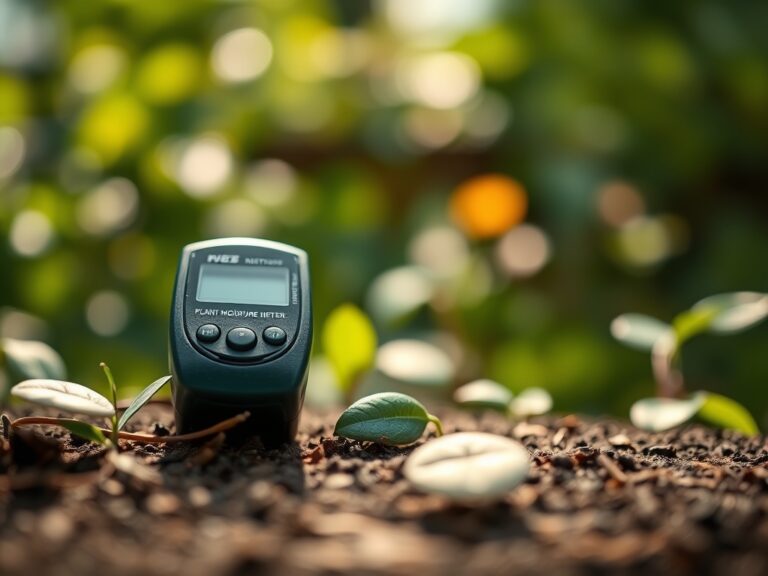
Monitoring physiological disorders is a daily task. Use a soil moisture meter to verify the core temperature and moisture levels before intervention.
- Symptom: Etiolation (Pale, stretched growth).
- Solution: Increase light intensity or duration. This is a permanent structural deformity; the only fix is to "behead" the plant and restart the top as a cutting once lighting is corrected.
- Symptom: Soft, brown lesions at the base.
- Solution: This indicates Phytophthora or other rot pathogens. Immediately remove the plant from the shelf to prevent spore spread. If the apex is still firm, cut above the rot, callus the wound, and re-root.
- Symptom: Reddish or purple skin tint.
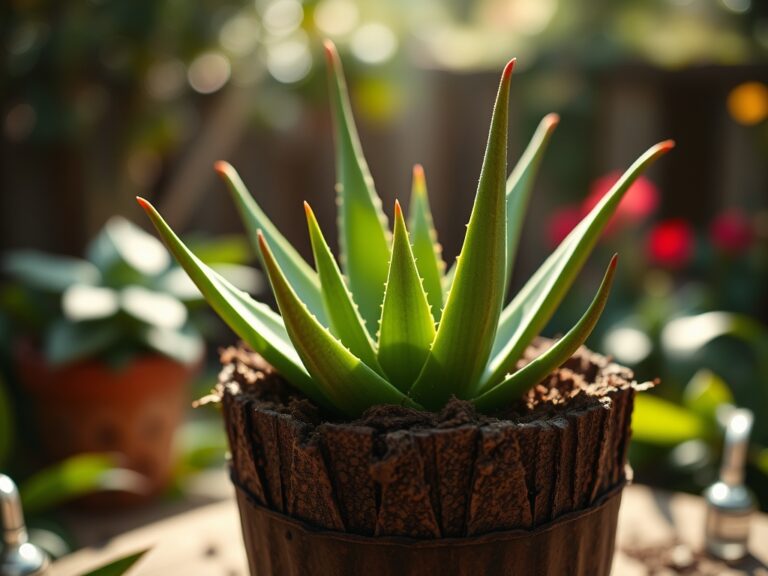
- Solution: This is often "sun stress," a production of anthocyanins to protect the plant from excessive UV. If the plant is not shriveling, it is a normal physiological response. If it softens, move it to a lower shelf.
Fix-It for Nutrient Deficiencies:
- Nitrogen Chlorosis: Yellowing of older tissues. Apply a balanced fertilizer at half-strength.
- Magnesium Deficiency: Interveinal yellowing. Apply a solution of 1 tablespoon of Epsom salts per gallon of water during the next scheduled watering.
Maintenance:
Precision watering is the cornerstone of maintenance. During the active growth phase (April to September), water until the liquid drains freely from the bottom of the pots. Do not water again until the substrate is 100% dry as measured by a probe. Most indoor cacti require water only once every 14 to 21 days.
Use bypass pruners to remove spent blooms or dead fruit to prevent botrytis. Every six months, wipe the dust off the plant epidermis using a soft brush; dust blocks the stomata and reduces photosynthetic efficiency. Check the light height regularly; as plants grow, they may get too close to the heat source, causing localized tissue scorching.
The Yield:
For those growing fruiting species like Opuntia or Hylocereus, harvest timing is determined by color change and "give" when squeezed gently. Use tongs to avoid glochids. To maintain "day-one" freshness, store harvested fruit in a cool, dry area at approximately 50 degrees Fahrenheit. Do not wash the fruit until immediately before consumption, as moisture on the skin accelerates fungal decay.
FAQ:
How much light do cacti need on a shelf?
Most desert cacti require 12 to 14 hours of high-intensity light daily. Aim for 20,000 lux or more using full-spectrum LEDs. Lack of sufficient light leads to etiolation, where the plant stretches and weakens significantly.
What is the best soil for a cactus shelf?
Use a highly porous, mineral-heavy mix. A ratio of 70% grit (pumice or granite) and 30% organic matter is ideal. This ensures a high oxygen environment for the rhizosphere and prevents waterlogged roots.
How often should I water indoor cacti?
Water only when the substrate is completely dry from top to bottom. Depending on humidity and airflow, this usually occurs every 2 to 3 weeks. Always use pots with drainage holes to prevent standing water.
Why is my cactus turning yellow?
Yellowing, or chlorosis, often indicates overwatering or nutrient deficiency. Check the soil moisture first. If the soil is dry, the plant likely needs a low-nitrogen fertilizer to replenish essential minerals like iron or magnesium.