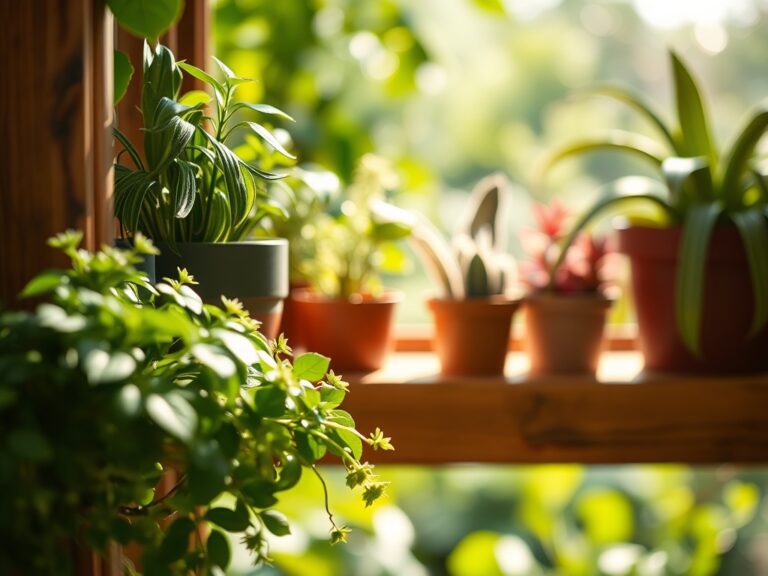
9 Best Watering Cans for Indoor Plant Maintenance
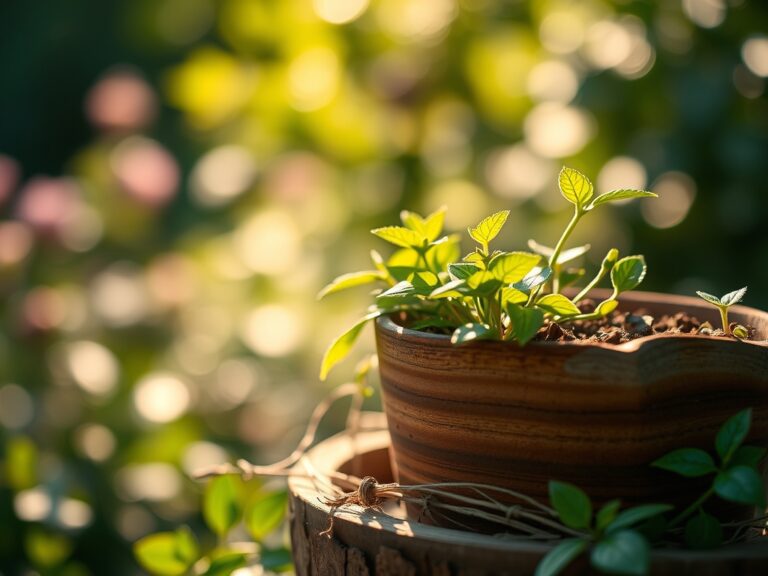
The scent of damp earth rising from a terracotta pot signals a successful gas exchange within the rhizosphere. When a leaf maintains high turgor pressure, the plant functions at peak metabolic efficiency; however, achieving this balance requires precision tools. Selecting the best plant watering cans is not a matter of aesthetics but a requirement for hydraulic control. Indoor environments lack the natural precipitation cycles of the outdoors, placing the burden of hydration entirely on the cultivator. A high quality vessel must provide a laminar flow to prevent soil erosion and ensure that moisture reaches the root zone without compacting the substrate. If the flow is too turbulent, it displaces the top layer of organic matter, exposing delicate surface roots to desiccation. Proper irrigation prevents the physiological stress that leads to leaf abscission or stunted growth. For the serious indoor gardener, the watering can is an extension of the hand, designed to deliver exact volumes of water to the base of the plant while keeping the foliage dry to prevent fungal pathogens from colonizing the leaf surface.
Materials:
Indoor plants thrive in a **friable loam** characterized by a mix of peat, perlite, and pine bark. This substrate should maintain a **pH between 5.5 and 6.5** to optimize nutrient availability. In this range, the Cation Exchange Capacity (CEC) allows the plant to efficiently pull ions like ammonium and potassium from the soil solution. When using the best plant watering cans, the goal is to saturate this medium until the **NPK ratio** of 10-10-10 or 20-20-20 is evenly distributed. High-quality metal cans, specifically those made of copper or galvanized steel, offer antimicrobial properties that prevent the buildup of biofilm within the nozzle. Plastic variants must be UV-stabilized to prevent chemical leaching into the water supply. The physical texture of the soil should feel gritty yet spongy; if the water beads on the surface, the medium has become hydrophobic and requires a surfactant or a slow, bottom-watering approach to restore capillary action.
Timing:
Indoor gardening bypasses the traditional constraints of Hardiness Zones, yet the biological clock of the plant remains tethered to the photoperiod. During the transition from vegetative to reproductive stages, water demands shift significantly. In North America, most indoor plants enter a semi-dormant state between November and March when light intensity drops. During this window, irrigation frequency should be reduced by 30 to 50 percent to prevent root rot. Conversely, as the spring equinox approaches, increased metabolic activity triggers higher transpiration rates. You must monitor the soil moisture daily during this transition. Use a soil moisture meter to ensure the root ball does not drop below a 20 percent moisture threshold. Precise timing prevents the plant from reaching its permanent wilting point, a state where the cellular walls collapse and the plant can no longer recover even if water is reintroduced.
Phases:
Sowing
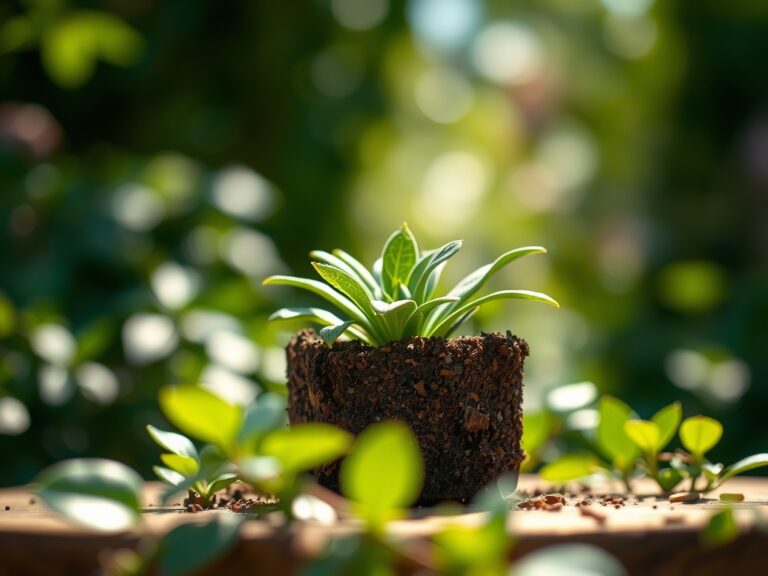
When starting seeds indoors, the force of the water stream is critical. A watering can with a fine-mesh rose attachment provides a gentle mist that does not dislodge seeds from their shallow depth, typically 1/8 to 1/4 inch. Maintaining a consistent temperature of 70 to 75 degrees Fahrenheit in the substrate is essential for enzyme activation.
Pro-Tip: Maintaining high humidity during germination prevents the seed coat from hardening. This is vital because the emerging radicle relies on osmotic pressure to break through the hull, a process governed by the biological principle of imbibition.
Transplanting
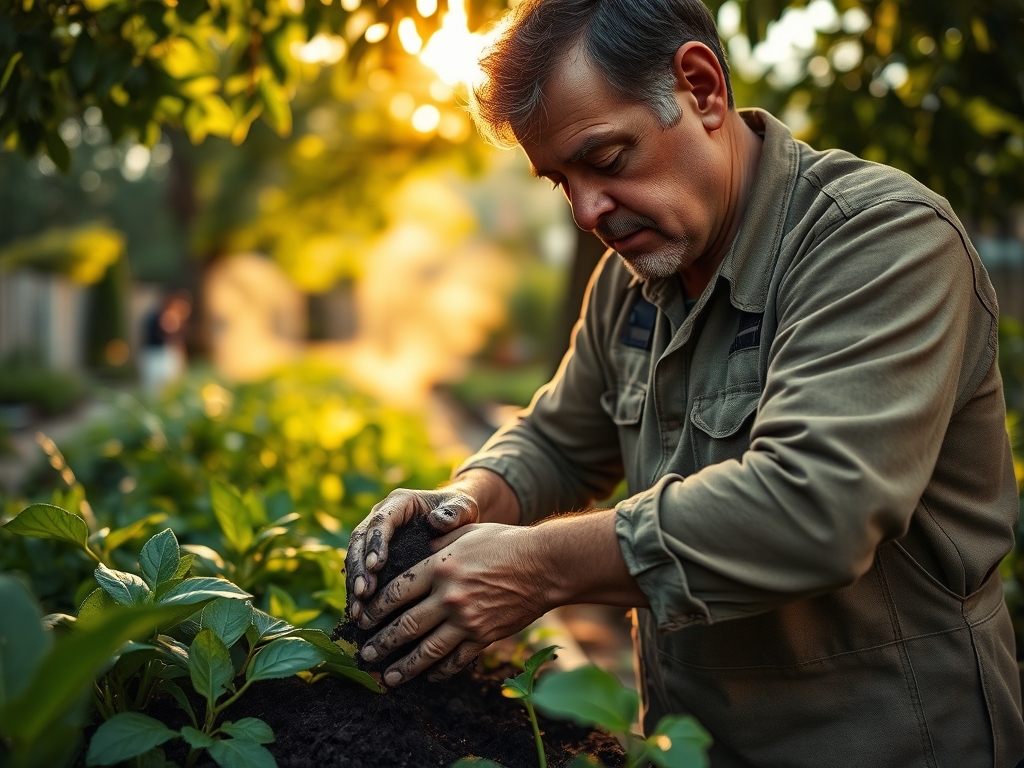
Moving a plant to a larger vessel requires immediate saturation to eliminate air pockets around the root system. Use a long-neck watering can to reach the center of the root mass without disturbing the newly placed soil. Ensure the new container has adequate drainage to prevent anaerobic conditions.
Pro-Tip: Adding a seaweed-based solution during transplanting reduces shock by providing auxins. These hormones suppress the "stress signal" in the plant, encouraging rapid root elongation into the new substrate through gravitropism.
Establishing
An established plant requires deep, infrequent watering to encourage the roots to grow downward. For a standard 10-inch pot, apply approximately 0.5 liters of water until it exits the drainage holes. This flushes out accumulated salts that can raise the soil pH and cause nutrient lockout.
Pro-Tip: Consistent moisture levels support mycorrhizal symbiosis. These beneficial fungi extend the reach of the root system, increasing the surface area for phosphorus absorption by up to 100 times.
The Clinic:
Physiological disorders often mimic pest damage but are usually rooted in irrigation errors.
- Symptom: Edema (small bumps on the underside of leaves). Solution: Reduce watering frequency and increase airflow. This occurs when the plant takes up water faster than it can transpire.
- Symptom: Tip burn or marginal necrosis. Solution: Flush the soil with distilled water. This is often caused by the accumulation of fluoride or chlorine from municipal water sources.
- Symptom: Interveinal chlorosis (yellowing between leaf veins). Fix-It: This indicates a Magnesium deficiency. Apply a solution of 1 tablespoon of Epsom salts per gallon of water to restore chlorophyll production.
- Symptom: Nitrogen chlorosis (general paling of older leaves). Fix-It: Increase the N-component of your fertilizer to a 3-1-2 ratio to boost vegetative vigor.
Maintenance:
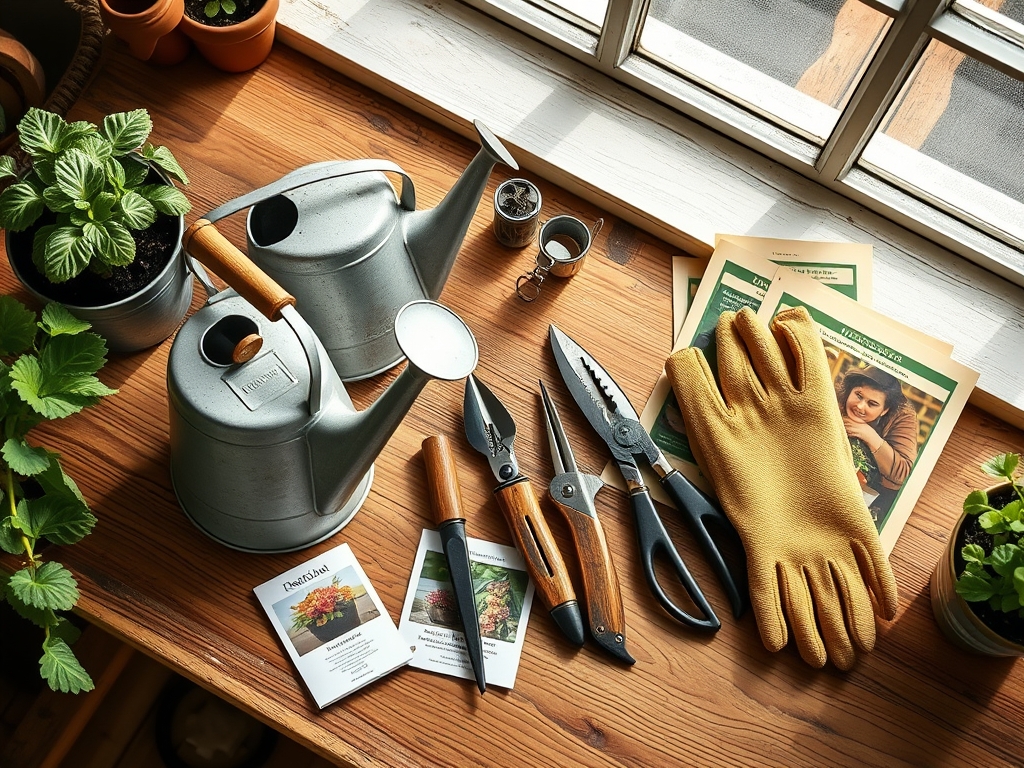
Long-term health requires a disciplined maintenance schedule. Monitor the drip line of your plants; for larger indoor specimens like Fiddle Leaf Figs, ensure the soil receives 1.5 inches of water per week. Use a hori-hori knife to occasionally probe the soil and check for compaction. If the soil has pulled away from the edges of the pot, use your watering can to saturate the gap first, then the center. Every six months, use bypass pruners to remove any necrotic tissue or crossing branches to improve light penetration. Clean the interior of your watering cans with a 10 percent bleach solution annually to kill any lingering pathogens or algae that could be transferred to your collection.
The Yield:
For indoor herbs and flowering plants, harvest timing is dictated by essential oil concentration. For herbs like basil or mint, harvest in the morning when the turgor pressure is highest and the oils are most concentrated. Use sharp snips to make a clean cut above a node to encourage branching. For flowering plants, remove spent blooms (deadheading) to prevent the plant from entering senescence. This redirects energy from seed production back into vegetative growth. Once harvested, place stems immediately in cool, dechlorinated water to maintain "day-one" freshness and prevent the vascular system from sucking in air, which causes premature wilting.
FAQ:
How do I know if I am overwatering?
Check for yellowing lower leaves and a foul odor from the soil. Use a soil moisture meter; if the probe reads in the "wet" zone for more than three days, the plant is at risk of root rot.
Is tap water safe for all indoor plants?
No. Many tropical species are sensitive to chlorine and fluoride. Let tap water sit for 24 hours to allow chlorine to dissipate, or use distilled water for sensitive varieties like Calatheas or Spider Plants.
Why does water sit on top of the soil?
This indicates the soil has become hydrophobic. This happens when peat-based mixes dry out completely. To fix this, submerge the pot in a basin of water for 20 minutes to rehydrate the organic matter.
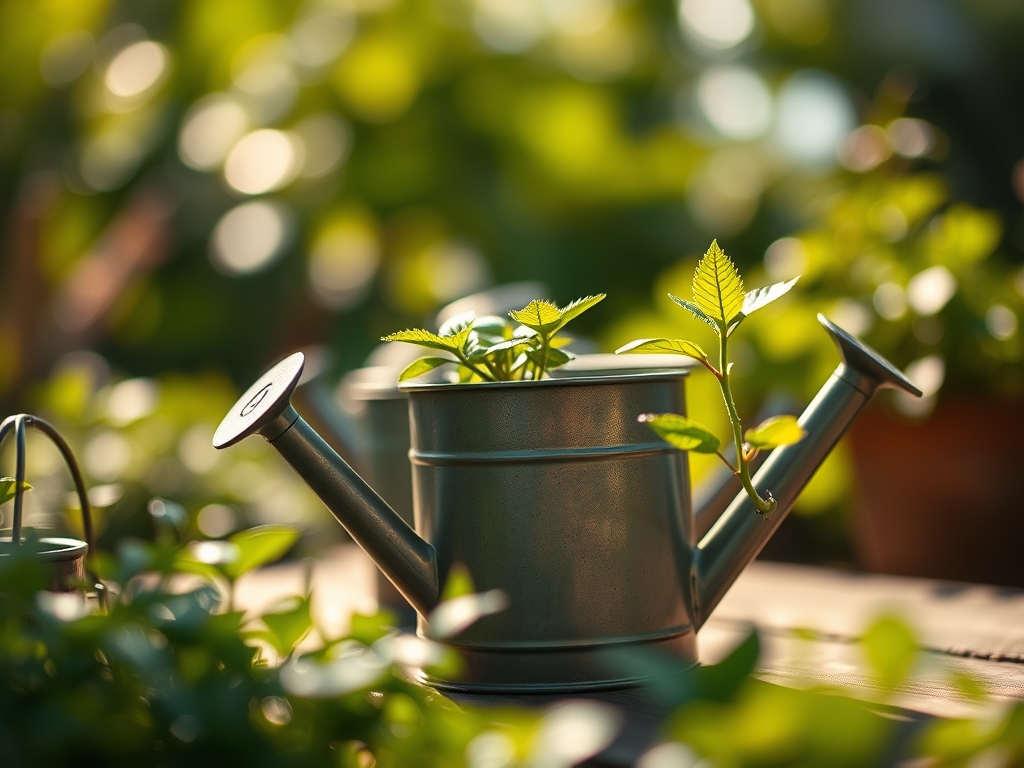
What is the benefit of a long-neck watering can?
A long, narrow spout allows for precise water placement at the base of the plant. This keeps the foliage dry, which is the best way to prevent the spread of powdery mildew and other fungal spores.