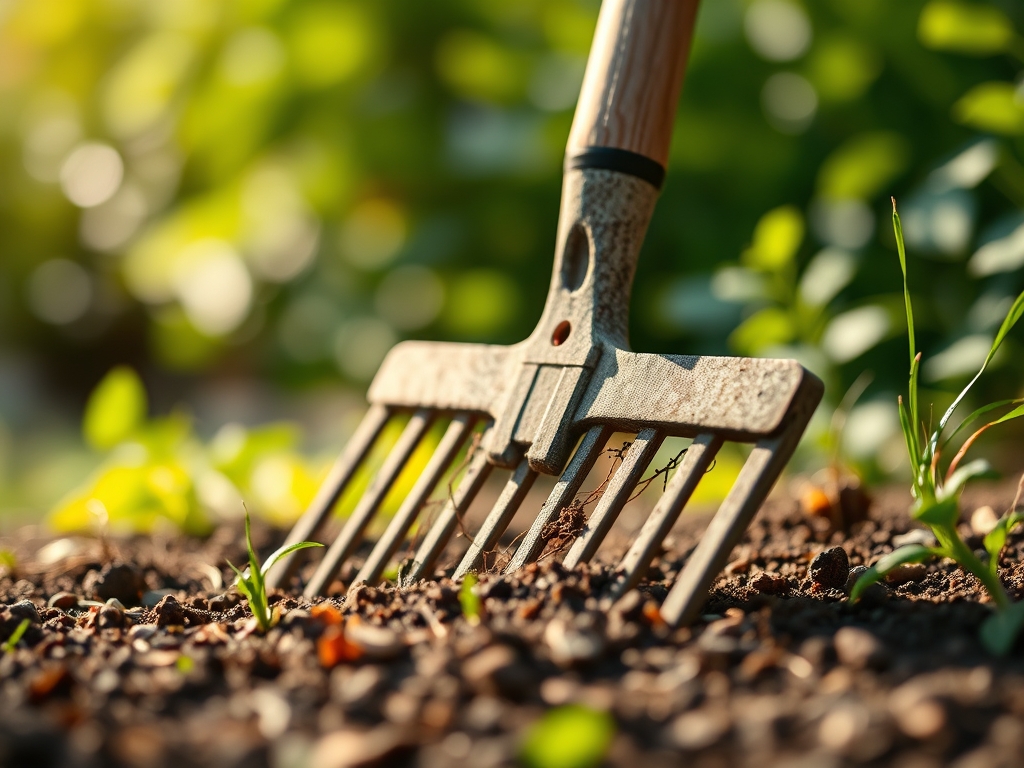
9 Tips to Use a Garden Rake for Final Landscape Leveling
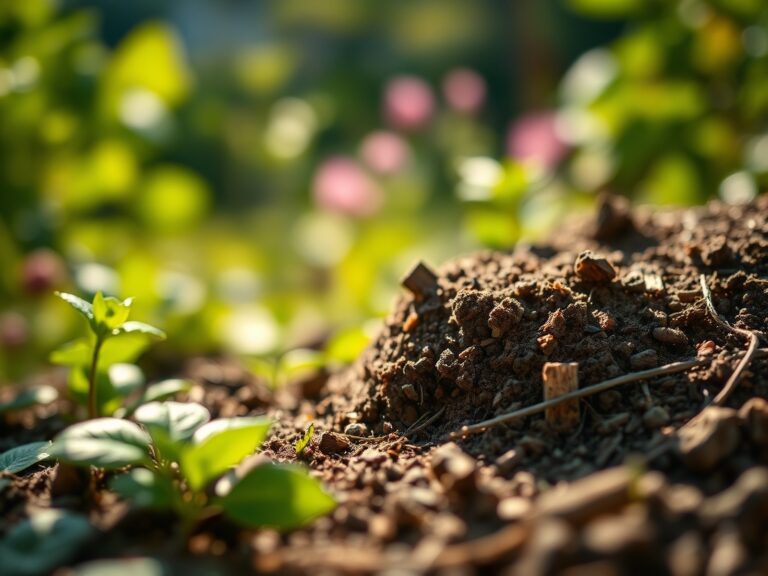
The scent of damp, disturbed earth signals the beginning of structural modification. When the soil reaches a state of friable loam, its moisture content allows for maximum manipulation without collapsing the delicate pore spaces necessary for gas exchange. Using a rake for landscape design serves as the final mechanical intervention before the biological processes of the rhizosphere take over. Achieving a level surface is not merely an aesthetic requirement; it is a hydrological necessity. High spots lead to rapid desiccation and localized drought stress, while depressions collect excess water, inviting anaerobic conditions and root rot. By managing the topography at a granular level, you control the distribution of irrigation and the eventual success of the planting bed. This process requires a heavy-gauge steel bow rake to move mass and a wide aluminum landscape rake to refine the finish. Success depends on the interplay between soil physics and mechanical force, ensuring the substrate provides the ideal foundation for root penetration and nutrient uptake.
Materials:

The ideal substrate for final leveling is a high-quality loam with a pH range between 6.2 and 6.8. This acidity level optimizes the availability of macronutrients. Before the final rake pass, the soil should be amended to reach a specific NPK ratio based on the intended vegetation. For general landscape establishment, a 5-10-5 NPK ratio provides sufficient phosphorus for root development without overstimulating succulent vegetative growth that is susceptible to environmental stress.
The physical texture must be characterized by a high Cation Exchange Capacity (CEC), typically above 15 meq/100g, indicating the soil's ability to hold onto positively charged ions like potassium and magnesium. The substrate should feel gritty but cohesive; if it forms a hard ribbon when squeezed, the clay content is too high for precision leveling. Incorporate organic matter until the soil achieves a bulk density of approximately 1.3 grams per cubic centimeter.
Timing:
In Hardiness Zones 5 through 7, the window for final leveling typically opens between March 15 and April 30, or once the soil temperature consistently reaches 50 degrees Fahrenheit. Leveling must occur before the "Biological Clock" shifts from the dormant phase to the active vegetative stage. If you wait until the photoperiod extends beyond 12 hours, weed seeds within the disturbed soil will germinate rapidly, competing with your intentional plantings for nitrogen.
Avoid leveling immediately after heavy precipitation. Working saturated soil destroys the peds (natural soil aggregates), leading to severe compaction and a reduction in capillary action. The "shatter point" is your guide; if a handful of soil crumbles when poked, the moisture level is safe for mechanical grading.
Phases:

Sowing and Grading
Begin by using the tines of a steel bow rake to break down clods larger than 0.5 inches. Use a push-pull motion to distribute the soil evenly across the site. The goal is to create a "seedbed" that is firm enough to support a footprint but loose enough to allow for radical penetration.
Pro-Tip: Maintaining a uniform grade prevents localized anaerobic pockets. When soil is uneven, water accumulates in low spots, displacing oxygen and halting the mycorrhizal symbiosis necessary for nutrient transport.
Transplanting Alignment
For larger specimens, use the flat backside of the rake to create a level plane around the root ball. This ensures the root flare remains exactly at the soil surface. Planting too deep leads to stem girdling, while planting too high causes desiccation of the upper lateral roots.
Pro-Tip: A level surface ensures even light distribution across the base of the plant. This prevents auxin suppression on the shaded side, which otherwise causes lopsided growth patterns as the plant exhibits phototropism toward the strongest light source.
Establishing the Finish
The final phase involves the use of a 36-inch wide aluminum landscape rake. This tool acts as a screed. Hold the handle at a 45-degree angle and use long, sweeping strokes to remove the smallest irregularities. This creates a finished surface ready for mulch or sod.
Pro-Tip: Precision leveling promotes capillary rise. When the soil surface is uniform, water moves upward from the water table through micropores more efficiently, ensuring the root zone stays hydrated during the critical first 14 days of establishment.
The Clinic:
Physiological disorders often stem from poor leveling and soil preparation.
- Symptom: Interveinal chlorosis (yellowing between leaf veins).
- Solution: This often indicates Iron or Magnesium deficiency caused by a pH imbalance. Test the soil; if the pH is above 7.5, add elemental sulfur to lower it.
- Symptom: Leaf Turgor Loss (wilting despite wet soil).
- Solution: This suggests root asphyxiation from standing water in a low spot. Re-level the area using the rake to ensure a 1 to 2 percent slope away from the plant base.
- Symptom: Nitrogen Chlorosis (uniform pale green leaves).
- Fix-It: Apply a water-soluble fertilizer with a high first NPK number. Ensure the soil is not compacted, as oxygen is required for the microbes that convert nitrogen into a plant-available form.
Maintenance:
Post-leveling care requires precision. Use a soil moisture meter to ensure the substrate remains between 60% and 80% field capacity during the first month. Most landscapes require 1.5 inches of water per week delivered at the drip line. Avoid overhead irrigation, which can displace the finely raked soil and cause erosion.
Use a hori-hori knife for precision weeding to avoid disturbing the level grade you have established. If woody plants are included in the design, use bypass pruners to remove any dead or crossing branches, which reduces the weight on the newly established root systems. Check the grade annually, as soil settling and decomposition of organic matter can create new depressions over time.
The Yield:
When harvesting flowers or herbs from a leveled landscape, timing is dictated by turgor pressure. Harvest in the early morning, specifically between 6:00 AM and 8:00 AM, when the plant cells are fully hydrated. Use a sharp, sterilized blade to make a clean cut at a 45-degree angle.
To maintain "day-one" freshness, immediately submerge the stems in 110-degree Fahrenheit water. This heat helps dissipate air bubbles in the xylem, allowing for faster water uptake. Store the harvest in a cool, dark location to slow the rate of senescence and preserve the essential oils or pigments.
FAQ:
How do I choose the right rake for leveling?
Use a heavy steel bow rake for moving large volumes of soil and breaking clods. Switch to a wide aluminum landscape rake for the final smoothing pass to achieve a professional, flat finish across the entire site.
What is the best soil moisture for leveling?
Soil should be at 50% to 75% of field capacity. If the soil is too dry, it will not hold its shape; if it is too wet, you will cause compaction, destroying the soil structure and reducing oxygen.
Can I level soil around existing trees?
You must be cautious. Adding more than 2 inches of soil over the root zone of an existing tree can cause root suffocation. Always keep the soil level below the tree's root flare to prevent bark decay.
Why is my leveled soil sinking after rain?
This is caused by settling. If the soil was not lightly tamped or if large air pockets remained, gravity and water will compress the earth. Always allow a 48-hour settling period before finishing the final grade.
How do I fix a low spot in an established lawn?
Apply a "top-dressing" mix of 50% sand and 50% compost. Use a rake to spread it in 0.5-inch layers. This allows the grass to grow through the new soil while gradually raising the grade to a level plane.