6 Critical Steps to Repot a ZZ Plant
Damp earth smells of geosmin and microbial activity while the thick, waxy cuticle of a Zamioculcas zamiifolia leaf resists the touch with firm turgor pressure. This species is a masterpiece of arid-land evolution; its underground rhizomes store massive water reserves to survive prolonged drought. When these storage organs press against the container walls, the structural integrity of the pot is at risk. Mastering the steps for repotting a ZZ plant requires a technical understanding of root zone expansion and substrate aeration.
Successful transplantation hinges on timing and the precision of the substrate mix. You are not merely moving a plant; you are recalibrating its rhizosphere to ensure optimal gas exchange and nutrient uptake. A ZZ plant in a constricted environment suffers from reduced oxygen levels and salt accumulation. By following a scientific approach to repotting, you maintain the osmotic balance necessary for the plant to thrive in low-light interior environments. This process demands attention to the physical condition of the rhizomes and the chemical composition of the new medium.
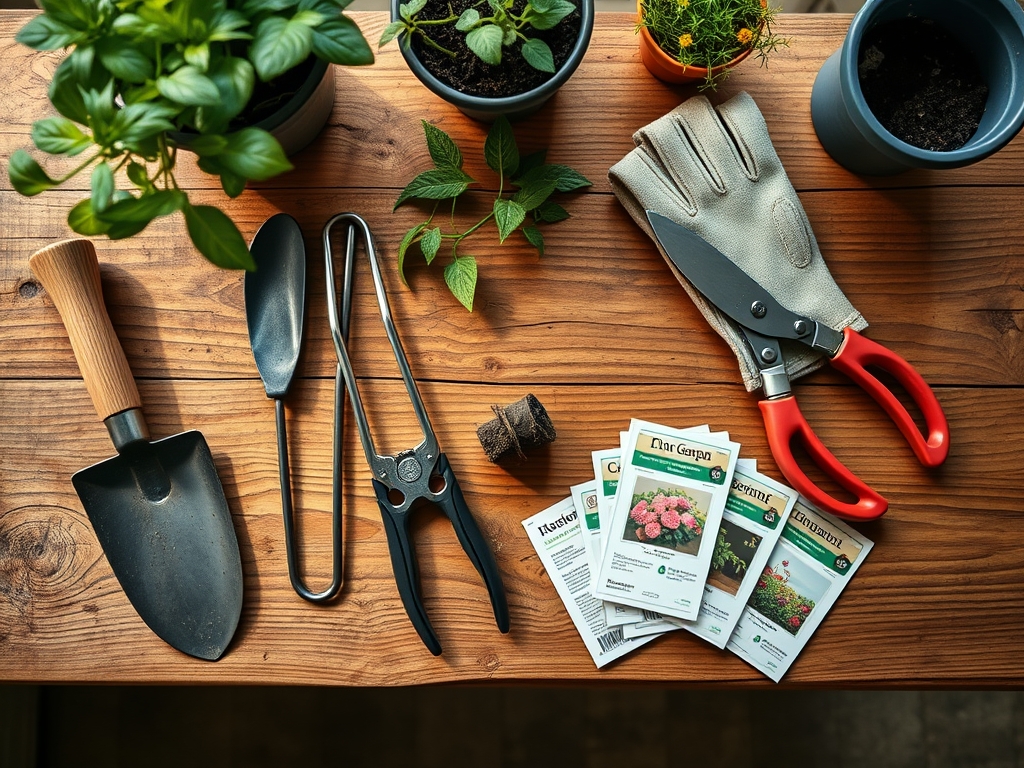
Materials:
The substrate must be a friable loam with high porosity to prevent anaerobic conditions. Aim for a soil pH between 6.0 and 7.0. A standard peat-based mix is often too heavy; instead, blend 50 percent potting soil with 50 percent inorganic amendments like perlite or pumice. This increases the Cation Exchange Capacity (CEC) while ensuring rapid drainage.
For nutritional support, use a controlled-release fertilizer with an NPK ratio of 10-10-10 or 20-20-20. The goal is a balanced delivery of macronutrients without spiking the electrical conductivity (EC) of the soil, which can burn sensitive root hairs. Ensure your new container is only 1 to 2 inches wider in diameter than the current one. Excess soil volume leads to "perched water tables" where the bottom of the pot remains saturated, triggering root rot.
Timing:
ZZ plants are typically grown as indoor perennials across all USDA Hardiness Zones (1 through 11), but they respond to the external photoperiod. The ideal window for repotting is late spring or early summer. This aligns with the plant's natural vegetative growth phase. During this period, increased light intensity and warmer ambient temperatures (between 65 and 85 degrees Fahrenheit) accelerate the metabolic rate.
Avoid repotting during the winter senescence or "resting" phase. In lower light conditions, the plant's biological clock slows down; its demand for water and nutrients drops significantly. Attempting a transplant when the plant is dormant increases the risk of transplant shock because the root system is not actively generating new cells to anchor into the fresh substrate.
Phases:

Sowing the Foundation
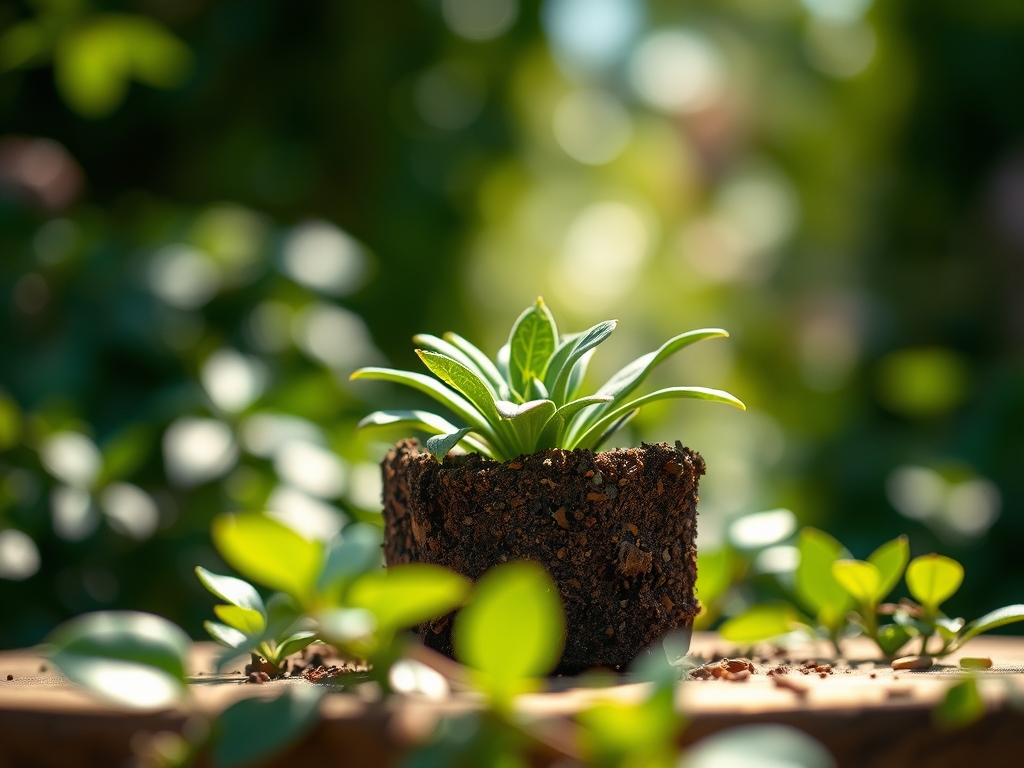
Begin by hydrating the plant 24 hours prior to the move. This ensures the cells are at full turgor pressure, making the stems less brittle. Turn the pot sideways and apply gentle pressure to the sides to release the root ball. If the plant is stuck, use a hori-hori knife to slide along the inner circumference. Inspect the rhizomes; they should be white or light brown and firm to the touch.
Pro-Tip: Maintaining high turgor pressure before transplanting prevents cellular collapse. This is vital because the ZZ plant relies on hydrostatic pressure within its succulent stems to remain upright without a woody trunk.
Transplanting and Positioning
Place a layer of the prepared substrate at the bottom of the new pot. Position the ZZ plant so the top of the rhizomes sits approximately 1 inch below the rim. This allows space for watering without overflow. Fill the gaps with soil, tapping the pot on a hard surface to settle the medium. Do not pack the soil with your hands; over-compaction destroys the macropores required for oxygen diffusion to the roots.
Pro-Tip: Avoid deep planting to prevent crown rot. Keeping the top of the rhizome near the surface facilitates gas exchange in the upper rhizosphere, which is the most active site for microbial symbiosis.
Establishing the Root Zone
After the move, do not water immediately. Wait 2 to 3 days to allow any microscopic tears in the root tissue to callous over. This prevents opportunistic pathogens from entering the vascular system. Place the plant in a location with bright, indirect light. Monitor the soil moisture levels using a soil moisture meter to ensure the core of the root ball is drying out between sessions.
Pro-Tip: Delaying irrigation encourages the roots to "search" for moisture, which stimulates the production of lateral root hairs. This process is driven by auxin suppression in the root tips, forcing the plant to establish a wider structural base.
The Clinic:
Symptom: Yellowing Lower Leaves
Solution: This is often Nitrogen chlorosis or overwatering. If the soil is soggy, the roots are suffocating.
Fix-It: Increase the ratio of perlite in your mix and ensure the pot has adequate drainage holes. Apply a balanced 10-10-10 liquid fertilizer at half-strength during the next watering cycle to restore nitrogen levels.
Symptom: Shriveled Stems
Solution: Severe dehydration. The plant has exhausted its internal water reserves stored in the rhizomes.
Fix-It: Perform a deep soak. Submerge the bottom third of the pot in water for 20 minutes to allow capillary action to rehydrate the medium fully.
Symptom: Mushy, Brown Rhizomes
Solution: Rhizoctonia or Pythium root rot caused by anaerobic soil conditions.
Fix-It: Use bypass pruners to excise all necrotic (black/mushy) tissue. Dust the remaining healthy rhizomes with elemental sulfur or cinnamon before repotting in entirely fresh, sterile substrate.
Maintenance:
Precision is the hallmark of professional care. Use a soil moisture meter and only water when the probe reads "dry" at a depth of 3 to 4 inches. In a typical office or home environment, this equates to roughly 0.5 to 1.0 liters of water every 3 weeks, depending on pot size.
Every six months, use a damp microfiber cloth to wipe the leaf blades. This removes dust that blocks the stomata and inhibits photosynthesis. If the plant becomes leggy, use bypass pruners to remove older stalks at the soil line. This redirects energy to the development of new, more compact "spears" from the central rhizome.
The Yield:
While the ZZ plant is not an edible crop, its "yield" is measured in biomass and air filtration efficiency. For maximum aesthetic impact, harvest individual stems for floral arrangements by cutting at the very base. These stems can survive in plain water for up to four weeks due to their high internal moisture content. To maintain "day-one" freshness in the mother plant, always prune during the active growing season to ensure rapid callousing of the cut site.
FAQ:
How do I know when to repot my ZZ plant?
Check the drainage holes. If you see thick, tuberous roots protruding or if the plastic nursery pot is bulging and deforming, the rhizomes have exhausted the available space. Repotting is necessary to prevent the container from cracking.
What is the best soil for a ZZ plant?
Use a well-draining medium with a pH of 6.0 to 7.0. A mix of 50% potting soil and 50% inorganic grit (pumice or perlite) is ideal. This ensures high Cation Exchange Capacity while preventing the root rot associated with heavy soils.
Should I water my ZZ plant immediately after repotting?
No. Wait 48 to 72 hours before irrigating. This window allows any roots damaged during the transition to callous over, significantly reducing the risk of fungal pathogens entering the plant's vascular system through open wounds.
Can I use a much larger pot to save time later?
Avoid this. A pot that is too large creates a "perched water table" where excess soil holds moisture that the roots cannot reach or absorb. This leads to stagnant, anaerobic conditions and inevitable root senescence. Stick to a 1-2 inch increase.