9 Steps to Prepare high-Quality DIY Plant Fertilizer
Crushing a handful of well-aggregated soil reveals the structural integrity of the rhizosphere; the smell of geosmin indicates active microbial life while the turgor pressure in a nearby leaf confirms efficient vascular transport. To achieve this level of physiological health, a gardener must understand how to prepare a DIY plant fertilizer that balances macronutrients with micronutrient availability. Relying on store-bought synthetic salts often leads to leaching and soil degradation. By mastering the chemistry of organic inputs, you can create a bio-available nutrient profile tailored to specific growth stages. This process requires a precise understanding of the nitrogen cycle and the mineral requirements of the plant species in question. High-quality fertilizer is not a generic amendment but a targeted biological catalyst. When you learn how to prepare a DIY plant fertilizer, you take control of the Cation Exchange Capacity (CEC) of your soil. This ensures that essential ions like potassium and magnesium remain accessible to root hairs rather than washing away during heavy irrigation cycles.
Materials:
The foundation of a high-quality fertilizer starts with raw inputs categorized by their NPK (Nitrogen-Phosphorus-Potassium) ratios and their impact on soil pH. For a high-nitrogen vegetative boost, utilize **blood meal (12-0-0)** or **alfalfa meal (3-1-2)**. To support root development and flowering, incorporate **bone meal (3-15-0)** or **soft rock phosphate (0-3-0)**. Potassium requirements are best met through **kelp meal (1-0-2)** or **sulfate of potash (0-0-50)**.
The ideal substrate for mixing these components is a friable loam. This texture allows for gas exchange and prevents the compaction that leads to anaerobic conditions. If your base soil is acidic (pH below 6.0), add dolomitic lime to raise the pH and provide calcium and magnesium. If the soil is alkaline (pH above 7.5), use elemental sulfur to lower it. Aim for a target pH of 6.2 to 6.8 for maximum nutrient bioavailability. Ensure all dry amendments are ground to a fine particulate size to increase the surface area for microbial colonization.
Timing:
Timing is dictated by the Hardiness Zone and the specific frost-date window of your region. In Zones 5 through 7, the primary application occurs four weeks before the last expected frost to allow for the breakdown of organic matter. In warmer Zones 8 through 10, fertilization cycles are more frequent due to the lack of a hard winter freeze.
The biological clock of the plant determines the nutrient ratio required. During the vegetative stage, plants require higher nitrogen to build chlorophyll and leaf tissue. As the plant transitions to the reproductive stage, triggered by changes in the photoperiod or thermal units (Growing Degree Days), the demand shifts toward phosphorus and potassium. Applying a high-nitrogen fertilizer during the reproductive phase can lead to excessive foliage growth at the expense of fruit or flower development. Monitor the senescence of early leaves as a signal to adjust your DIY formula.
Phases:
Sowing
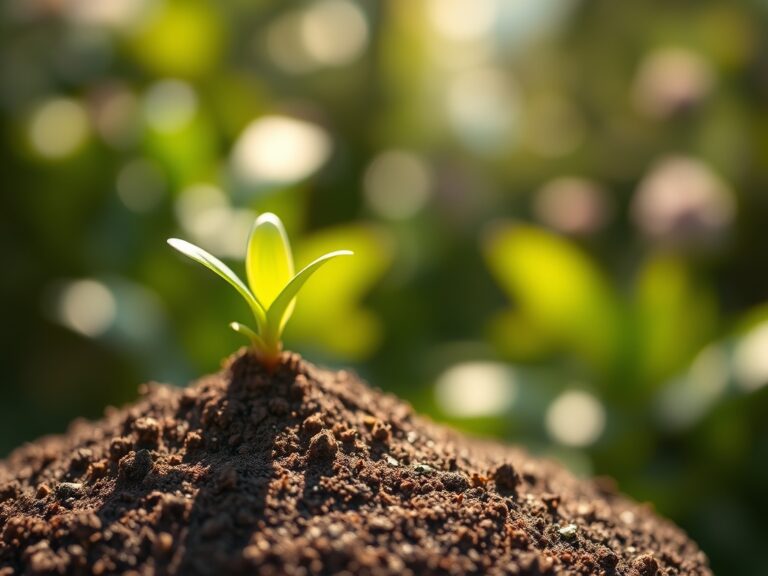
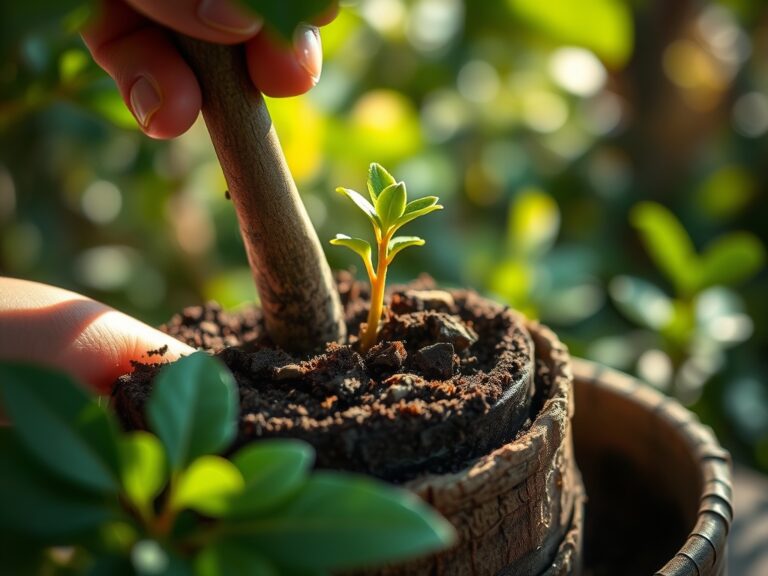
During the sowing phase, the focus is on phosphorus for early root architecture. Mix your DIY fertilizer into the top 2 inches of the seedbed. Avoid direct contact between high-salt fertilizers and delicate seeds to prevent osmotic shock.
Pro-Tip: Mycorrhizal fungi should be introduced at this stage. This mycorrhizal symbiosis expands the root system's reach by up to 100 times, allowing the plant to scavenge phosphorus that is otherwise chemically locked in the soil.
Transplanting
When moving a seedling from a container to the field, use a "starter tea" version of your DIY fertilizer. This liquid application ensures immediate nutrient availability as the plant overcomes transplant shock. Ensure the root ball is saturated with a solution containing humic acid to stimulate new root initials.
Pro-Tip: Use a solution rich in phosphorus to counteract auxin suppression. When a plant is moved, its internal auxin levels can drop; providing available nutrients helps maintain the hormonal balance required for apical dominance.
Establishing
Once the plant has established its root system, top-dress with a balanced DIY blend. Apply the fertilizer in a ring around the drip line of the plant. This encourages the roots to grow outward in search of nutrients, creating a more stable and resilient plant.
Pro-Tip: Maintain a consistent soil temperature between 65 and 75 degrees Fahrenheit. This range is the "Goldilocks zone" for microbial activity, ensuring that the organic nitrogen in your DIY mix is converted into nitrates that the plant can actually absorb.
The Clinic:
Physiological disorders often mimic disease but are usually rooted in nutrient imbalances or environmental stress.
-
Symptom: Interveinal chlorosis on young leaves.
-
Solution: This indicates an Iron (Fe) deficiency, often caused by high soil pH.
-
Fix-It: Apply a chelated iron foliar spray and lower the soil pH using elemental sulfur.
-
Symptom: Blossom end rot in solanaceous crops.
-
Solution: This is a Calcium (Ca) transport issue, not necessarily a lack of calcium in the soil.
-
Fix-It: Ensure consistent moisture levels to facilitate calcium uptake through transpiration. Add gypsum to the soil for a quick-release calcium source that does not affect pH.
-
Symptom: Purpling of older leaves and stems.
-
Solution: Phosphorus (P) deficiency, common in cold, wet soils.
-
Fix-It: Apply a water-soluble bone meal extract or wait for soil temperatures to rise above 55 degrees Fahrenheit to resume microbial phosphorus cycling.
-
Symptom: Leaf margins appearing "burnt" or brown.
-
Solution: Potassium (K) deficiency or salt toxicity.
-
Fix-It: Flush the soil with 2 inches of water to leach excess salts and supplement with kelp meal.
Maintenance:
Precision maintenance prevents the waste of your DIY fertilizer. Use a soil moisture meter to ensure the substrate remains at 60% to 70% field capacity. Most garden plants require 1.5 inches of water per week delivered at the drip line to prevent foliar fungal pathogens.
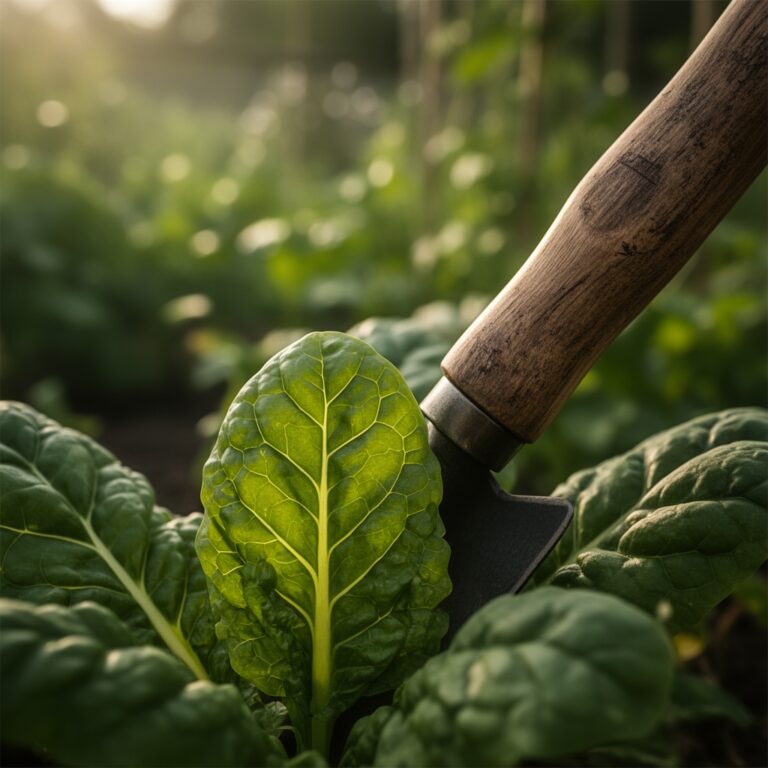
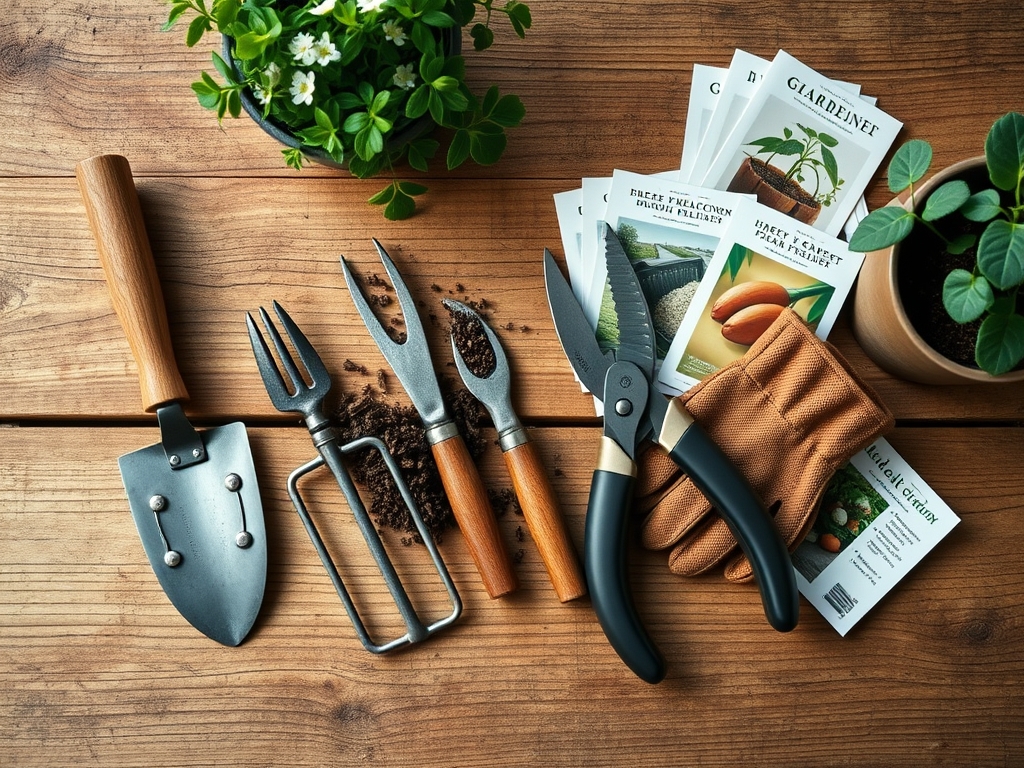
When pruning, use sterilized bypass pruners to make clean cuts at a 45-degree angle above a node. This minimizes the surface area of the wound and prevents pathogens from entering the vascular system. For weeding near the base of the plant, a hori-hori knife allows you to sever the taproots of competitors without disrupting the delicate surface roots of your primary crop. Monitor the soil EC (Electrical Conductivity) monthly; a reading between 1.2 and 2.0 mS/cm is generally ideal for most terrestrial plants.
The Yield:
Harvesting is the culmination of your nutrient management strategy. For most crops, harvest during the early morning hours when turgor pressure is at its peak. This ensures the cells are fully hydrated, extending the shelf life of the produce. Use a sharp blade to harvest rather than pulling, which can damage the parent plant's structural integrity.
Post-harvest, cool the produce immediately to slow the rate of respiration. For flowers, submerge the stems in 100-degree Fahrenheit water containing a small amount of sugar and citric acid. This "pulses" the vascular system, clearing any air embolisms and ensuring "day-one" freshness for several days.
FAQ:
How often should I apply DIY fertilizer?
Apply dry amendments every 4 to 6 weeks during the active growing season. Liquid "teas" can be applied every 14 days. Always monitor plant color and growth rates to adjust frequency based on the specific metabolic demands of the species.
Can I use fresh manure in my DIY mix?
No. Fresh manure contains high levels of ammonia and pathogens that can burn roots and contaminate crops. Always age manure for at least 6 months or compost it until it reaches an internal temperature of 140 degrees Fahrenheit.
What is the best way to store DIY fertilizer?
Store dry mixes in an airtight, UV-protected container in a cool, dry location. Moisture will trigger microbial decomposition prematurely, leading to nutrient loss and foul odors. Properly stored dry fertilizer remains viable for 12 to 24 months.
How do I know if my fertilizer is working?
Observe the new growth. Healthy plants exhibit dark green foliage, thick stems, and steady internodal spacing. Use a refractometer to measure the Brix levels in the leaf sap; a higher Brix reading indicates superior nutrient density and plant health.