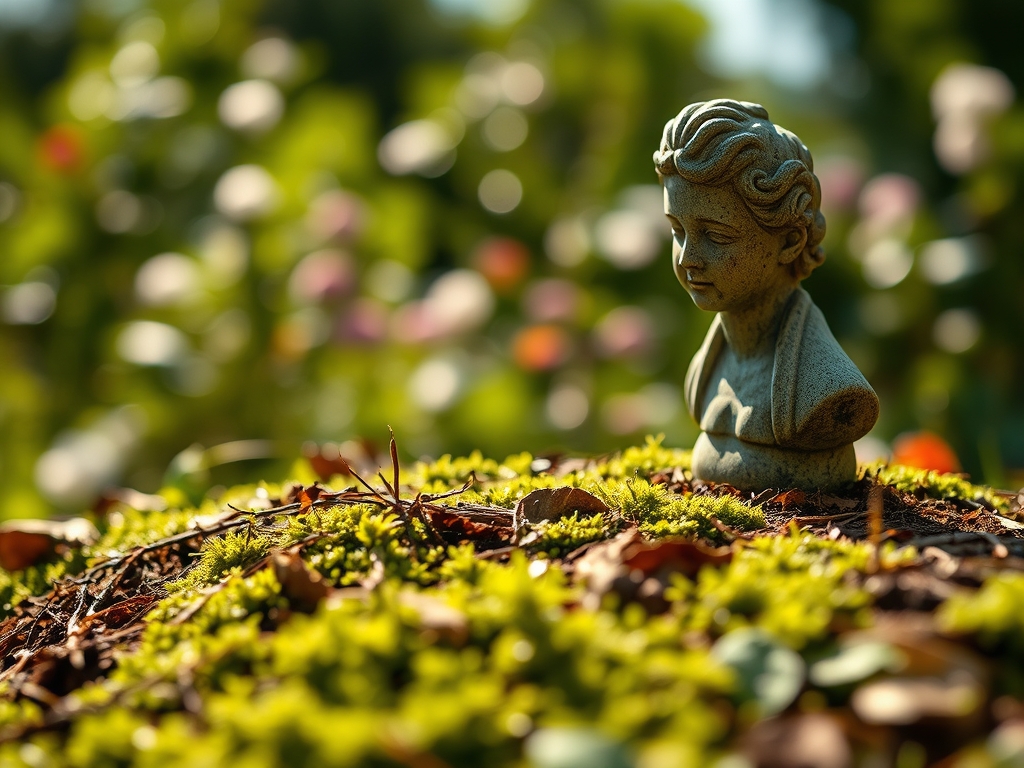
6 Steps to Prepare a Secure Landscape Statue Foundation
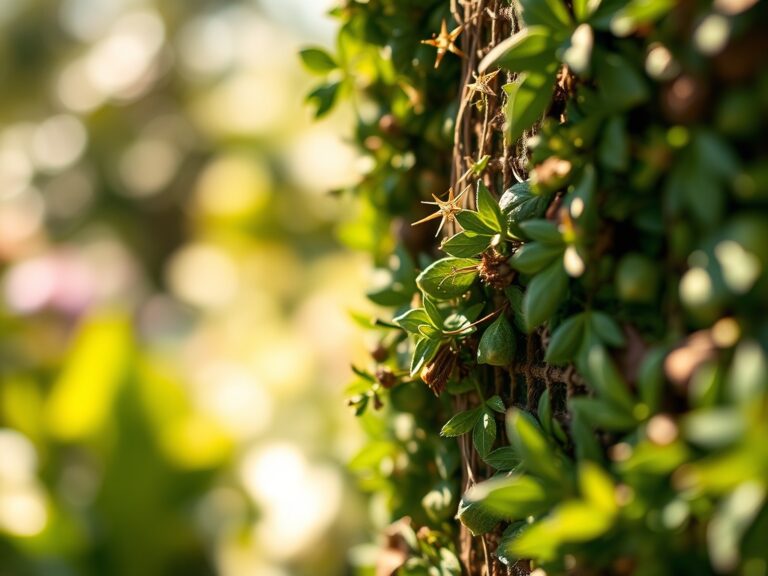
The scent of anaerobic decomposition and damp earth signals a soil profile ready for structural intervention. Successful installation requires understanding the turgor of the surrounding flora and the mechanical stability of the substrate. Learning how to prepare a site for a garden statue involves more than aesthetic placement; it is a rigorous engineering task that prevents frost heave and localized soil compaction. A heavy stone or bronze figure exerts significant pressure on the rhizosphere, potentially suffocating the root systems of nearby perennials if the foundation is not properly excavated and reinforced.
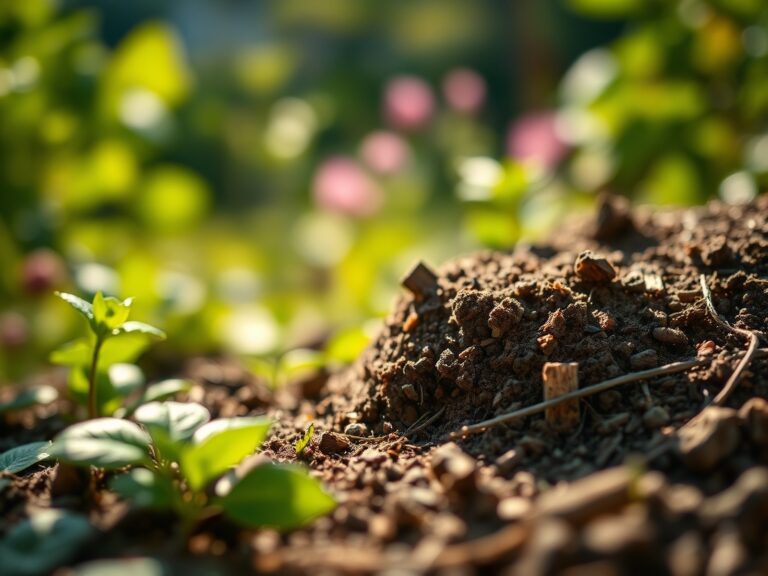
A stable foundation begins with assessing the bulk density of the soil. If the earth is overly compacted, water will pool at the base of the sculpture, leading to moss growth or structural degradation through freeze-thaw cycles. Conversely, loose, sandy soils with high drainage rates may shift under the weight of a heavy installation. By establishing a leveled, multi-layer base, you ensure the statue remains plumb while protecting the biological integrity of the surrounding landscape. This process requires a firm grasp of soil mechanics and the specific needs of the local plant community.
Materials:
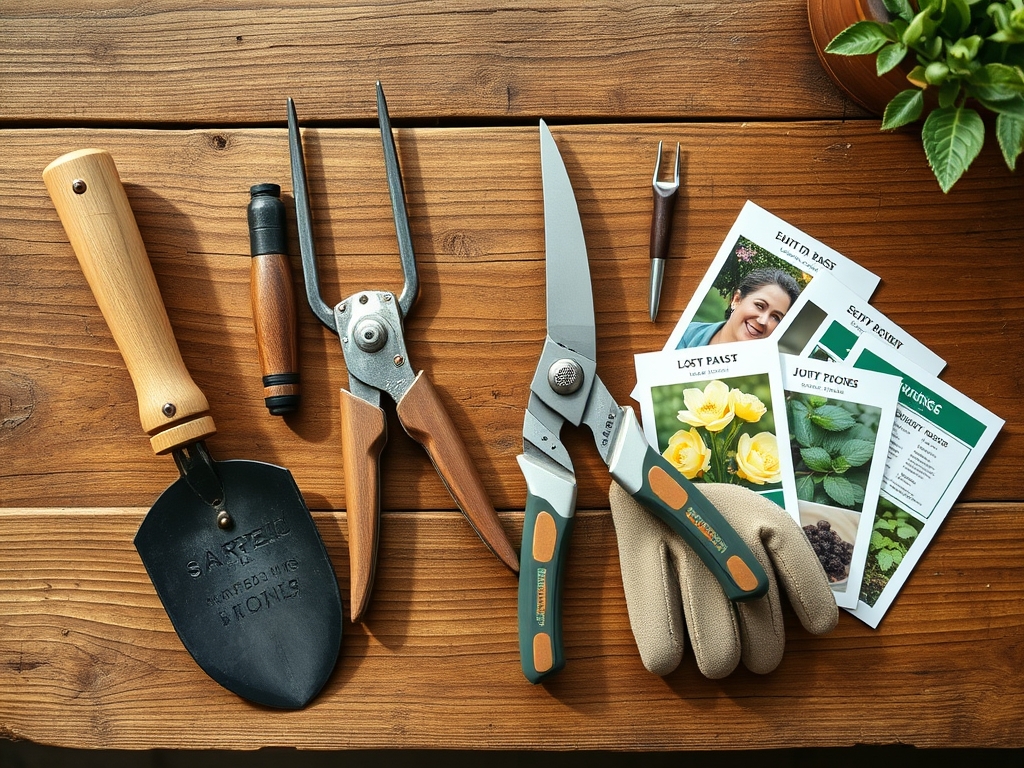
The ideal substrate for a statue perimeter is a **friable loam** with a balanced **cation exchange capacity (CEC)**. If you are planting around the base, target a soil pH between **6.0 and 7.0** to ensure nutrient availability. For the foundation itself, gather the following technical components:
- Crushed Stone (3/4-inch minus): Provides a stable, non-shifting base with high load-bearing capacity.
- Leveling Sand: Fine-grained silica to allow for precise adjustments of the pedestal.
- Geotextile Fabric: Prevents the migration of fines into the drainage layer.
- NPK 5-10-10 Fertilizer: Low nitrogen prevents excessive vegetative growth around the statue base, while higher phosphorus supports the root systems of structural anchor plants.
- Organic Matter: Well-composted leaf mold to improve the water-holding capacity of the surrounding soil.
Timing:
Installation should occur during the dormant season or early spring to minimize disruption to the biological clock of the landscape. In Hardiness Zones 4 through 7, perform the excavation after the final hard frost but before the vegetative stage of nearby deciduous shrubs begins. This window usually falls between late March and early May.
Wait for a period where the soil moisture is below field capacity. Testing for this involves squeezing a handful of soil; if it forms a hard ball that does not crumble, the moisture content is too high for compaction. Working wet soil destroys the soil structure and leads to long-term drainage failures. Aim for a soil temperature of at least 45 degrees Fahrenheit to ensure that any peripheral plantings can begin root initiation immediately following the disturbance.
Phases:
Sowing the Perimeter
Once the site is excavated to a depth of 8 to 12 inches, prepare the surrounding area for groundcover. Use a hori-hori knife to integrate organic matter into the top 6 inches of the soil. Broadcast seeds or small starts of low-growing species like Thymus praecox.
Pro-Tip: Ensure the soil is not over-fertilized with nitrogen. High nitrogen levels trigger auxin suppression of lateral root growth in favor of rapid vertical elongation, which can obscure the base of your statue too quickly.
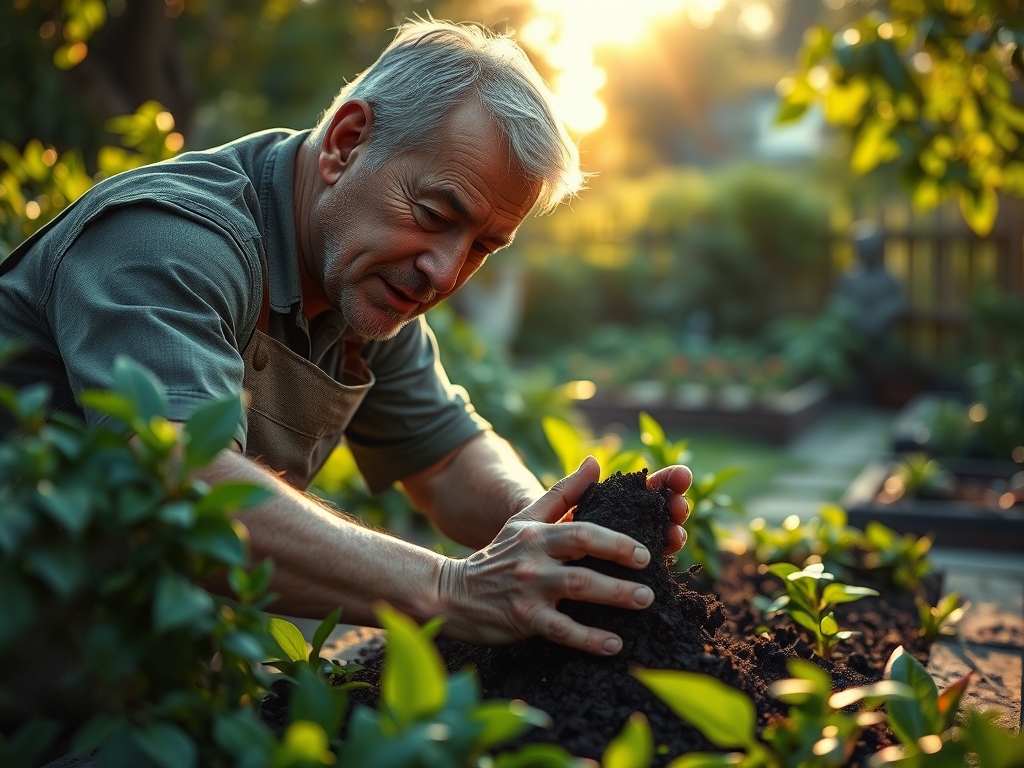
Transplanting and Anchoring
Place the pedestal on a compacted layer of crushed stone. If the statue is top-heavy, use stainless steel threaded rods anchored into a concrete sub-base. When transplanting larger specimens near the site, ensure the root flare is visible and not buried by the new grade.
Pro-Tip: Inoculate the transplant hole with mycorrhizal fungi. This symbiotic relationship extends the root system's reach, allowing the plant to pull moisture from beneath the statue's footprint where surface evaporation is limited.
Establishing the Microclimate
Monitor the site for the first 21 days. The presence of a large stone or metal object creates a heat sink, altering the local temperature. This can accelerate transpiration rates in nearby foliage.
Pro-Tip: Observe the phototropism of surrounding plants. The statue may cast a significant shadow; ensure that the species selected for the north side of the installation are shade-tolerant to prevent leggy, weak growth patterns.
The Clinic:
Physiological disorders often manifest when the soil environment is altered by heavy installations.
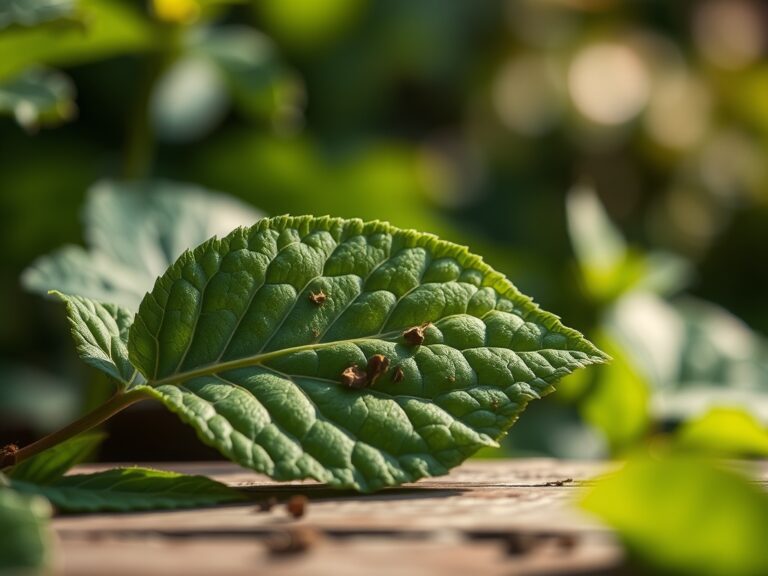
- Symptom: Interveinal chlorosis (yellowing leaves with green veins).
- Solution: This indicates a micronutrient deficiency, often iron or manganese, caused by a pH imbalance.
- Fix-It: Apply chelated iron and verify that the concrete base is not leaching lime into the soil, which raises the pH.
- Symptom: Marginal leaf scorch.
- Solution: Excessive salt accumulation or drought stress from the statue's rain-shadow effect.
- Fix-It: Increase irrigation frequency and use a soil moisture meter to check levels at a depth of 4 inches.
- Symptom: Sudden wilting despite moist soil.
- Solution: Root rot caused by poor drainage under the statue foundation.
- Fix-It: Re-excavate and increase the depth of the crushed stone drainage layer to 10 inches.
Maintenance:
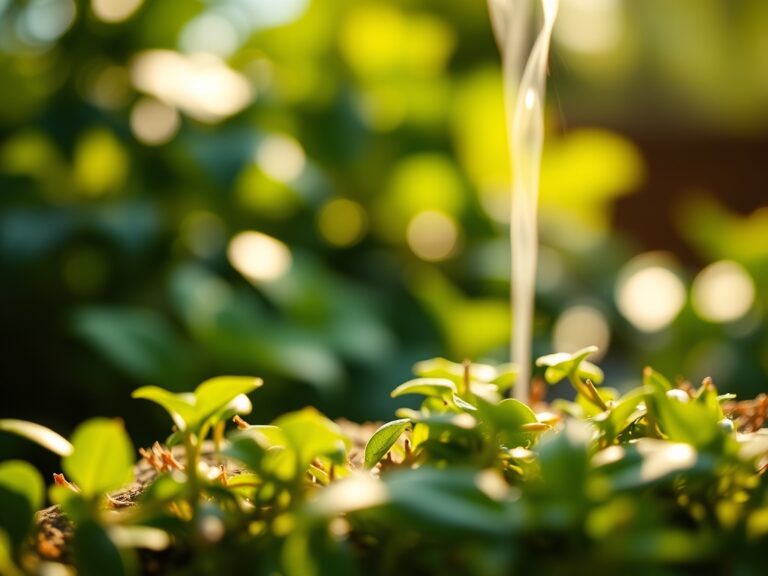
A secure landscape requires consistent monitoring. Provide 1.5 inches of water per week at the drip line of surrounding plants, rather than at the base of the statue. Use bypass pruners to maintain a 2-inch gap between foliage and the statue surface to prevent fungal pathogens from migrating due to poor airflow.
Every spring, check the level of the statue using a spirit level. If the foundation has shifted due to cation exchange processes or frost heave, use a pry bar to lift the base and tuck additional leveling sand underneath. Use a soil moisture meter monthly to ensure the area beneath the statue is not becoming a localized "dry zone" that could kill beneficial soil microbes.
The Yield:
For statues integrated into cutting gardens or edible landscapes, the "yield" is the health of the surrounding harvest. When harvesting flowers or herbs near the installation, use sharp snips to ensure clean vascular cuts. This maintains turgor pressure in the remaining plant. To ensure "day-one" freshness, harvest during the early morning hours when evapotranspiration is at its lowest. Immediately submerge stems in 110-degree Fahrenheit water to break air locks in the xylem.
FAQ:
How deep should the foundation be?
Excavate to a depth of 8 to 12 inches. This allows for 6 inches of compacted crushed stone and 2 inches of leveling sand. In regions with deep frost lines, increasing the stone depth to 18 inches prevents shifting.
What is the best soil for surrounding plants?
A friable loam with a pH of 6.5 is ideal. Ensure the soil has a high cation exchange capacity to retain nutrients. Avoid heavy clay, which retains too much water and can destabilize the statue pedestal over time.
Can I place a statue directly on the grass?
No. Direct placement leads to soil compaction and anaerobic conditions. This kills the turf and causes the statue to sink unevenly. Always create a dedicated foundation using inorganic materials to ensure long-term stability and drainage.
How do I prevent the statue from leaning?
Use a spirit level during every stage of the process. Compact the stone base in 2-inch lifts using a hand tamper. Ensuring the base is wider than the statue's footprint by 4 inches on all sides distributes the weight.
Will the statue affect my soil pH?
Concrete or limestone pedestals can leach calcium carbonate into the soil. This raises the pH, potentially causing nitrogen chlorosis in acid-loving plants. Monitor the site with a pH probe annually and amend with elemental sulfur if the alkalinity increases.