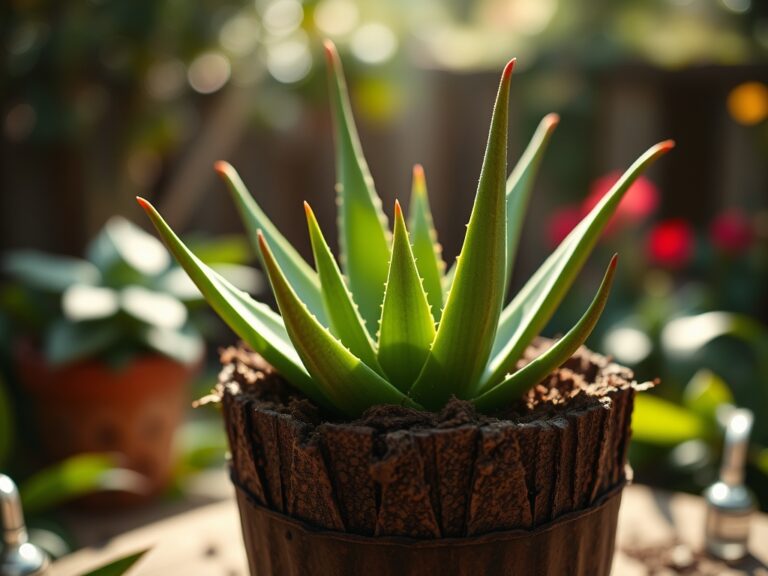
8 Steps to Prepare a DIY Plant Light for Dark Corners
Turgor pressure dictates the structural integrity of a leaf; when water fills the vacuoles, the plant stands rigid and efficient. In dark corners, this pressure collapses as photosynthesis stalls, leading to etiolated stems and chlorotic tissue. To maintain a healthy rhizosphere in low-light environments, you must engineer the environment. Learning how to prepare a DIY plant light requires understanding the electromagnetic spectrum and how photons trigger chemical reactions within the chloroplasts. Proper supplemental lighting prevents the slow senescence often seen in neglected interior spaces.
Materials:
The success of supplemental lighting depends on the substrate supporting the root system. Use a **friable loam** with a high **Cation Exchange Capacity (CEC)** to ensure nutrient availability. The soil pH must sit between **6.0 and 6.8** for optimal ion uptake. For vegetative growth under DIY lights, maintain an **NPK ratio of 3-1-2**; high nitrogen levels support the chlorophyll production necessary when natural sun is absent. You will need **Full-Spectrum LED strips (5000-6500K)**, a **12V power adapter**, **aluminum U-channels** for heat dissipation, and a **digital programmable timer**.
Timing:
Hardiness Zones 3 through 11 all face the same indoor challenge: the winter photoperiod. When outdoor light drops below 10 hours per day, plants enter a dormant state. To keep plants in a vegetative stage, you must artificially extend the day to 14 or 16 hours. This overrides the biological clock that triggers reproductive stages or dormancy. Monitor the frost-date windows in your specific zone; while the lights are internal, the ambient temperature near windows can drop significantly, affecting metabolic rates even if light intensity is sufficient.
Phases:
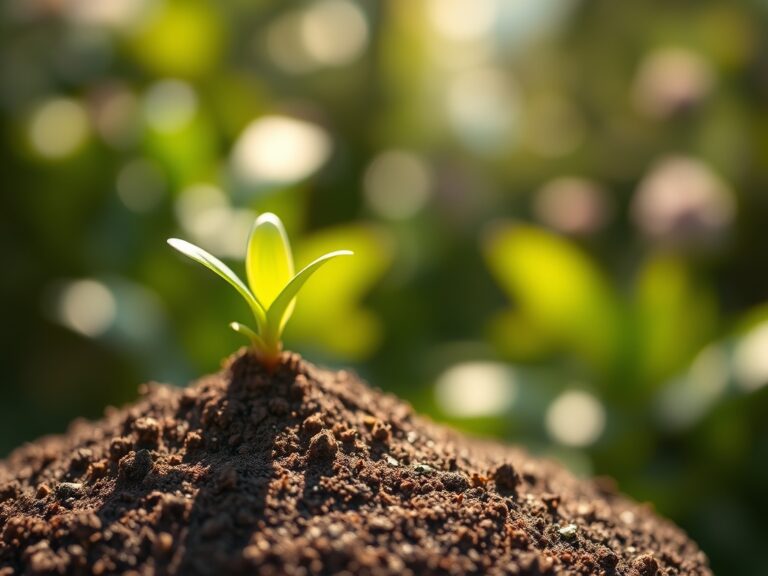
Sowing and Germination
Place your DIY light source exactly 2 to 4 inches above the soil surface. High intensity is required to prevent "legginess," where the hypocotyl stretches excessively. Maintain a consistent soil temperature of 70 degrees Fahrenheit using a heat mat if the dark corner is below 65 degrees.
Pro-Tip: Maintaining close proximity prevents auxin accumulation on one side of the stem. If the light is too far or directional, the plant exhibits phototropism, bending toward the source and weakening the cellular wall structure.
Transplanting into the Light Zone
When the second set of true leaves appears, move the seedling into a permanent container. Ensure the DIY light fixture is adjustable. As the plant grows, maintain a gap of 6 to 12 inches between the canopy and the LEDs to prevent leaf scorch while maximizing Photosynthetic Photon Flux Density (PPFD).
Pro-Tip: Inoculate the new container with mycorrhizal fungi. This symbiotic relationship increases the surface area of the root system, allowing the plant to process the increased sugars produced by the high-output DIY lighting system.
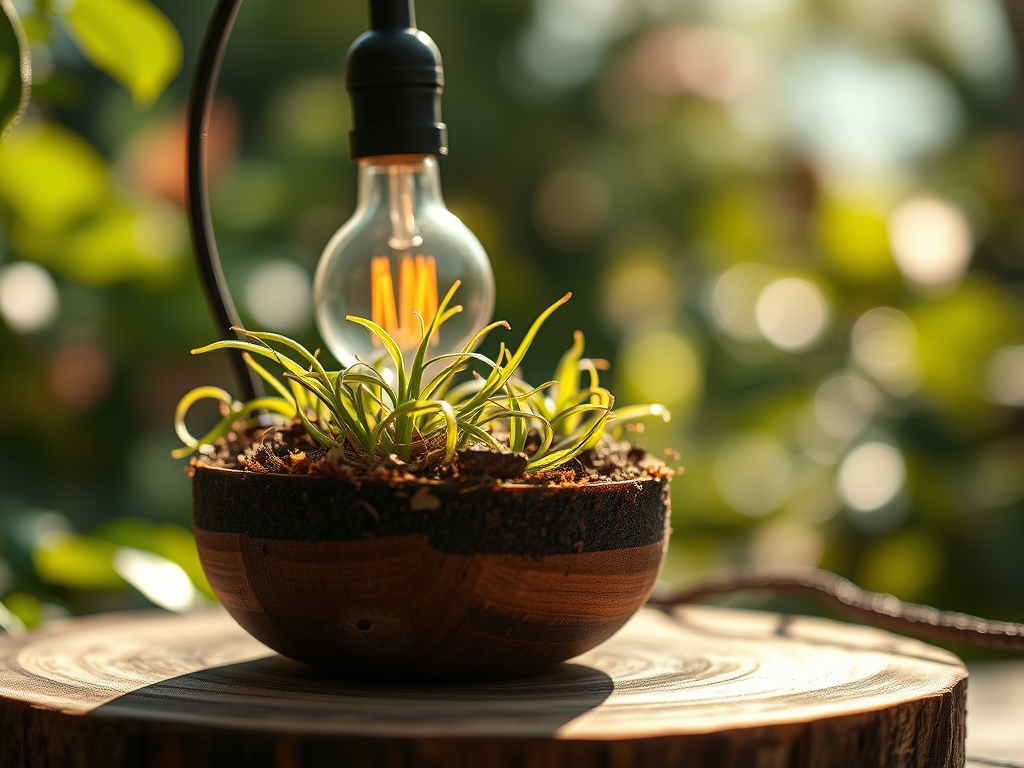
Establishing the Photoperiod
Once established, set your timer to mimic a tropical day-length. Consistency is more important than raw intensity. Use a light meter to ensure the dark corner receives at least 1,000 to 1,500 foot-candles for high-light species.
Pro-Tip: Sudden changes in light duration cause abscisic acid spikes. This hormone signals the plant to drop leaves to conserve resources. Transition the light duration gradually over 7 days to avoid shock.
The Clinic:
Physiological disorders in DIY setups usually stem from spectrum imbalances or heat.
Symptom: Interveinal Chlorosis (Yellowing between green veins).
Solution: This is often a Magnesium deficiency. Fix it by applying a solution of 1 tablespoon Epsom salts per gallon of water. Magnesium is the central atom in the chlorophyll molecule.
Symptom: Leaf Tip Burn or Necrosis.
Solution: Check the distance of your DIY LEDs. Even "cool" lights emit infrared heat that can desiccate cell walls. Increase the distance by 3 inches and check the soil with a soil moisture meter.
Symptom: Spindly, weak growth with long internodes.
Solution: Increase the light intensity or duration. The plant is suffering from "light starvation," leading to a breakdown in structural lignin development.
Fix-It for Nitrogen Chlorosis: If the oldest leaves turn pale yellow entirely, the plant is scavenging nitrogen for new growth. Apply a liquid 10-5-5 fertilizer at half strength to restore the nitrogen flush within the rhizosphere.
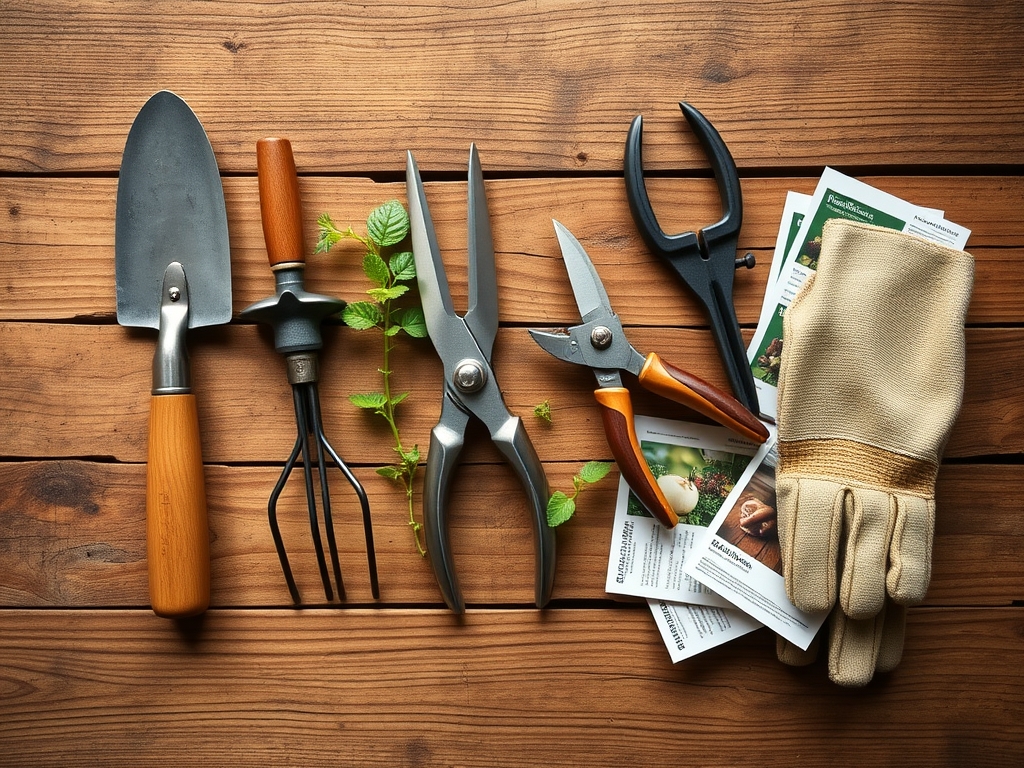
Maintenance:
Precision is the difference between a surviving plant and a thriving one. Use a soil moisture meter daily; do not water until the top 2 inches of soil are dry. Most indoor plants require approximately 1.5 inches of water per week delivered at the drip line to ensure even root distribution. Use a hori-hori knife to check for soil compaction every three months; if the blade cannot penetrate easily, the roots are likely oxygen-deprived. Prune dead or senescing foliage with bypass pruners to prevent the spread of saprophytic fungi. Clean the LED diodes with a dry microfiber cloth monthly; dust buildup can reduce light output by up to 20 percent.
The Yield:
For those growing herbs or leafy greens in dark corners, harvest timing is critical. Harvest in the morning, immediately after the DIY lights turn on, when turgor pressure is at its peak. Use sharp snips to take no more than 30 percent of the total biomass at once. To maintain "day-one" freshness, submerge the cut ends in 40-degree Fahrenheit water immediately. This rapid cooling slows down the metabolic respiration rate, preserving the volatile oils and sugars within the vascular tissue.
FAQ:
How high should I hang my DIY grow light?
Maintain a distance of 6 to 12 inches for most tropicals and herbs. If you notice bleached foliage, increase the height by 3 inches. If the plant stretches, move the light closer to increase PPFD levels.
Can I use regular household LED bulbs?
Standard bulbs often lack the blue (450nm) and red (660nm) peaks required for photosynthesis. While they provide some energy, a dedicated full-spectrum LED is necessary for long-term plant health and proper carbon fixation.
How many hours should the light stay on?
Most indoor plants require a 12 to 16-hour photoperiod. Never leave lights on for 24 hours; plants require a dark period for respiration, where they break down the sugars created during the day to fuel growth.
Why are my plant leaves turning yellow under the light?
This is often Nitrogen chlorosis or Magnesium deficiency. Ensure your soil pH is between 6.0 and 6.8 so the plant can chemically access the nutrients. Check for overwatering, which suffocates roots and prevents nutrient uptake.