9 Steps to Prepare a Yearly Garden Tool Maintenance Plan
The scent of damp, anaerobic soil often signals a failure in drainage, while the crisp turgor of a healthy leaf indicates a vascular system functioning at peak hydraulic efficiency. Success in the field is not a matter of chance; it is a result of mechanical precision and biological timing. Learning how to prepare a garden for a tool care year requires a systematic approach to the hardware that interacts with your soil and biomass. When a blade is dull, it crushes plant tissue instead of slicing it, leading to jagged wounds that invite pathogens. A well-maintained toolkit ensures that every cut is surgical and every furrow is consistent.
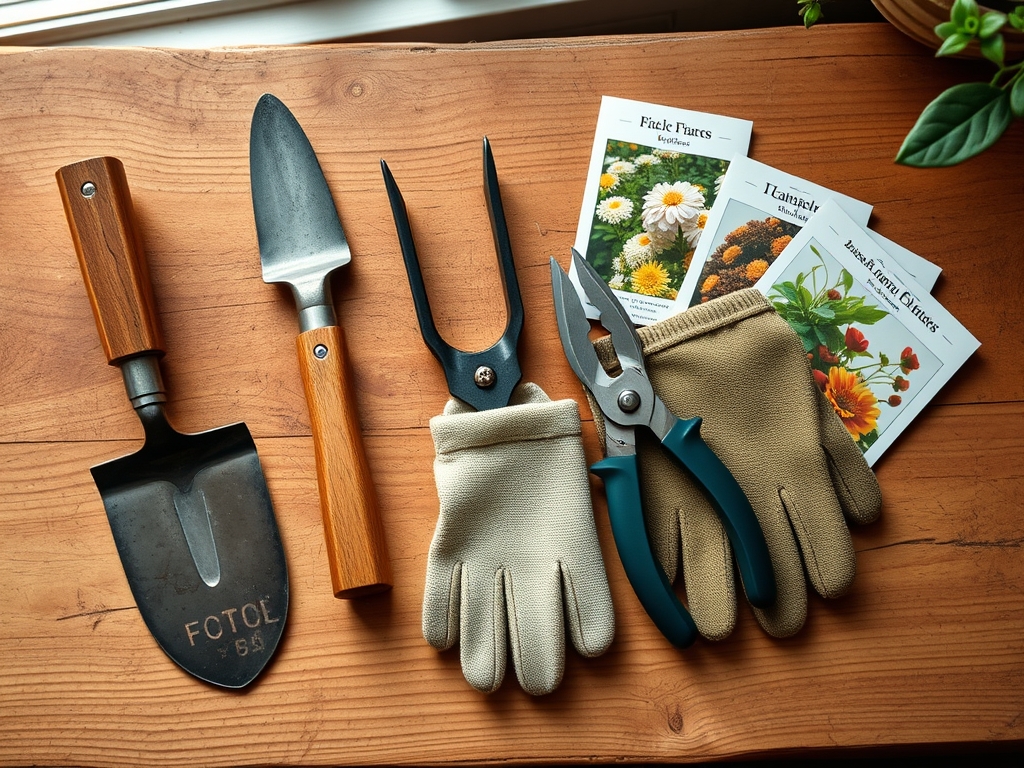
Materials:
Effective tool maintenance begins with the substrate they encounter. For a productive season, aim for a **friable loam** with a **sand-silt-clay ratio of 40-40-20**. This texture allows tools to glide through the earth without excessive friction or clumping. Soil pH should be stabilized between **6.2 and 6.8** to prevent the rapid oxidation of metal components caused by highly acidic environments.
Before the first planting, integrate a balanced 10-10-10 NPK fertilizer to ensure baseline nutrient availability. High-nitrogen environments (e.g., 21-0-0 Ammonium Sulfate) can accelerate the corrosion of carbon steel if tools are not cleaned immediately after use. The Cation Exchange Capacity (CEC) should ideally fall between 15 and 25 milliequivalents per 100g, ensuring the soil holds onto essential ions like Calcium (Ca2+) and Magnesium (Mg2+) rather than allowing them to leach and potentially react with your equipment.
Timing:
The maintenance calendar is dictated by your local Hardiness Zone. In Zones 5 through 7, the primary overhaul of equipment must occur during the dormant winter months, specifically the 8 to 12 week window before the last expected frost. This period aligns with the plant's biological clock, specifically the state of senescence, where metabolic activity is at its nadir.
As the photoperiod increases and soil temperatures reach a consistent 55 degrees Fahrenheit, the transition from vegetative to reproductive stages begins. You must have your bypass pruners sharpened and sterilized before the first sign of bud swell. Pruning during the "bleeding" phase of early spring requires a blade that creates a clean abscission layer to prevent the loss of vital sap and carbohydrates.
Phases:
Sowing
Precision in sowing requires a clean hori-hori knife or a calibrated seeder. Ensure the seedbed is free of large aggregates. When planting, the depth is typically 2 to 3 times the diameter of the seed.
Pro-Tip: Proper seed-to-soil contact is essential for imbibition, the process where the seed absorbs water to trigger germination. Clean tools prevent the introduction of damping-off fungi into the rhizosphere.
Transplanting
When moving starts from the greenhouse to the field, use a sharpened trowel to minimize root disturbance. The goal is to preserve the mycorrhizal symbiosis already established in the potting medium.
Pro-Tip: Reducing mechanical stress during transplanting prevents a spike in abscisic acid (ABA), a hormone that triggers stomatal closure and stunts growth.
Establishing
As the root system expands, use a soil moisture meter to monitor the 12-inch depth profile. Consistent moisture prevents the soil from hardening into a crust that can chip or dull your weeding hoes.
Pro-Tip: Maintaining tool sharpness during this phase allows for precise "scuffle hoeing," which utilizes auxin suppression by severing weed heads before they can establish dominance over the crop's light canopy.
The Clinic:
Physiological disorders often stem from poor tool hygiene or improper mechanical technique.
- Bacterial Canker: Identified by dark, sunken lesions on stems.
Solution: Sterilize all cutting surfaces with 70% isopropyl alcohol between every single cut to prevent cross-contamination. - Nitrogen Chlorosis: Identified by the yellowing of older leaves while veins remain green.
Fix-It: Apply a side-dressing of blood meal or urea and ensure your aeration tools are used to prevent soil compaction, which limits nitrogen uptake. - Blossom End Rot: Identified by a leathery black spot on the base of the fruit.
Fix-It: This is a Calcium transport issue. Use a soil moisture meter to ensure consistent hydration, as erratic watering prevents the plant from moving Calcium to the fruit. - Iron Deficiency: Identified by interveinal chlorosis in new growth.
Fix-It: Check pH levels immediately; if pH is above 7.2, iron becomes insoluble. Lower the pH using elemental sulfur.
Maintenance:
A rigorous maintenance schedule is non-negotiable. Every evening, scrape debris from your hori-hori knife and wipe it with a rag soaked in mineral oil. For irrigation, deliver exactly 1.5 inches of water per week at the drip line of the plant; avoid overhead watering which increases the risk of foliar pathogens.
Inspect bypass pruners for "play" in the central bolt. A loose pivot point allows the blades to twist, tearing the plant's xylem and phloem rather than severing them. Once a month, use a medium-grit whetstone to hone the bevel of your shovels and hoes to a 45-degree angle. This reduces the physical force required for soil penetration by up to 30 percent.
The Yield:
Harvesting is the final mechanical interaction of the season. For leafy greens, harvest in the early morning when turgor pressure is at its maximum. Use a razor-sharp harvest knife to make a single, swift cut. For fruiting bodies like tomatoes or peppers, wait for the breaker stage (approximately 50% color change) to maximize sugar accumulation while ensuring the fruit is firm enough for transport.
Post-harvest, submerge produce in cool, 55-degree water to remove field heat. This slows the rate of respiration and prevents the rapid breakdown of cellular structures. Clean your harvest containers with a 10% bleach solution after each use to eliminate lingering spores or bacteria.
FAQ:
How do I prevent rust on carbon steel tools?
Clean all soil from the metal surfaces after use. Apply a thin layer of boiled linseed oil or mineral oil. Store tools in a bucket filled with dry sand mixed with a small amount of motor oil to displace moisture.
What is the best way to sanitize pruning shears?
Dip the blades in a solution of 70% ethanol or a 1:10 bleach-to-water ratio for at least 30 seconds. This kills pathogens like Fusarium and Botrytis that cling to the metal surfaces between cuts.
When should I sharpen my garden hoe?
Sharpen the leading edge whenever you notice increased resistance during weeding. In heavy clay soils, this may be every 4 to 6 hours of active use. A sharp edge slices weed roots cleanly without disturbing the soil structure.
Does tool maintenance affect soil health?
Yes. Sharp, clean tools prevent the compaction of the rhizosphere and reduce the introduction of soil-borne pathogens. Well-maintained tools also ensure that organic amendments are incorporated evenly into the top 6 inches of the soil profile.