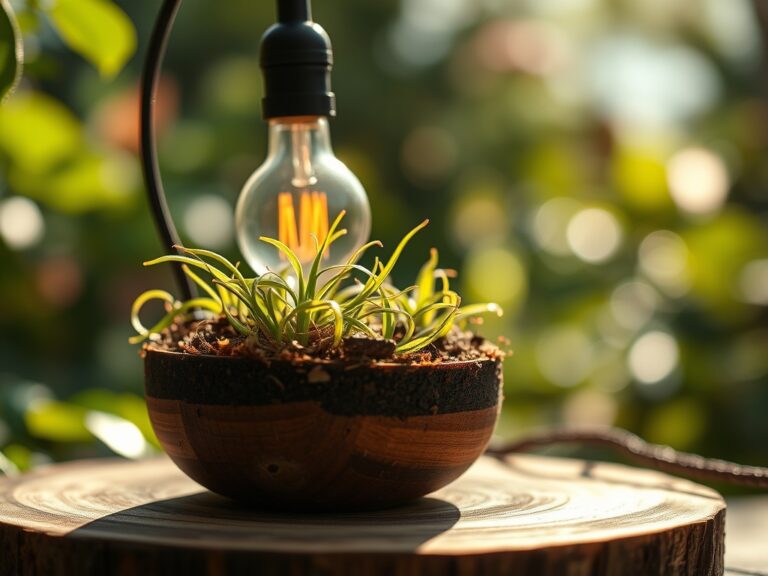
9 Advantages of Specialized Orchid Soil for Root Aeration
Crushing a healthy orchid root between your fingers should reveal a firm, white exterior with a dense, green photosynthetic core. This turgor pressure indicates a cellular structure saturated with moisture but balanced by gas exchange. Epiphytic orchids do not survive in standard potting mix; they require a substrate that mimics the void-heavy environment of a tropical canopy. Using a specialized orchid soil ensures that the velamen, the spongy outer layer of the root, can absorb atmospheric moisture without succumbing to anaerobic decay. Most terrestrial plants rely on capillary action within fine silts, but orchids demand a macropore structure. When you transition a Phalaenopsis or Cattleya into a professional medium, you are managing the gas-to-liquid ratio within the rhizosphere. A failure to provide this porosity leads to immediate root senescence. By prioritizing oxygen diffusion, the grower maintains the metabolic rate required for consistent flowering cycles. Professional-grade mixes typically utilize Douglas fir bark, perlite, and charcoal to maintain a pH between 5.5 and 6.5.
Materials:
The substrate must be physically stable and chemically inert. Avoid “friable loam” or any material with high clay content. The ideal texture is coarse and chunky, featuring particle sizes between **0.5 and 1.5 inches**.
- Substrate Composition: 80 percent organic bark (fir or Monterey pine), 10 percent horticultural charcoal, and 10 percent coarse perlite or pumice.
- Soil pH: Target a range of 5.5 to 6.5. This acidity level optimizes the solubility of micronutrients like iron and manganese.
- NPK Ratios: During vegetative growth, use a 20-10-20 water-soluble fertilizer. Transition to a 10-30-20 ratio to stimulate the reproductive phase.
- Cation Exchange Capacity (CEC): Specialized orchid media have a low CEC, meaning nutrients do not bind to the soil. You must provide consistent, low-dose fertigation to compensate for this lack of mineral retention.
Timing:
Orchids are sensitive to photoperiod and thermal shifts. While most orchids are grown indoors, their biological clock is governed by Hardiness Zones 10 through 12 if kept outside. For indoor cultivation, the "frost-date" logic applies to temperature drops near windows. Ensure nighttime temperatures do not fall below 55 degrees Fahrenheit for warm-growing species.
The transition from the vegetative stage to the reproductive stage is often triggered by a "cooling period." A drop of 10 to 15 degrees at night for four consecutive weeks will signal the plant to initiate a flower spike. Monitor the leaf turgor during this window; if the leaves feel flaccid, the plant is losing more moisture through transpiration than the roots can provide. Using a specialized orchid soil during this phase allows for increased watering frequency without risking the "wet feet" that causes bud blast.
Phases:

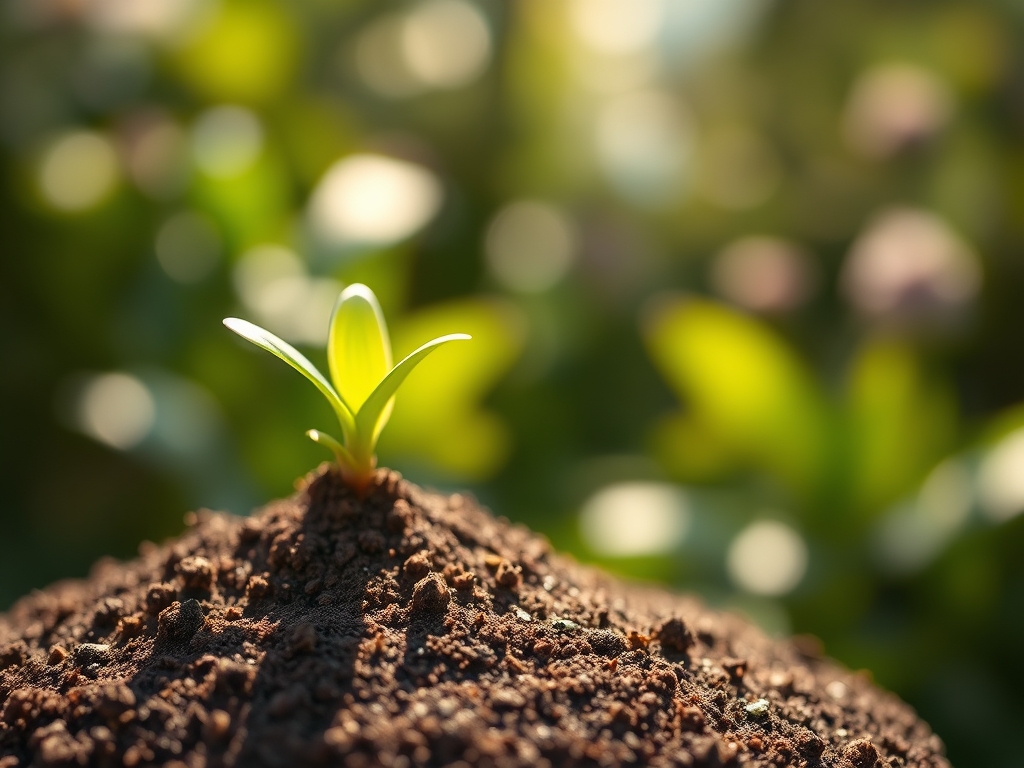
Sowing and Seedling Development
Orchid seeds are microscopic and lack endosperm. In a laboratory setting, they require agar-based flasks. For the home grower, "sowing" usually refers to deflasking seedlings into a "fine-grade" specialized mix. This mix uses 0.25-inch bark to maintain higher humidity around developing protocorms.
Pro-Tip: Seedlings require high humidity but are prone to damping off. Use a specialized orchid soil with added sphagnum moss to maintain 70 percent humidity around the base while allowing oxygen to reach the nascent root system. This prevents the buildup of carbon dioxide, which can inhibit early mitochondrial activity.
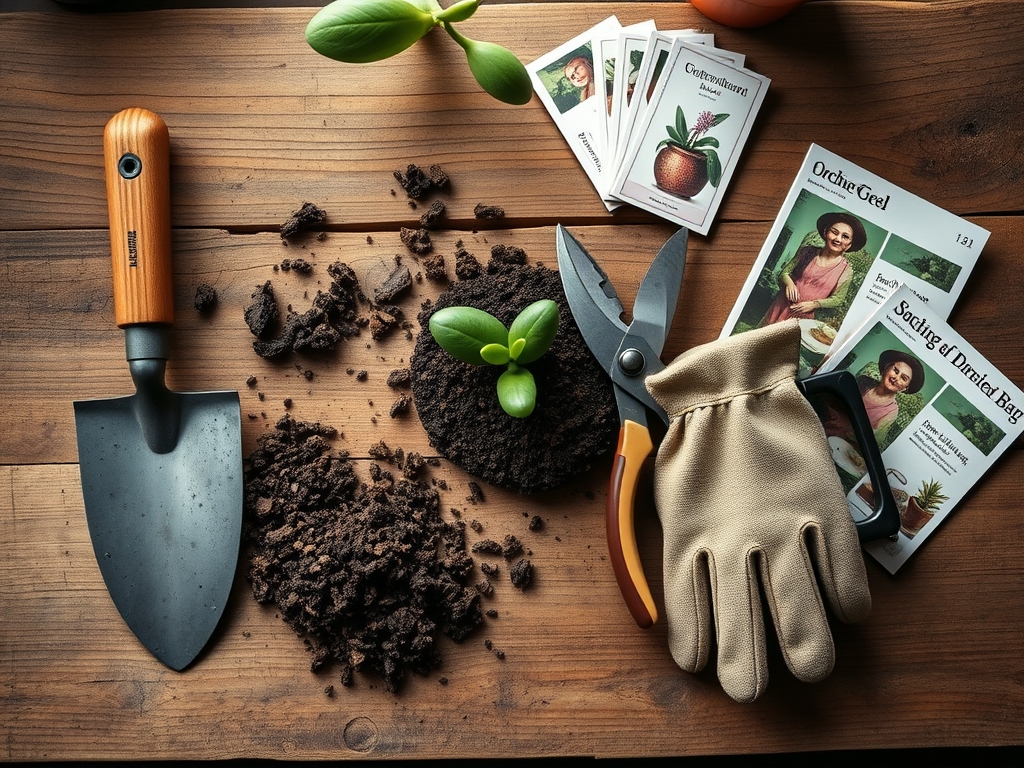
Transplanting and Repotting
Repot when the medium begins to break down or the plant outgrows the vessel. This usually occurs every 18 to 24 months. Remove all old media and use bypass pruners to excise dead, papery roots.
Pro-Tip: When placing the plant in the new vessel, orient the oldest pseudobulbs against the rim to allow the lead growth space to expand. This maximizes the utilization of the container's volume and prevents "clumping" which restricts airflow. Mycorrhizal fungi often form a symbiotic relationship with orchid roots; do not scrub the roots completely sterile during transplanting.
Establishing and Root Anchoring
An orchid is established once the new roots have adhered to the bark or charcoal particles. During the first 30 days post-transplant, minimize movement. The plant uses auxins to direct root growth toward moisture gradients.
Pro-Tip: Use a rhizome clip to secure the plant. If the orchid wobbles, the emerging root tips (which are highly sensitive) will rub against the substrate and abort. This phenomenon, known as mechanical stress inhibition, can stall growth for an entire season.
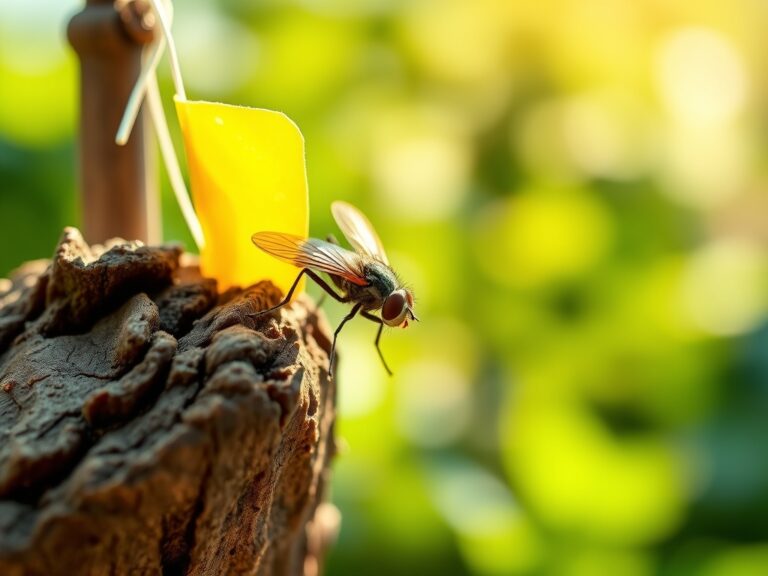
The Clinic:
- Symptom: Root Rot (Velamen Softness)
- Cause: Anaerobic conditions due to compacted or decomposed media.
- Solution: Immediate repotting into a coarse, specialized mix. Increase air circulation using a small fan.
- Symptom: Nitrogen Chlorosis (Yellowing of older leaves)
- Cause: Nitrogen deficiency or pH imbalance preventing uptake.
- Solution: Apply a 30-10-10 high-nitrogen fertilizer if using bark-based media, as bark-decaying bacteria consume nitrogen.
- Symptom: Tip Burn (Necrosis on leaf ends)
- Cause: Excess salt accumulation from tap water or over-fertilizing.
- Solution: Flush the specialized soil with distilled water equal to three times the volume of the pot.
- Fix-It for Calcium Deficiency: If new leaves emerge deformed or "stuck," supplement with a Cal-Mag additive. Orchids in bark-based soils often struggle with calcium mobility when the pH drops below 5.5.
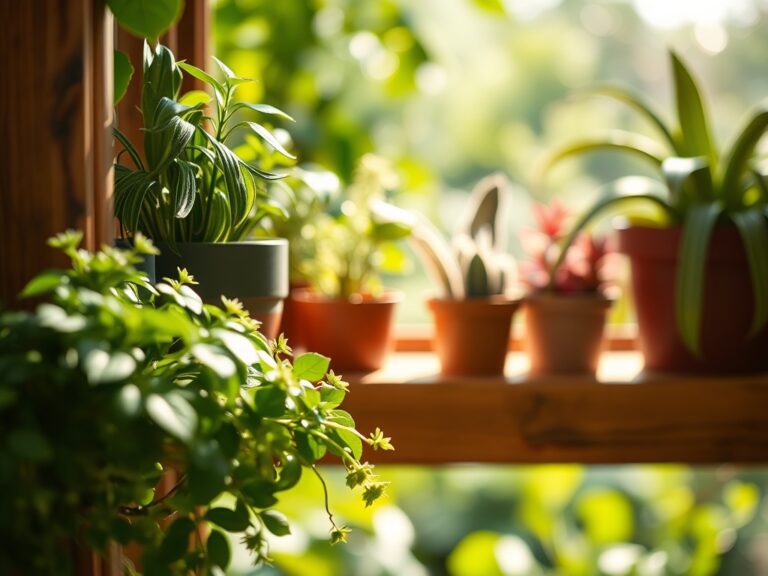
Maintenance:
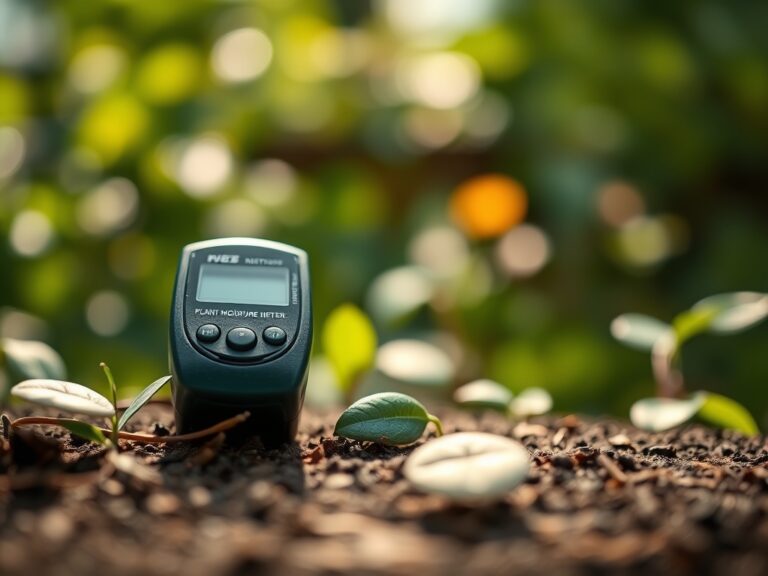
Orchid maintenance requires precision rather than volume. Use a soil moisture meter to check the center of the root ball. For most species, wait until the meter reads "Dry" before saturating the medium. When watering, apply water until it runs freely from the drainage holes; this flushes out accumulated mineral salts.
Use a hori-hori knife to help loosen the root ball from the pot during maintenance checks. Every six months, inspect the substrate for "fines" (small, broken-down particles). If the mix looks like dirt rather than wood chips, the aeration has failed. Maintain a steady air temperature of 65 to 80 degrees Fahrenheit during the day. Clean the leaves with a damp cloth to ensure maximum light absorption, as dust can reduce photosynthetic efficiency by up to 20 percent.
The Yield:
For the orchid grower, the "yield" is the inflorescence. To ensure "day-one" freshness and longevity of the blooms, do not move the plant once the buds begin to swell. Changing the orientation to the light source can cause "bud twist" as the plant attempts to reorient via phototropism.
Once the first flower opens, reduce fertilizer application. High nitrogen levels during full bloom can cause the plant to prioritize vegetative growth, leading to premature flower senescence. If cutting the spike for a vase, use a sterilized blade and cut at a 45-degree angle to maximize the surface area for water uptake.
FAQ:
Why is my orchid soil turning into dust?
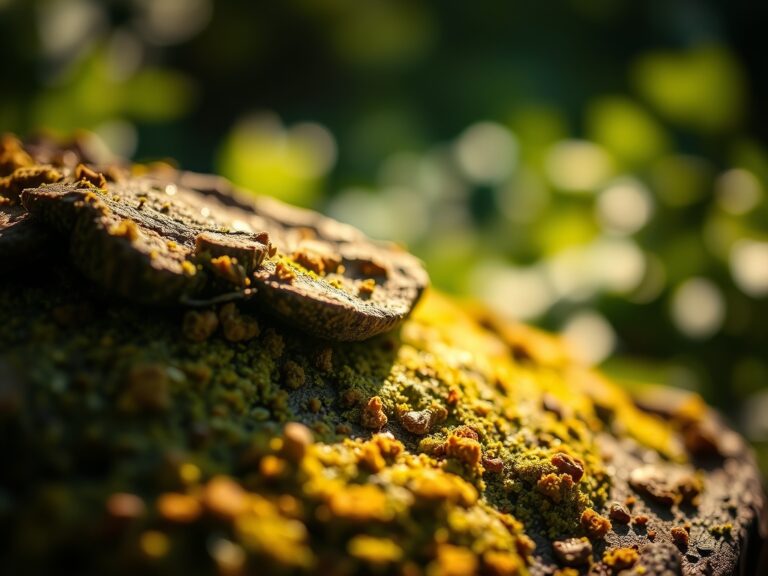
Organic components like fir bark naturally decompose over 12 to 24 months. As they break down, they lose their structural integrity and "collapse," which eliminates the air pockets essential for root respiration. Repot immediately when the texture becomes fine.
Can I use regular potting soil for orchids?
No. Regular potting soil is designed to retain high levels of moisture and lacks the macropores required by epiphytic roots. Using a specialized orchid soil prevents the anaerobic conditions that lead to rapid root rot and plant death.
How do I know if my orchid needs more water?
Observe the root color through the pot. Silver or grey roots indicate a need for hydration. Bright green roots suggest the velamen is saturated. A soil moisture meter can confirm the internal moisture levels of the bark.
What is the best NPK ratio for orchids?
Use a balanced 20-20-20 for general maintenance. Switch to a "Bloom Booster" with a higher middle number, such as 10-30-20, when you see a flower spike emerging to provide the phosphorus needed for flower development.