9 Creative Ways to Prepare an Upcycled DIY Plant Pot
Learning how to prepare a DIY plant pot transforms household waste into functional growing vessels while reducing landfill burden and container costs. Upcycled containers ranging from tin cans to wooden crates offer excellent drainage potential and thermal mass when properly treated. The key lies in creating adequate drainage, selecting appropriate growing media with proper cation exchange capacity, and matching container volume to root system needs. This guide presents nine distinct preparation methods suited to different materials and plant types.
Materials
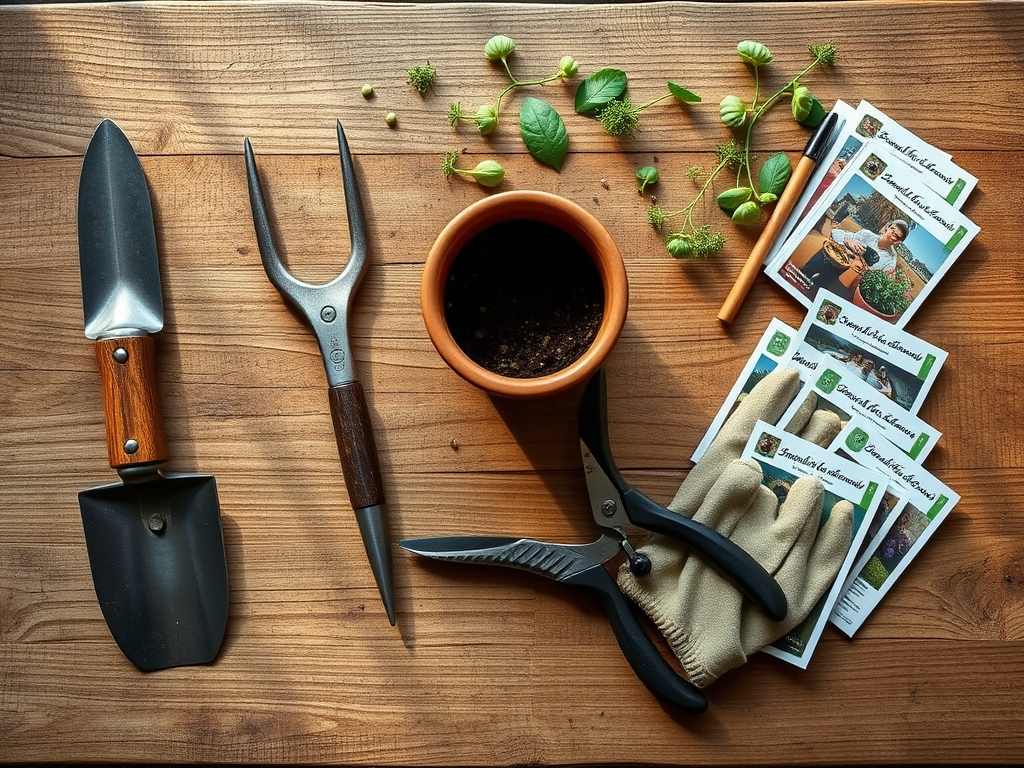
Container selection depends on material durability and root zone requirements. Tin cans provide 2-3 years of service before rust penetration becomes problematic. Wood crates last 4-6 years when treated with linseed oil rather than synthetic sealants that leach phytotoxic compounds.
Growing media should contain 40% perlite or pumice for drainage, 30% sphagnum peat moss or coir (pH 5.5-6.5), and 30% compost. Incorporate a balanced organic amendment at 4-4-4 NPK ratio, applying 2 tablespoons per gallon of media. For acid-loving species like blueberries or azaleas, add sulfur at 1 teaspoon per gallon to lower pH to 4.5-5.5.
Mycorrhizal fungi inoculant contains 100-300 propagules per gram. Mix 1 tablespoon per 5 gallons of media to establish symbiotic relationships that increase phosphorus uptake by 60-80%. Endomycorrhizae species like Glomus intraradices work for most vegetables and ornamentals.
Drainage materials include gravel (0.5-inch layer), broken terracotta shards, or expanded clay pebbles. These prevent soil compaction at drainage holes while maintaining airflow to lower root zones.
Timing
Container preparation aligns with regional hardiness zones and last frost dates. Zones 3-5 should prepare containers 6-8 weeks before the last expected frost (typically mid-May). This allows media to warm and beneficial microbes to colonize before transplanting.
Zones 6-8 can begin preparation in early March for cool-season crops. Warm-season transplants require soil temperatures above 60°F, usually 2 weeks after the last frost date.
Zones 9-11 operate on inverse schedules, preparing containers in September-October for winter growing seasons when temperatures drop below 90°F.
Phases
Preparation Phase
Drill drainage holes at 0.5-inch diameter, spacing them every 4 inches across the container bottom. Insufficient drainage causes anaerobic conditions that halt root respiration within 48 hours.
Apply food-grade linseed oil to wooden containers using a natural bristle brush. Two coats protect against moisture penetration without releasing volatile organic compounds that inhibit auxin distribution in growing tissue.
Line metal containers with landscape fabric cut to fit interior dimensions. This prevents direct root contact with metals that may leach at pH levels below 6.0.
Pro-Tip: Pre-soak coconut coir bricks in water adjusted to pH 6.0 for 2 hours. Untreated coir often carries a pH of 6.8-7.2, which limits micronutrient availability in container systems.
Media Loading Phase
Place 0.5-inch drainage layer, then add growing media to within 2 inches of the rim. This headspace prevents water overflow and allows for top-dressing applications.
Water media thoroughly until drainage occurs, then allow to rest 24 hours. This settling period reveals true volume and prevents transplant subsidence.
Inoculate with beneficial bacteria by mixing 1 tablespoon of actively brewing compost tea per gallon of media. Bacillus subtilis and Pseudomonas fluorescens populations establish within 72 hours.
Pro-Tip: Create a depression 1 inch deep at the planting site. This bowl shape directs water to the root zone during the establishment period rather than running off compacted surface media.
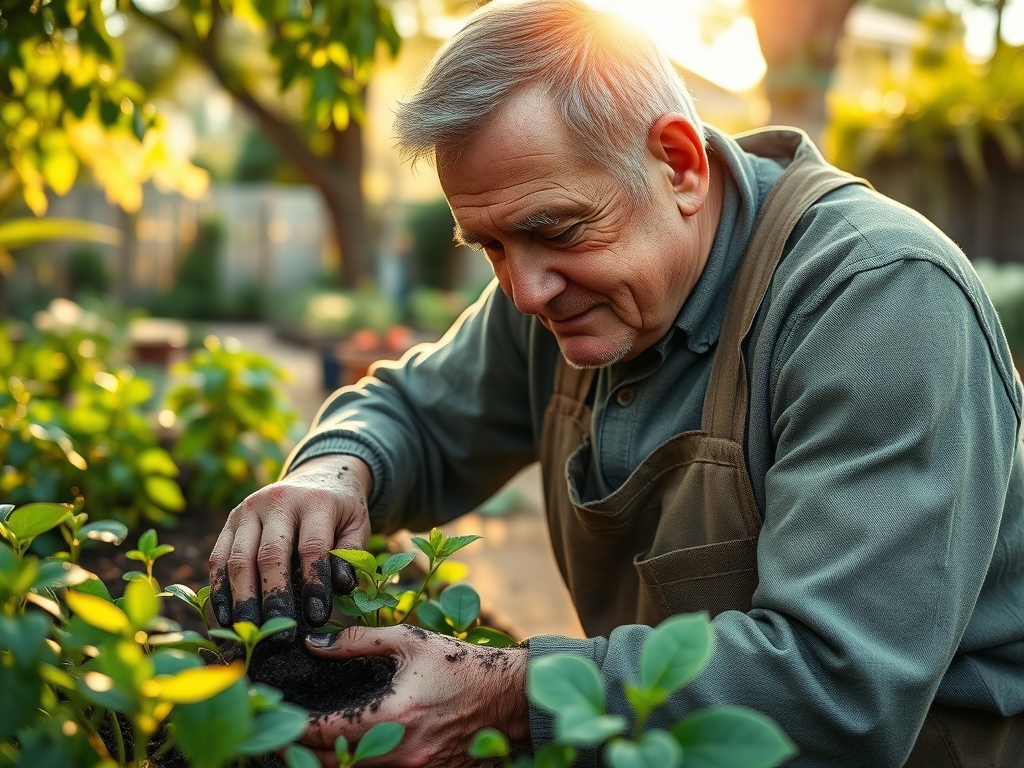
Establishment Phase
Transplant seedlings at the same depth they occupied in starter cells. Burying stems deeper than original growth triggers adventitious root formation in tomatoes but causes collar rot in peppers and eggplants.
Apply 1 inch of shredded hardwood mulch around transplants, keeping material 1 inch away from stems. Mulch moderates soil temperature swings of up to 15°F in exposed containers.
Water with fish emulsion diluted to 1 tablespoon per gallon for the first feeding. This provides immediately available nitrogen (5-1-1 NPK) without burning tender root hairs.
Pro-Tip: Position containers to receive morning sun and afternoon shade in zones 7-11. Eastern exposure provides 6 hours of cooler morning light while preventing heat stress that can elevate container media temperatures above 85°F.
Troubleshooting
Symptom: White crusty deposits on container rims and media surface.
Solution: Salt accumulation from fertilizer buildup or alkaline water. Flush containers with 2 gallons of water per 1 gallon of media volume monthly. Switch to rainwater or reverse osmosis water if source water exceeds 200 ppm total dissolved solids.
Symptom: Stunted growth with yellowing lower leaves progressing upward.
Solution: Nitrogen deficiency from rapid nutrient leaching. Container media loses 40% of applied nitrogen within 2 weeks. Increase feeding frequency to every 7-10 days using half-strength balanced fertilizer (10-10-10).
Symptom: Wilting despite moist media, roots appear brown and mushy.
Solution: Root rot caused by Pythium or Phytophthora species. Remove affected plants, sterilize containers with 10% bleach solution for 10 minutes, and ensure drainage holes remain clear. Reduce watering frequency by 30%.
Symptom: Holes in leaves with dark frass present.
Solution: Caterpillar feeding damage. Apply Bacillus thuringiensis var. kurstaki at 1 tablespoon per gallon, spraying upper and lower leaf surfaces at dusk. Repeat every 5 days for 3 applications.
Maintenance
Water when the top 1 inch of media feels dry to touch, typically every 2-3 days in temperatures above 75°F. Container-grown plants require 1-2 inches of water per week, delivered in deep soakings rather than frequent shallow applications.
Feed every 14 days during active growth using liquid fertilizer at half package-recommended strength. Container plants cannot access soil nutrient reserves and depend entirely on applied inputs.
Rotate containers 90 degrees weekly to ensure even light exposure and prevent phototropic leaning that weakens stems.
Prune at 45-degree angles 0.25 inch above outward-facing buds. This promotes horizontal branching that maximizes light interception in limited container spaces.
FAQ
Can I use containers without drainage holes?
No. Roots die within 72 hours in waterlogged conditions. Even succulents require drainage to prevent rot. Drill minimum 0.5-inch holes or add a 2-inch layer of activated charcoal to absorb excess moisture.
How long does potting media last before replacement?
Replace media annually. Organic matter decomposes, reducing pore space by 30-40% per season. Cation exchange capacity drops as humus content depletes, limiting nutrient retention.
What size container do tomatoes need?
Determinate varieties require 5-gallon minimum volume. Indeterminate types need 10-15 gallons for adequate root development. Insufficient volume causes blossom end rot from calcium transport limitations.
Should I add gravel to the bottom of pots?
A thin 0.5-inch layer aids drainage. Thicker layers create a perched water table that keeps media above saturated. Focus on proper drainage holes rather than excessive gravel depth.
How do I sterilize used containers?
Scrub with dish soap, then soak in 1 part bleach to 9 parts water for 10 minutes. Rinse thoroughly and air dry in sunlight for 24 hours. UV exposure kills remaining fungal spores.