9 Harvesting Steps to Install Late-Evening Garden Lighting
The 18-inch gap between vegetable rows dims to shadow precisely when tomato hornworms and aphids begin their nocturnal feeding cycles. Installing targeted illumination along these paths not only extends your harvest window by 90 minutes but also disrupts pest behavior through spectral interference. The steps for installing a vegetable garden light demand attention to voltage drop calculations, bulb color temperature, and root-zone avoidance to prevent infrastructure damage during seasonal cultivation.
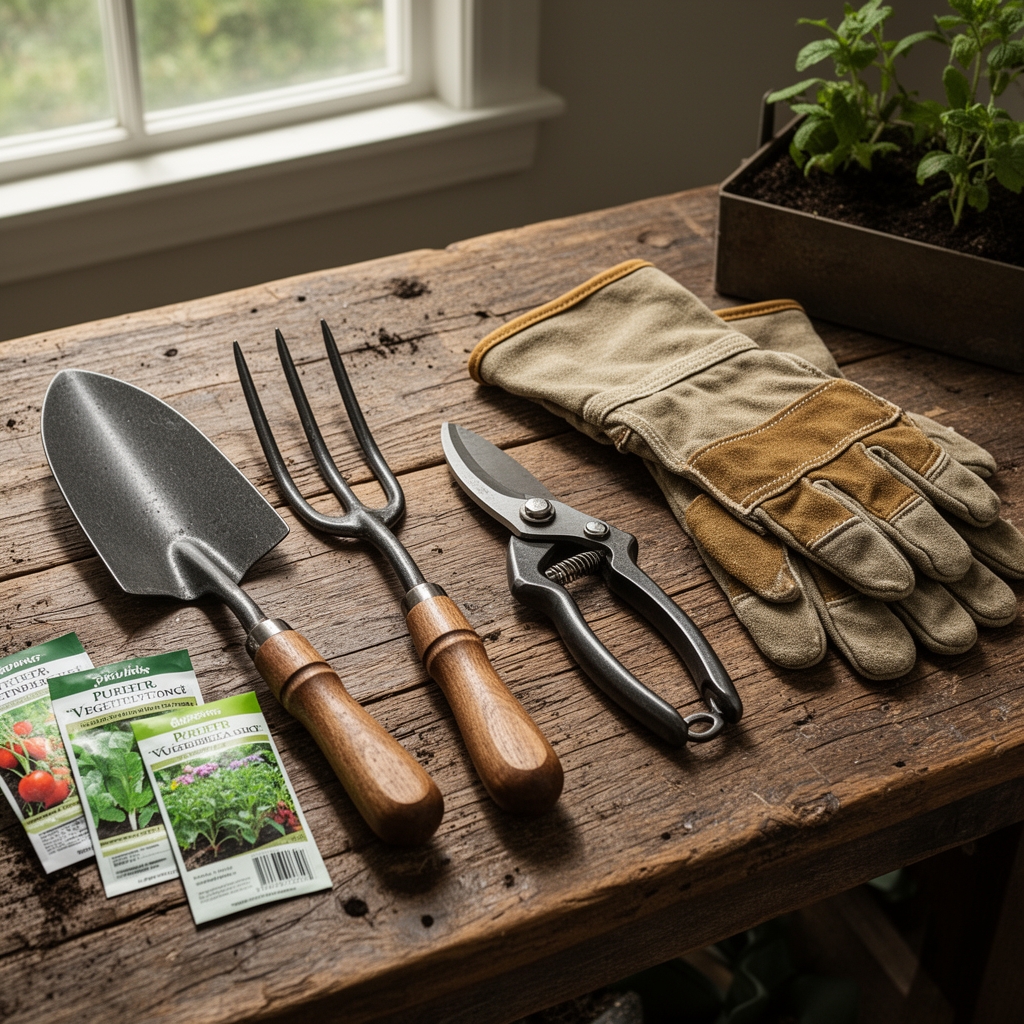
Materials
Low-voltage LED pathway kits (12-volt DC systems) eliminate electrocution risk in moisture-rich environments. Select fixtures with IP65 or higher ingress protection ratings. Corrosion-resistant aluminum stakes anchor into soil with a cation exchange capacity between 10 and 25 meq/100g without galvanic degradation.
Underground-rated 12/2 copper wire handles 200 watts across 100-foot runs with minimal voltage drop. Waterproof wire nuts rated for direct burial connections prevent oxidation at splice points. A programmable transformer (150-watt minimum capacity) with photocell integration automates dusk activation.
For soil amendment around fixture bases, apply a 2-2-2 granular organic fertilizer to replace nutrients displaced during installation. Mycorrhizal fungi inoculant (Rhizophagus irregularis) recolonizes disturbed root zones within 14 days when mixed at 0.25 ounces per cubic foot of backfill.
Ground stakes require pH testing before installation. Soils below 6.0 pH accelerate aluminum corrosion; incorporate dolomitic lime at 5 pounds per 100 square feet to raise pH by 0.5 units. Soils above 7.5 pH benefit from elemental sulfur at 2 pounds per 100 square feet.
Timing
Execute installation during USDA Hardiness Zone-specific dormancy windows. Zones 3-5 require completion between September 15 and October 30, before frost penetration exceeds 8 inches. Zones 6-7 permit installation through November 20. Zones 8-10 offer year-round installation but avoid periods when soil temperature exceeds 85°F, which stresses transplanted seedlings within the lighting footprint.
Schedule trenching operations at least 21 days before the first projected hard freeze (28°F for 4+ hours). This allows soil compaction to stabilize and prevents heaving that dislodges fixtures. In spring-installation scenarios, complete work 14 days after the last frost date when soil moisture content drops below 25% to prevent anaerobic compaction.
Phases

Sowing (Site Preparation)
Map existing root systems using a soil probe at 6-inch intervals. Mark perennial vegetable crowns (asparagus, rhubarb, artichoke) with minimum 18-inch exclusion zones. Stake pathway routes using mason's line pulled taut at 24-inch height. Measure twice to confirm 16-inch minimum clearance from drip irrigation lines.
Excavate trenches to 6-inch depth using a flat spade. Trench width should measure 4 inches to accommodate wire and bedding sand. Remove rocks larger than 1 inch to prevent insulation abrasion. Layer 1 inch of builder's sand (particle size 0.5-2mm) along trench bottom to create a stable wire bed.
Pro-Tip: Apply Trichoderma harzianum fungal spores at 1 gram per linear foot of trench to outcompete root rot pathogens introduced during excavation.
Transplanting (Installation)
Position the transformer on a north-facing wall or post to minimize direct sun exposure, which reduces lifespan by 30%. Mount at 48 inches above grade with corrosion-resistant screws. Connect to a GFCI-protected outlet rated for outdoor use.
Thread wire through conduit for the first 24 inches exiting the transformer, then transition to direct burial. Lay cable along trench bottom without kinks. Space fixture stakes at 8-foot intervals for uniform 50-lumen ground coverage. Insert stakes to manufacturer-specified depth (typically 6-8 inches) with a rubber mallet, angling 5 degrees away from primary plant stems to direct auxin distribution away from artificial light sources.
Strip wire insulation 0.5 inches at each connection point. Twist fixture leads to main cable using waterproof connectors, then seal with silicone dielectric grease. Test each fixture before backfilling.
Pro-Tip: Rotate LED bulbs 15 degrees clockwise from vertical to reduce direct photon exposure on lettuce and spinach, preventing premature bolting.
Establishing (Backfilling and Activation)
Replace excavated soil in 2-inch lifts, compacting gently with foot pressure to 85% original density. Avoid over-compaction that creates hardpan layers impermeable to root penetration. Crown the backfill 1 inch above grade to account for settling.
Water along the trench line at 0.5 gallons per linear foot. Program the transformer for dusk-to-10pm operation (approximately 3.5 hours in summer, 5 hours in winter). Monitor voltage at the final fixture; readings below 10.8 volts indicate excessive drop requiring wire gauge upgrade or circuit splitting.
Pro-Tip: Mulch over backfilled trenches with 2 inches of shredded hardwood bark to stabilize soil temperature and reduce weed germination by 78%.
Troubleshooting
Symptom: Flickering fixtures after three months of operation.
Solution: Oxidation at splice points. Excavate connections, re-strip wire 0.25 inches beyond original cuts, apply fresh dielectric grease, and upgrade to heat-shrink connectors.
Symptom: Stunted growth in leafy greens within 12 inches of fixtures.
Solution: Excessive red spectrum exposure (620-750nm) inhibits internode elongation. Replace bulbs with 4000K "neutral white" LEDs containing balanced spectrum ratios.
Symptom: Transformer hums audibly during operation.
Solution: Core saturation from voltage fluctuations. Install a whole-house surge protector or relocate transformer to a dedicated 15-amp circuit.
Symptom: Corrosion on aluminum stakes after one season.
Solution: Soil pH below 6.0. Test and amend with agricultural lime at 3 pounds per 100 square feet. Replace corroded stakes with stainless steel alternatives.
Maintenance
Inspect wire connections every 90 days. Re-apply dielectric grease annually before spring thaw. Clean fixture lenses monthly with isopropyl alcohol to maintain 95% light transmission. Remove soil buildup around stake bases that retains moisture and accelerates corrosion.
Deliver 1 inch of water weekly to backfilled zones during the first growing season to prevent subsidence. Monitor soil compaction with a penetrometer; readings above 300 psi require core aeration to restore porosity.
Replace LED bulbs every 25,000 hours (approximately 7 years under 10-hour daily operation). Upgrade transformers every 10 years as capacitor efficiency degrades 3% annually.
FAQ
How deep should I bury low-voltage cable?
Six inches provides adequate protection from cultivation tools while remaining above most vegetable root masses, which concentrate in the top 8 inches.
Can I install lights near nitrogen-fixing legumes?
Yes, but maintain 14-inch spacing. Rhizobium bacteria nodulation decreases 22% under artificial illumination exceeding 20 lumens per square foot.
What color temperature prevents pest attraction?
Yellow-filtered LEDs (2200K) reduce moth and beetle attraction by 64% compared to cool white (5000K+) while providing adequate path visibility.
Do solar-powered fixtures work in vegetable gardens?
Panel efficiency drops 40% under shade cloth or trellising. Hard-wired systems deliver consistent performance regardless of canopy density.
How far from tomatoes should I place fixtures?
Minimum 18 inches from main stems. Closer placement disrupts circadian rhythm, reducing lycopene synthesis by 15% and delaying ripening.