7 Ways to Prepare a Multi-Tiered Houseplant Shelf
Turgor pressure dictates the structural integrity of a leaf; when the vacuole is full, the plant stands rigid. The scent of damp earth signifies an active rhizosphere where microbes break down organic matter into bioavailable ions. Mastering the vertical environment requires more than aesthetics. It demands a rigorous understanding of microclimates and nutrient cycling. Knowing how to prepare a plant shelf for houseplants involves balancing light intensity, humidity gradients, and substrate composition across multiple elevations. Each tier represents a distinct ecological niche. A shelf near a south facing window may experience 1,500 foot-candles at the top while the bottom tier sits in a 150 foot-candle shadow. Success depends on placing the right species in the right lumen zone while managing the physical weight of saturated soil. Precision in the setup phase prevents physiological stress and ensures long term cellular health.
Materials:
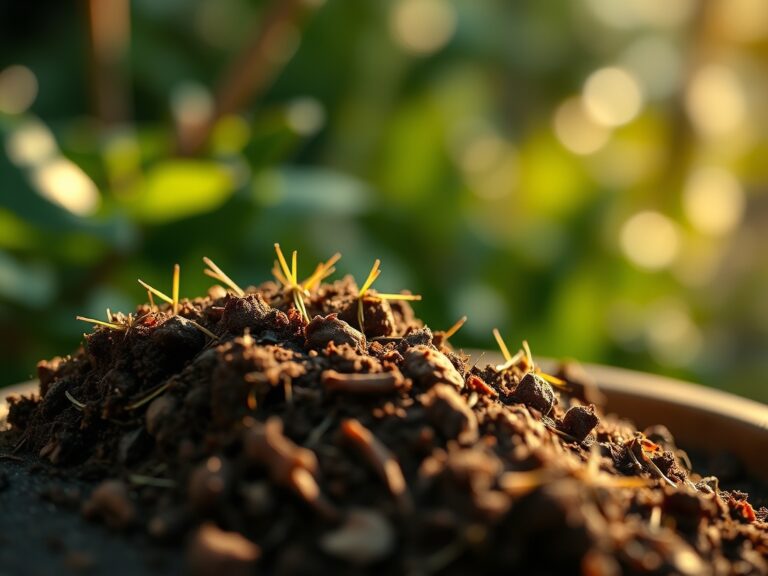
The foundation of a multi tiered system is the substrate. A friable loam provides the necessary pore space for oxygen exchange. For most tropical houseplants, aim for a **pH between 5.8 and 6.5** to ensure maximum nutrient bioavailability.
High demand foliage plants require a nitrogen heavy NPK ratio of 3-1-2. This supports the production of chlorophyll and the expansion of leaf surface area. Succulents and cacti, often placed on the highest, brightest shelves, require a 2-7-7 ratio to prioritize root development and water storage over rapid vegetative growth.
Cation Exchange Capacity (CEC) is the soil's ability to hold onto essential nutrients like potassium, calcium, and magnesium. Incorporating 15 percent perlite and 10 percent orchid bark increases aeration while maintaining a moderate CEC. Avoid heavy garden soils; they lack the drainage necessary for containerized environments and will lead to root senescence through hypoxia.
Timing:
While indoor environments are buffered, plants still respond to external photoperiods. Most houseplants enter a vegetative growth phase when daylight exceeds 12 hours. In USDA Hardiness Zones 5 through 7, this typically occurs between late March and early October.
Align your shelf preparation with the spring equinox. This allows plants to establish their root systems during the peak of their biological clock. If you are moving plants from an outdoor patio to an indoor shelf, do so before the first frost date. A temperature drop below 50 degrees Fahrenheit can trigger a dormancy response or cause cellular rupture in tropical species. Monitor the transition from vegetative growth to the slower metabolic rates of winter to adjust your irrigation and fertilization schedules accordingly.
Phases:

Sowing and Propagation
Start seeds or cuttings in a controlled environment with a consistent temperature of 72 to 75 degrees Fahrenheit. Use a sterile seed starting mix to prevent damping off. For cuttings, ensure at least one node is submerged in the medium to allow for the emergence of adventitious roots.
Pro-Tip: Utilize auxin suppression by pinching off the apical meristem. This encourages lateral branching and a bushier habit; the plant redirects energy from vertical growth to axillary buds.
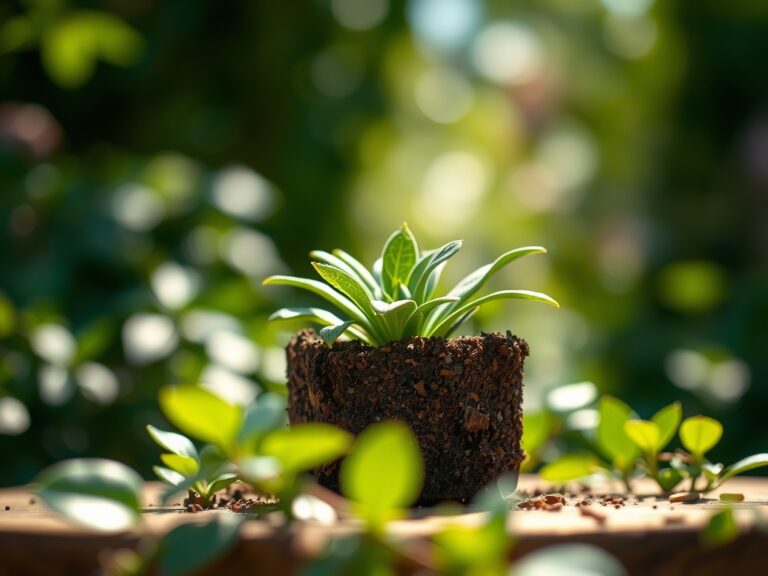
Transplanting
When moving a plant to the shelf, select a pot that is no more than 2 inches wider than the current root ball. Excessive soil volume leads to "perched water tables" where the bottom of the pot remains saturated, suffocating the roots. Ensure the shelf can support the weight of wet soil; a 10 inch ceramic pot can exceed 15 pounds after watering.
Pro-Tip: Inoculate the root zone with mycorrhizal fungi during transplanting. This symbiotic relationship extends the root system's reach; the fungi trade phosphorus for plant sugars, significantly increasing drought resistance.
Establishing
Once placed on the shelf, do not move the plant for at least 21 days. This allows the plant to calibrate its leaves to the specific light angle of its new position. Monitor for phototropism, where the plant leans toward the light source. Rotate the pot 90 degrees weekly to maintain an even canopy.
Pro-Tip: Plants utilize phototropism to maximize light interception for photosynthesis. Regular rotation prevents the uneven distribution of auxins, which would otherwise cause the stems to elongate and weaken on the shaded side.
The Clinic:
Physiological disorders often manifest as visual cues on the foliage. Identifying these early is critical for shelf health.
Symptom: Interveinal chlorosis (yellowing between green veins) on new growth.
Solution: This indicates an Iron deficiency, often caused by a pH above 7.0. Lower the pH using a sulfur based acidifier to make iron soluble again.
Symptom: Leaf tip burn or marginal necrosis.
Solution: This is often a result of salt accumulation from tap water or over fertilization. Flush the substrate with distilled water until the runoff electrical conductivity (EC) drops.
Symptom: Edema (small bumps or blisters on the underside of leaves).
Solution: This occurs when the roots take up water faster than the leaves can transpire it. Increase airflow with a small fan to improve the vapor pressure deficit (VPD).
Fix-It for Nitrogen Chlorosis: If older leaves turn a uniform pale yellow, the plant is scavenging nitrogen for new growth. Apply a liquid fertilizer with a high N rating immediately to restore protein synthesis.
Maintenance:
A disciplined maintenance routine prevents the buildup of pathogens. Use a soil moisture meter to check the substrate depth; do not water until the top 2 inches are dry. For a standard shelf setup, most plants require approximately 1 cup of water per gallon of soil volume per week, though this varies by humidity.
Keep a hori-hori knife for loosening compacted surface soil and bypass pruners for removing senescent leaves. Pruning should be precise; cut at a 45 degree angle just above a node to facilitate rapid healing. Clean your tools with 70 percent isopropyl alcohol between plants to prevent the mechanical transmission of pathogens. Wipe the leaves every 14 days with a damp cloth to remove dust, which can block up to 30 percent of available light and clog stomata.
The Yield:
For those growing herbs or edible greens on their shelves, harvest timing is essential for flavor and nutrient density. Harvest before the plant reaches the reproductive stage (bolting). Once a plant flowers, it redirects sugars to seed production, often leaving the leaves bitter.
Cut herbs in the morning when essential oil concentration is highest. Use sharp snips to avoid crushing the vascular tissue. For "day-one" freshness, place the stems in a glass of water or a sealed container with a damp paper towel to maintain turgidity. If you are harvesting flowers for display, cut them when the buds are just beginning to show color to ensure the longest vase life.
FAQ:
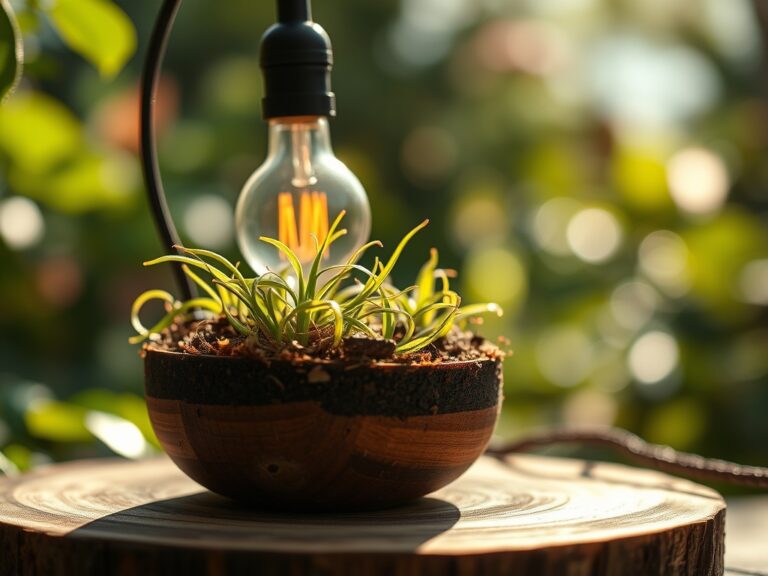
How much light do shelf plants need?
Most houseplants require 200 to 800 foot-candles for sustained growth. Use a light meter to measure intensity at the leaf surface. High light plants like succulents need the top shelf, while low light ferns thrive on lower tiers.
How do I prevent water damage to shelves?
Use deep drainage saucers and waterproof liners under every pot. Ensure the shelf material is sealed or made of powder coated metal. Never allow standing water to remain in the saucer for more than 30 minutes to avoid root rot.
What is the best fertilizer for shelf plants?
Use a balanced, water soluble fertilizer with micronutrients. Apply at half strength every two weeks during the growing season. This prevents salt buildup in the confined root zone while providing the necessary ions for cellular function and leaf expansion.
How do I manage humidity on a shelf?
Group plants together to create a localized microclimate through communal transpiration. Use a pebble tray filled with water beneath the pots, ensuring the pot base does not touch the water. Aim for a relative humidity between 40 and 60 percent.