8 Best Professional Vegetable Garden Tool Kits
The weight of a forged steel trowel in your palm tells you everything about the season ahead. Professional vegetable gardeners know that poorly tempered tools mean blisters by midday and broken handles by July. The best vegetable garden tool kits combine carbon steel construction, ergonomic grip geometry, and modular storage systems that withstand years of pH extremes and soil abrasion. These kits separate hobbyists from market growers who measure yield in bushels rather than handfuls.
Materials

Professional kits require tools manufactured from high-carbon steel (0.6–0.7% carbon content) for edge retention and impact resistance. Stainless steel variants resist rust in coastal zones but sacrifice hardness. Ash or hickory handles outperform fiberglass in shock absorption, critical when breaking through clay soils with cation exchange capacities above 25 meq/100g.
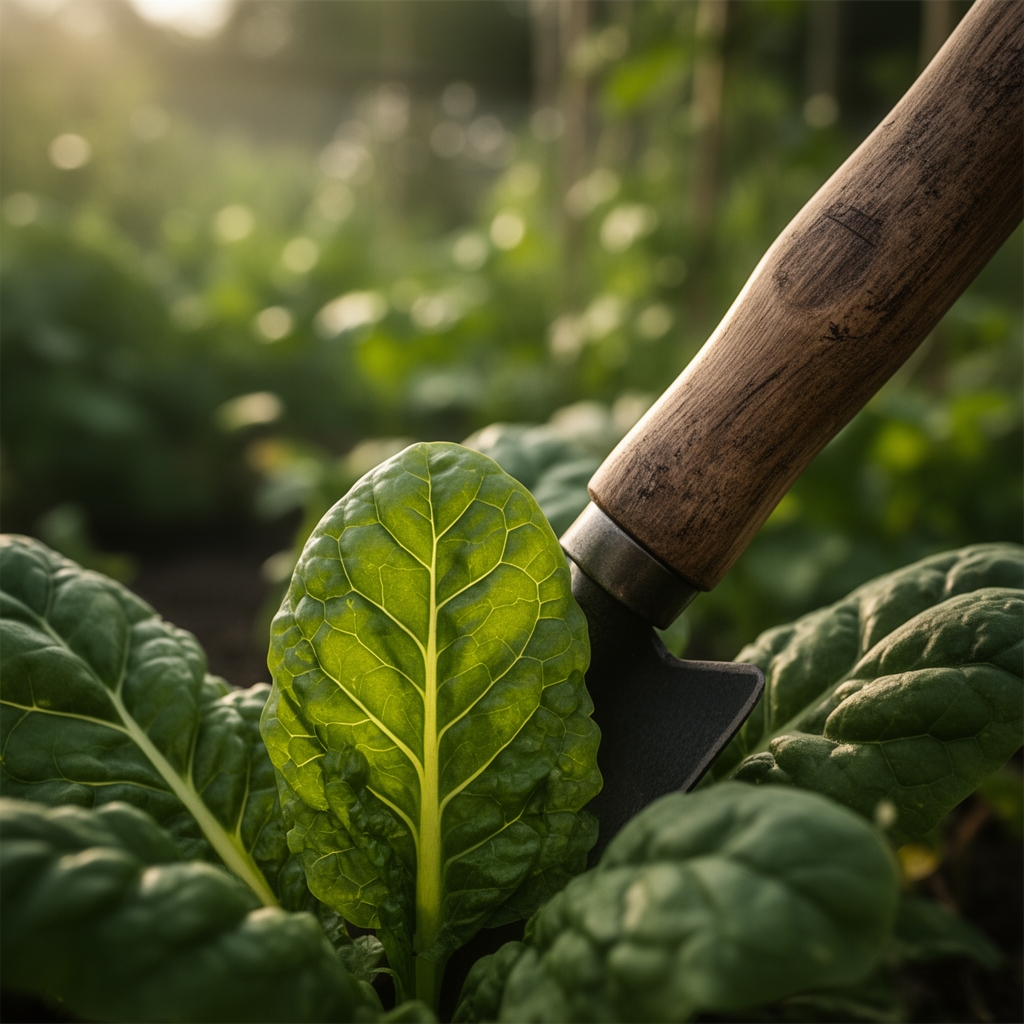
Core implements include a digging spade with a 7-inch blade depth for root vegetable trenches, a bow rake with 16 tines spaced 0.75 inches apart for seedbed preparation, and a stirrup hoe for severing weed taproots below the soil crown. Add a soil knife with a 6-inch serrated blade for transplanting brassicas and a hand cultivator with three curved tines for aerating the top 2 inches without disturbing mycorrhizal networks.
Pruning shears must deliver clean cuts at 45-degree angles to minimize auxin redistribution and pathogen entry. Bypass models with replaceable blades and tension adjustments handle stems up to 0.75 inches. A soil pH meter with a 0.1 resolution and a moisture probe calibrated for loam, sand, and clay complete diagnostic capabilities.
Storage considerations matter. Roll-up canvas organizers with individual tool sleeves prevent edge dulling during transport. Wooden tool sheds maintain stable humidity between 40–60%, reducing handle cracking. Apply boiled linseed oil to ash handles biannually to preserve lignin structure.
Soil amendments pair with kit selection. Feather meal (12-0-0 NPK) provides slow-release nitrogen over 4–6 weeks. Bone meal (3-15-0) supports root establishment in transplants. Kelp meal (1-0.5-2.5) delivers trace minerals including boron and molybdenum. Greensand (0-0-3) releases potassium gradually while improving soil friability. Compost with a C:N ratio of 25:1 balances microbial activity without nitrogen tie-up.
Timing
Hardiness zones dictate planting windows more than calendar dates. Zone 5 gardeners work soil when temperatures reach 50°F at 4-inch depth, typically 3–4 weeks after the last spring frost date. Zone 7 extends the season by 6 weeks on both ends.
Cool-season crops like kale and spinach tolerate soil temperatures of 40–65°F. Direct sow 4–6 weeks before the last frost. Warm-season crops including tomatoes and peppers require soil temperatures above 60°F and air temperatures stabilized at 55°F overnight. Transplant 1–2 weeks after the last frost date.
Fall planting begins 8–10 weeks before the first expected frost for crops requiring 50–70 days to maturity. Root vegetables like carrots and beets benefit from light frost exposure, which converts starches to sugars and improves flavor profiles.
Phases
Sowing Phase
Prepare seedbeds by removing rocks larger than 0.5 inches and breaking soil clods to pea-sized aggregates. Rake creates a level surface critical for uniform water distribution. Organic matter content should reach 5–8% by volume.
Seed spacing follows the square-foot method: 16 carrots per square, 9 beets, 4 chard plants, or 1 tomato. Plant depth equals three times seed diameter. Firm soil contact with the flat side of a rake head to eliminate air pockets that desiccate emerging radicles.
Pro-Tip: Inoculate legume seeds with Rhizobium bacteria 20 minutes before sowing. Mix 1 teaspoon of inoculant per pound of seed with 2 tablespoons of milk as a binder. This establishes nitrogen-fixing nodules within 14 days.
Transplanting Phase
Harden off seedlings over 7–10 days by reducing water by 30% and exposing plants to outdoor conditions for progressively longer periods. Transplant during overcast afternoons to reduce transpiration stress.
Dig holes 1.5 times the root ball diameter. Tomatoes benefit from deep planting; bury stems up to the first true leaves to encourage adventitious root formation. Water transplants with a starter solution of fish emulsion diluted to 5-10-10 at half strength (1 tablespoon per gallon).
Pro-Tip: Prune tomato transplants to a single leader by removing suckers at 30-degree angles. This concentrates auxin flow and increases fruit size by 15–20%.
Establishing Phase
Mulch with 2–3 inches of straw or shredded leaves after soil warms to 65°F. Mulch suppresses weeds, moderates soil temperature swings of 10–15°F, and reduces evaporation by 40%.
Side-dress with compost or blood meal (12-0-0) when fruiting crops begin flowering. Apply 2 tablespoons per plant in a 6-inch circle, 4 inches from the stem. Water immediately to move nitrogen into the root zone.
Pro-Tip: Install drip irrigation with emitters spaced 12 inches apart, delivering 0.5 gallons per hour. This maintains consistent soil moisture at field capacity (50% pore space filled with water) without wetting foliage and promoting fungal diseases.
Troubleshooting
Symptom: Blossom End Rot
Sunken, leathery black spots on tomato and pepper fruits indicate calcium deficiency. This results from irregular watering that disrupts calcium uptake, not soil depletion. Solution: Apply 1 inch of water weekly in a single session rather than frequent shallow watering. Maintain soil pH between 6.2–6.8 to optimize calcium availability.
Symptom: Powdery Mildew
White fungal growth on cucurbit leaves reduces photosynthesis by 30%. Solution: Spray a 0.5% solution of potassium bicarbonate (1 teaspoon per quart of water) weekly. Space plants 18–24 inches apart to improve air circulation. Prune lower leaves touching soil.
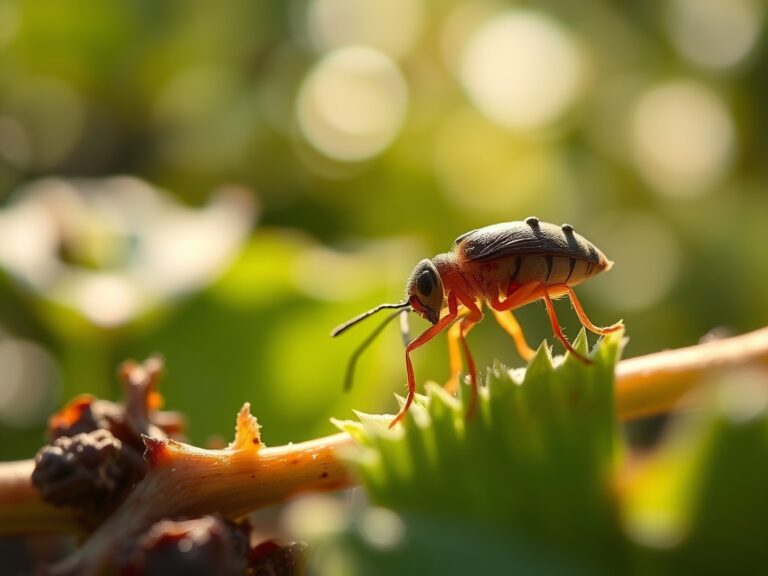
Symptom: Flea Beetle Damage
Shothole patterns on brassica leaves indicate flea beetle feeding. Heavy infestations stunt growth by 40%. Solution: Apply diatomaceous earth at dawn when dew improves adherence. Reapply after rain. Row covers with 0.6mm mesh exclude adults while allowing 85% light transmission.
Symptom: Nitrogen Deficiency
Yellowing lower leaves with green veins signal nitrogen shortage. Solution: Top-dress with blood meal at 1 pound per 100 square feet or apply compost tea (1:5 compost-to-water ratio) steeped for 24 hours. Results appear within 7–10 days.
Symptom: Cutworm Damage
Seedlings severed at soil level overnight indicate cutworm activity. Solution: Place 3-inch cardboard collars around transplants, inserting 1 inch into soil. Alternatively, apply Bacillus thuringiensis var. kurstaki at dusk when larvae feed.
Maintenance
Water deeply once weekly, delivering 1 inch measured with rain gauges placed at plant base. Sandy soils require 0.5 inches twice weekly due to lower water-holding capacity. Clay soils benefit from 1.5 inches every 10 days to prevent anaerobic conditions.
Sharpen tool edges every 20 hours of use with a 10-inch mill bastard file at a 20-degree angle. Hone with a whetstone at 400 grit for final edge refinement. Clean tools after each use with a wire brush and apply a thin coat of mineral oil to prevent rust.
Rotate crop families annually to disrupt pest and disease cycles. Follow heavy feeders (tomatoes, corn) with legumes (beans, peas), then light feeders (root crops), then soil builders (cover crops). This sequence maintains soil fertility and reduces pathogen buildup by 60%.
Soil test every 2–3 years through university extension services. Results guide amendment applications. Sulfur lowers pH by 0.5 units per pound per 100 square feet. Lime raises pH by 0.5 units at 5 pounds per 100 square feet in sandy soils, 7 pounds in loam, 8 pounds in clay.
FAQ
What size tool kit suits a 400-square-foot garden?
A seven-piece kit with spade, bow rake, stirrup hoe, hand trowel, cultivator, pruners, and soil knife covers all essential tasks. Add a wheelbarrow with a 6-cubic-foot capacity for compost transport.
How often should tool handles be replaced?
Inspect handles annually for cracks or splintering. Ash handles last 8–12 years with proper oiling. Replace when cracks exceed 2 inches or appear within 3 inches of the ferrule.
Do stainless steel tools justify the cost premium?
Stainless resists corrosion in high-rainfall zones exceeding 40 inches annually or coastal gardens within 5 miles of saltwater. Carbon steel outperforms in edge retention and costs 40% less.
What's the minimum investment for professional-grade tools?
Expect $180–$240 for a complete kit from manufacturers offering lifetime warranties. Cheap tools fail within two seasons, costing more through replacement.
How do I prevent tool theft in community gardens?
Engrave tools with an electric etching pen using your driver's license number. Register serial numbers with local police. Store in locking steel cabinets anchored to concrete pads.