9 Key Strategies to Prepare a Community Garden Site
Soil preparation for a community vegetable garden begins weeks before the first seedling arrives. Knowing how to prepare a garden for a community vegetable garden means testing pH, calculating amendments by the cubic yard, and coordinating volunteer labor around frost dates. The smell of turned earth, the grit of clay under fingernails, and the geometric precision of string lines signal that transformation has begun. Every shovelful of compost, every adjustment to cation exchange capacity, builds the foundation for months of production.
Materials
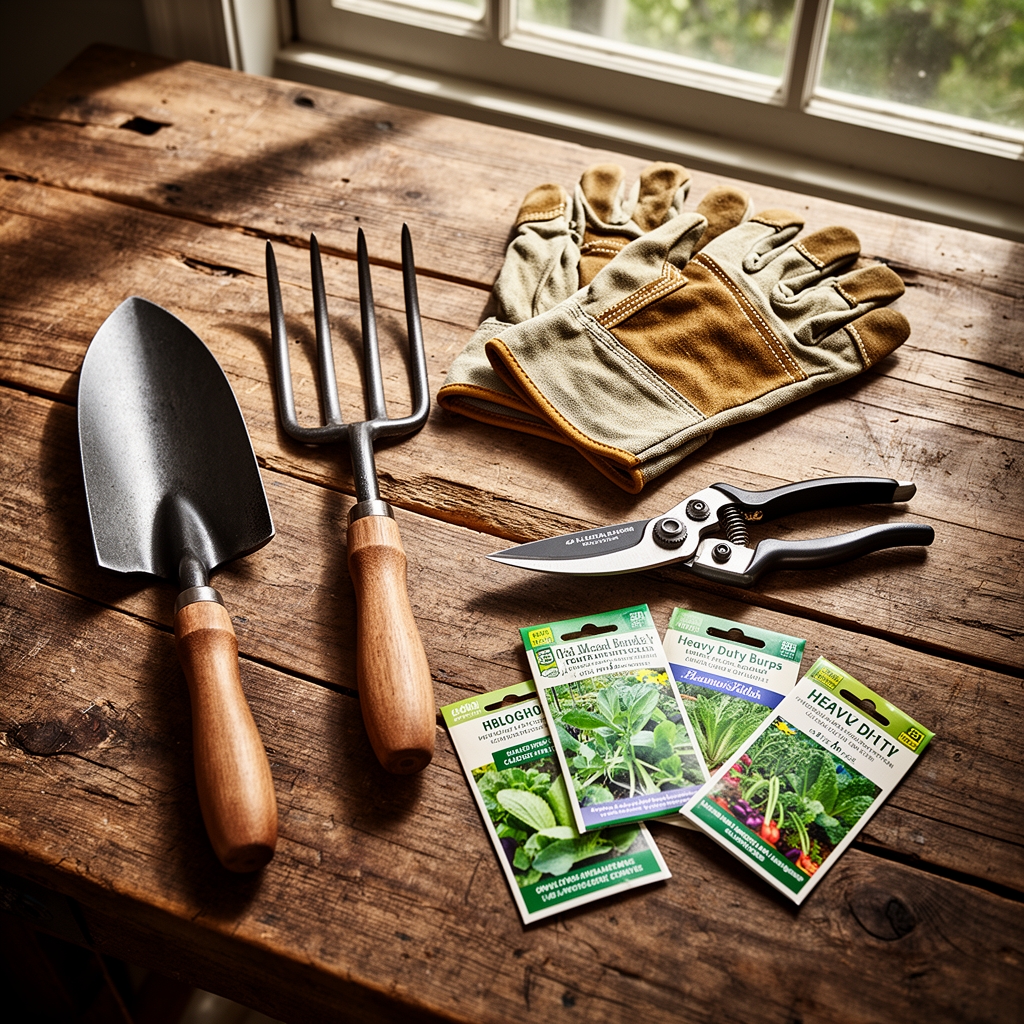
Collect soil test kits calibrated to measure pH, nitrogen, phosphorus, and potassium. Target pH 6.2 to 6.8 for most vegetables. Purchase a balanced organic fertilizer at 4-4-4 or 5-5-5 NPK ratio, applying 2 pounds per 100 square feet. Source mycorrhizal fungi inoculant containing Glomus intraradices at 120 propagules per gram. Acquire sulfur or lime: elemental sulfur lowers pH by approximately 1 point per pound per 10 square feet, while dolomitic lime raises it at the same rate.
Obtain finished compost aged 6 months minimum, screened to 0.5-inch particle size. Calculate 2 cubic yards per 1,000 square feet for initial incorporation. Secure untreated lumber or galvanized steel for raised beds if drainage is poor. Procure landscape fabric rated at 3-ounce weight for weed suppression in pathways. Gather hand tools: spading forks, garden rakes with 16-inch heads, string lines, and measuring tapes. Stock drip irrigation tubing with 12-inch emitter spacing and a backflow preventer rated to local codes.
Timing
Match site preparation to USDA Hardiness Zones. In Zones 3-5, begin soil work 4 to 6 weeks before the last spring frost, typically mid-March to early April. Zones 6-7 allow February starts. Zones 8-10 offer year-round preparation windows but prioritize fall for cool-season crops.
Schedule soil testing in late winter when labs process requests faster. Allow 10 days for results. Amend soil 3 weeks before planting to let lime or sulfur react fully. Incorporate compost 2 weeks ahead to stabilize microbial populations. Install irrigation infrastructure 1 week before transplanting to test pressure and coverage. Avoid working soil when moisture exceeds field capacity; a handful squeezed into a ball should crumble, not ribbon.
Phases
Sowing Phase
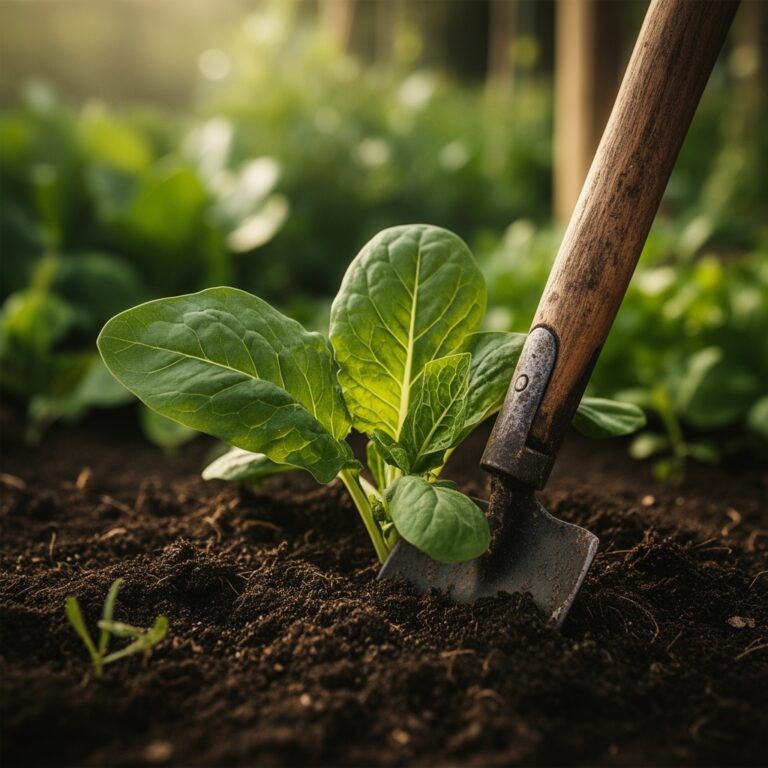
Clear the site of existing vegetation. Mow grass to 2 inches, then smother with cardboard overlapped 6 inches at seams. Layer 4 inches of compost atop cardboard. This lasagna method suppresses weeds while feeding decomposers. For immediate planting, strip sod with a flat spade, cutting roots at 3-inch depth. Remove rhizomes of perennial grasses manually.
Till or broadfork to 8-inch depth if compaction exceeds 300 psi on a penetrometer. Broadcast amendments evenly. Rake smooth, breaking clods to 1-inch diameter. Create beds 4 feet wide with 2-foot pathways to optimize reach and foot traffic. Orient beds north-south to maximize solar exposure.
Pro-Tip: Inoculate legume seeds with Rhizobium bacteria at planting. Mix 1 teaspoon of inoculant per pound of seed with 2 tablespoons of milk as a binder. This symbiosis fixes atmospheric nitrogen at 50 to 150 pounds per acre per season.
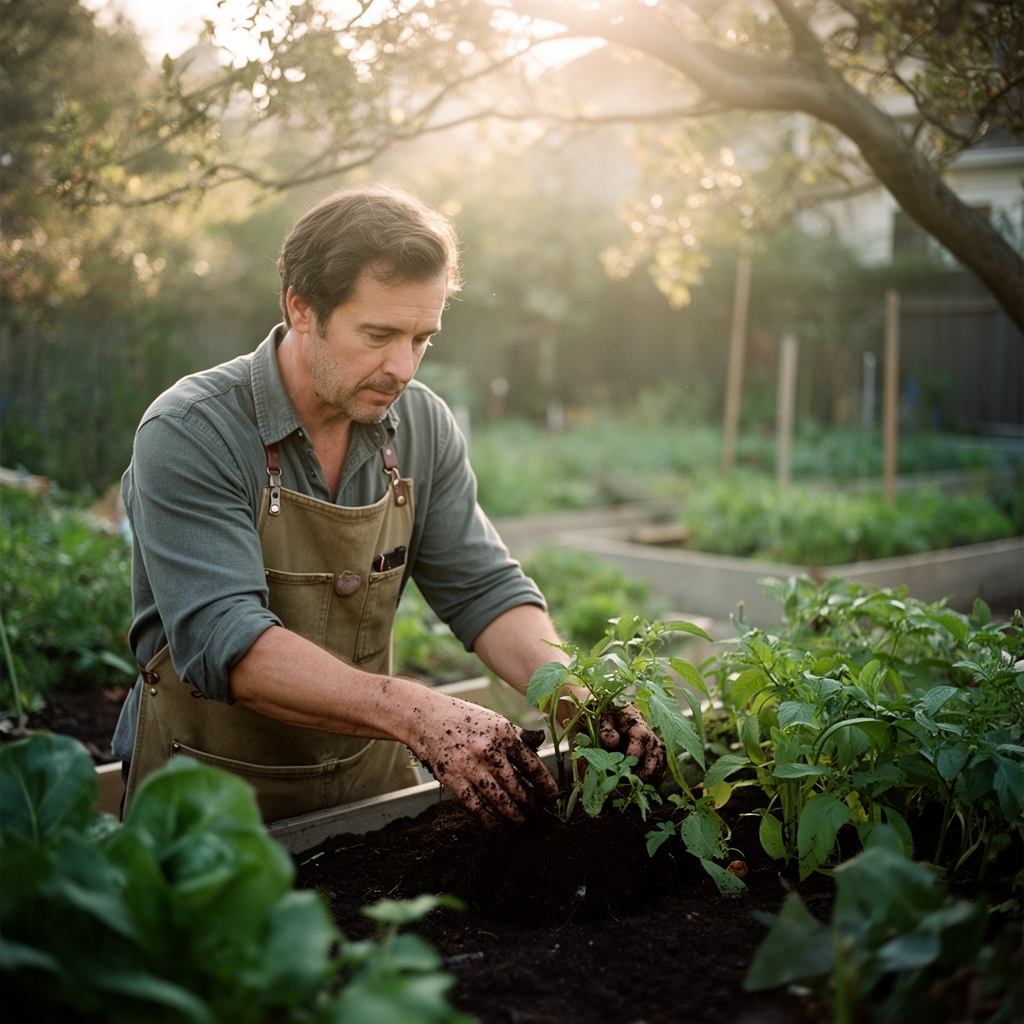
Transplanting Phase
Harden off seedlings over 7 days by reducing water and increasing sunlight exposure 2 hours daily. Dig planting holes twice the root ball diameter. Position transplants at the same depth as nursery containers, except tomatoes, which benefit from burying stems to the first true leaves. Adventitious roots form along buried stems, improving anchorage and nutrient uptake.
Water each transplant with 1 pint of diluted fish emulsion at 1 tablespoon per gallon. This starter solution provides soluble nitrogen and phosphorus. Space according to mature canopy: tomatoes 24 inches, peppers 18 inches, brassicas 15 inches.
Pro-Tip: Prune tomato transplants at 45-degree angles just above leaf nodes to stimulate auxin distribution. Remove lower leaves that will contact soil, reducing early blight pressure by 60 percent.
Establishing Phase
Mulch beds with 3 inches of straw or shredded leaves after soil warms to 60 degrees F. Mulch moderates temperature swings, conserves moisture, and suppresses germinating weed seeds. Stake determinate tomatoes with 5-foot stakes driven 12 inches deep. Install trellis netting for indeterminate varieties, spacing supports every 4 feet.
Monitor auxin-driven apical dominance in young plants. Pinch growing tips of basil and other herbs at the fourth leaf node to encourage lateral branching. Side-dress heavy feeders like squash with 1 cup of 4-4-4 fertilizer per plant at flowering.
Pro-Tip: Apply foliar kelp spray at 1 tablespoon per gallon every 14 days. Kelp contains cytokinins that enhance stress tolerance and increase fruit set by 15 percent in controlled trials.
Troubleshooting
Symptom: Yellowing lower leaves with green veins (interveinal chlorosis).
Solution: Iron deficiency induced by high pH. Foliar spray chelated iron at 1 teaspoon per gallon. Amend soil with sulfur to lower pH long-term.
Symptom: Stunted growth with purple leaf undersides.
Solution: Phosphorus deficiency from cold soil below 55 degrees F. Warm soil with black plastic mulch. Apply bone meal at 3 pounds per 100 square feet.
Symptom: Blossom end rot on tomatoes and peppers.
Solution: Calcium uptake disrupted by inconsistent watering. Maintain even soil moisture. Side-dress with gypsum at 2 pounds per plant.
Symptom: Wilting despite moist soil; brown vascular streaks in stems.
Solution: Verticillium wilt. Remove infected plants. Rotate to non-susceptible crops for 4 years. Solarize soil with clear plastic for 6 weeks in summer.
Symptom: Holes in leaves with slime trails.
Solution: Slug damage. Apply iron phosphate bait at 1 pound per 1,000 square feet. Water in morning to reduce surface moisture at night.
Maintenance
Irrigate to deliver 1 inch of water weekly, measured with rain gauges placed at bed centers. Split into two 0.5-inch applications to improve infiltration on clay soils. Drip systems should run 45 minutes per session at 1 gallon per hour emitter output.
Weed weekly during establishment. Hand-pull when soil is moist to extract taproots intact. Hoe pathways at 0.5-inch depth to sever annual weed seedlings without disturbing crop roots.
Scout for pests twice weekly. Inspect leaf undersides for aphid colonies and caterpillar eggs. Deploy row covers of 0.55-ounce floating fabric over brassicas to exclude cabbage moths. Remove covers at flowering to permit pollinator access.
Rotate crop families annually. Follow nitrogen-fixing legumes with heavy feeders like tomatoes. Follow brassicas with cucurbits to disrupt soil-borne pathogen cycles.
FAQ
How deep should I prepare soil for root crops?
Loosen soil to 12 inches for carrots and parsnips. These taproots deform when encountering compaction layers. Double-digging or raised beds solve shallow hardpan issues.
Can I plant immediately after tilling?
Wait 1 week. Tilling disrupts fungal hyphae networks that transport nutrients. Allowing regrowth improves phosphorus availability by 30 percent.
What is the minimum bed width for accessibility?
Design 3-foot-wide beds for wheelchair access, with 5-foot turning radii at path intersections. Keep pathways firm and level.
How do I prevent volunteer coordination conflicts during site prep?
Assign task leaders for soil testing, amendment spreading, and bed construction. Schedule 4-hour shifts with specific deliverables. Provide written instructions and labeled material staging areas.
Should I use synthetic or organic fertilizers?
Organic amendments release nutrients slowly, feeding soil microbes. Synthetic fertilizers provide immediate availability but skip microbial pathways. Blend: use organic for base fertility, synthetic for mid-season correction of deficiencies.