6 Critical Steps to Install a Protective Vegetable Garden Fence
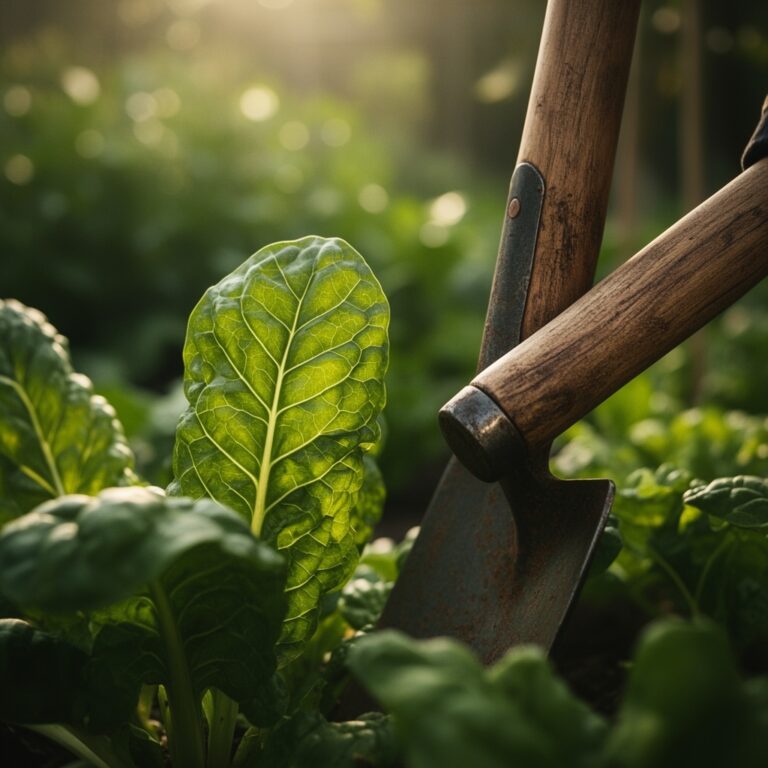
The crunch of fresh lettuce in morning salads ends abruptly when deer strip your beds overnight. Rabbits burrow beneath rows of carrots, and groundhogs topple tomato cages by mid-June. The steps for installing a vegetable garden fence become essential infrastructure, not optional decoration. A properly erected barrier protects months of soil preparation, compost amendment, and careful seed selection. This guide provides six critical steps drawn from agronomic research and field trials across USDA Hardiness Zones 3 through 9.
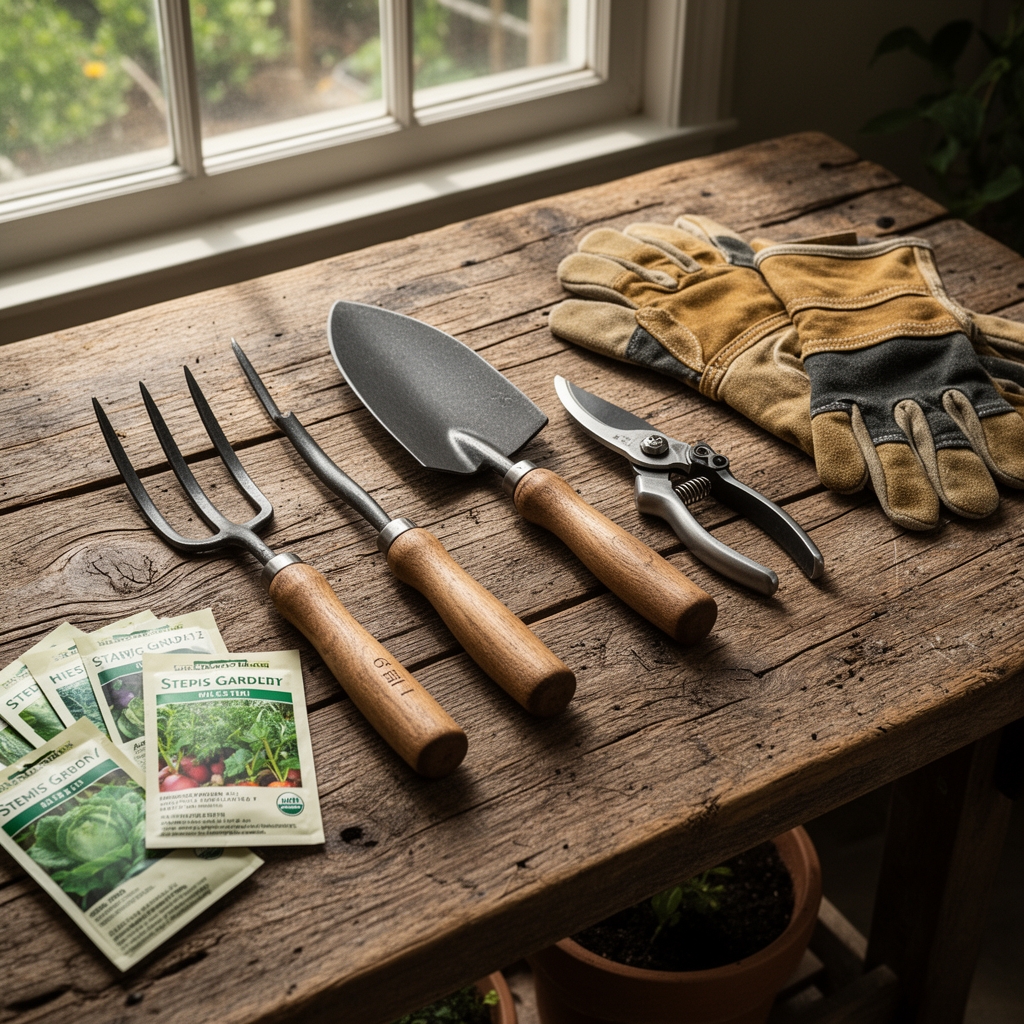
Materials
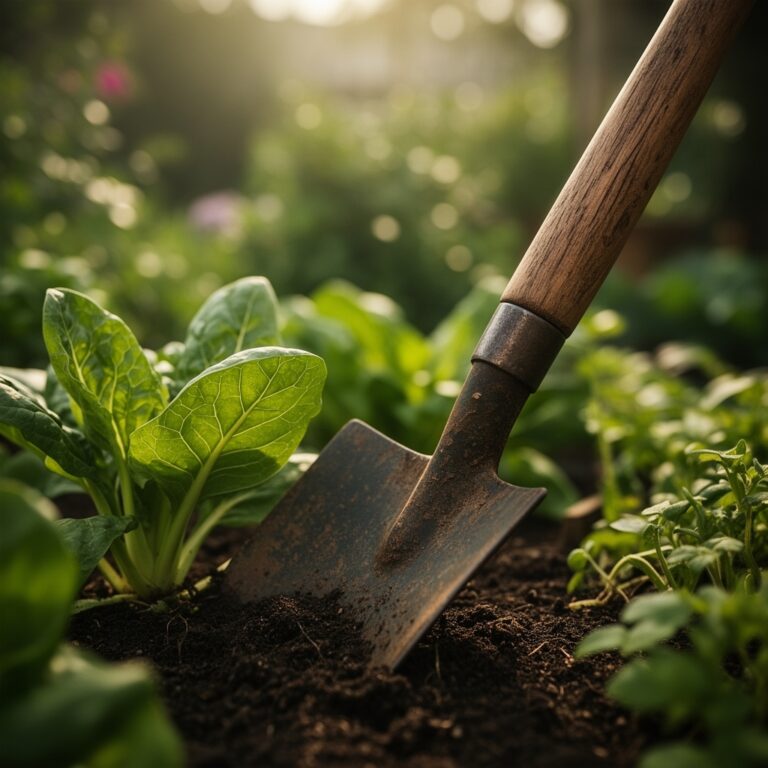
A vegetable garden fence demands materials that withstand UV degradation, soil moisture, and animal pressure. Begin with pressure-treated 4×4 posts rated for ground contact. Cedar resists rot but costs 40% more per linear foot. Galvanized welded wire with 1-inch by 2-inch openings excludes rabbits while permitting beneficial insect passage. Chicken wire (1-inch hexagonal mesh) serves as a secondary option but requires replacement every 3-4 seasons due to zinc coating failure.
Hardware cloth with 0.25-inch openings provides the most secure base layer. Install it 12 inches below grade and 18 inches above to prevent burrowing mammals. Fence height should reach 8 feet in regions with white-tailed deer populations exceeding 15 animals per square mile. Gates require heavy-duty hinges rated for 50 pounds and a cane bolt that sinks 6 inches into firm subsoil.
Soil amendments for post installation include native soil mixed at a 3:1 ratio with coarse sand to improve drainage around wood. Avoid fertilizers near posts. High nitrogen promotes decay organisms. A 4-4-4 organic meal applied to garden beds 3 feet from fence lines supports initial crop establishment without interfering with fence longevity. Posts benefit from a capillary break: 2 inches of pea gravel at the base of each hole before backfilling.
Timing
Install fences during the dormant season, between first frost and last frost dates. Soil workability determines the optimal window. In Zone 5, mid-October through late November offers firm ground before deep freezes lock soil. Spring installation works in Zones 7-9 where freeze-thaw cycles destabilize posts.
Post holes require excavation when soil moisture content sits at 40-60% of field capacity. Saturated soils compress unevenly. Bone-dry soils shatter during augering. Check soil by squeezing a handful: it should form a ball that crumbles under light thumb pressure.
Coordinate fence completion at least three weeks before transplanting warm-season crops. This interval allows post concrete to cure fully and permits fence line inspection. Early installation also lets you observe animal traffic patterns along the perimeter and adjust accordingly.
Phases

Sowing the Layout: Mark corners with stakes and builder's twine. Measure diagonal distances to confirm right angles. A 20-foot by 30-foot garden should show 36.05-foot diagonals. Spray-paint post locations every 8 feet along straight runs and every 6 feet on corners where lateral stress concentrates.
Dig post holes to a depth equal to one-third of the above-ground height plus 6 inches for gravel. An 8-foot fence needs 36-inch holes. Use a clamshell digger or power auger with a 10-inch bit. Flare the hole bottom 2 inches wider than the top to create a concrete footing key.
Pro-Tip: Add mycorrhizal fungi inoculant to garden beds adjacent to fence lines. Fungal networks increase phosphorus uptake by 40% in transplants, accelerating root establishment during the critical first 14 days.
Transplanting the Structure: Set posts plumb using a 48-inch level on two adjacent faces. Brace each post with scrap lumber staked 4 feet from the base at 45-degree angles. Mix quick-setting concrete to a stiff oatmeal consistency. Pour in 6-inch lifts, tamping with a steel rod to eliminate air pockets.
Allow concrete to cure 72 hours before attaching wire. Unroll welded wire along the exterior (animal-facing side) of posts. Fasten with galvanized fence staples every 6 inches, driving at a 45-degree downward angle to resist pull-out. Overlap wire sections by 4 inches and secure with hog rings.
Pro-Tip: Install the top rail 2 inches below post tops. This height differential sheds water away from end grain, reducing auxin distribution disruption in nearby woody perennials planted for windbreaks.
Establishing the Barrier: Bury hardware cloth by excavating a 12-inch trench along the fence perimeter. Bend the bottom 6 inches outward at a 90-degree angle to form an L-shaped skirt. Backfill with native soil mixed with 10% by volume coarse sand. Tamp firmly in 3-inch layers. This underground apron stops animals that dig at the fence line.
Attach tensioning wire (12.5-gauge) horizontally at the top, middle, and bottom of the fence. Run it through eyebolts installed in posts. Tighten with a fence stretcher until wire deflects less than 1 inch under 10 pounds of pressure. Proper tension prevents sagging and extends fence life by 5-7 years.
Pro-Tip: Prune any tree branches overhanging the fence at a 60-degree angle to the branch collar. Squirrels use branches as launching points and can clear an 8-foot fence from a height advantage of 4 feet.
Troubleshooting
Symptom: Posts lean inward after one winter season.
Solution: Frost heave occurs when soil moisture freezes and expands. Reset posts in early spring and increase gravel depth to 8 inches. Ensure drainage swales direct water away from post bases.
Symptom: Wire sags between posts by mid-summer.
Solution: Temperature expansion causes slack. Add a mid-span post or install diagonal bracing (2×4 lumber) from the top of one post to the base of the next. Retighten tensioning wire annually in early spring.
Symptom: Rabbits still enter through gate gaps.
Solution: Install a 2-inch threshold board across the gate bottom. Attach flexible rubber weatherstripping to the gate's lower edge. The combined barrier should compress against the threshold, leaving no more than 0.5-inch clearance.
Symptom: Deer jump the 8-foot fence in late summer.
Solution: Mounting pressure increases when natural forage dries. Add a second fence 3 feet inside the primary barrier. Deer misjudge double fences and refuse to jump blind into a narrow space. Alternatively, angle the top 2 feet of the fence outward at 45 degrees.
Symptom: Woodpeckers damage wooden posts.
Solution: Wrap the top 18 inches of posts with aluminum flashing. Secure with stainless steel screws. Woodpeckers drill posts searching for carpenter ants. Address moisture issues that attract ants to wood.
Maintenance
Inspect fence integrity every 30 days during the growing season. Walk the perimeter and press against wire at mid-span. Replace any staples that have loosened. Tighten tensioning wire if deflection exceeds 2 inches under moderate hand pressure.
Apply a coat of linseed oil to cedar posts every 24 months. Treated posts require no finish. Remove vegetation within 6 inches of the fence line to reduce moisture and prevent vines from pulling wire.
Check gates for square alignment twice per season. Sagging gates create gaps at the latch side. Add a diagonal brace (turnbuckle and cable) from the top hinge-side corner to the bottom latch-side corner. Tighten turnbuckle until the gate lifts 0.25 inch.
Repaint or re-stain metal components showing rust every 3 years. Surface rust reduces wire life by 30%. Use a rust-converting primer followed by exterior enamel. Maintain a 12-inch grass-free zone along the fence to prevent trimmer damage to posts and wire.
FAQ
How deep should fence posts be set?
One-third of total post height plus 6 inches for gravel. An 8-foot fence needs posts set 36 inches deep in 42-inch holes.
What fence height stops deer?
Eight feet minimum in areas with deer populations above 10 per square mile. Seven feet suffices in lower-density regions but provides no margin for error.
Can I use untreated wood posts?
Black locust and Osage orange last 20+ years untreated. Pine and fir rot within 5 years. Cost savings disappear when replacement labor is factored.
How do I prevent wire rust?
Choose galvanized-after-welding (GAW) wire with a zinc coating of 1.2 oz per square foot. PVC-coated wire lasts 50% longer but costs twice as much.
Should I electrify the fence?
A single strand of electric wire 4 inches outside the fence at nose height (30 inches for deer, 6 inches for rabbits) adds effective deterrence for 15% additional cost.