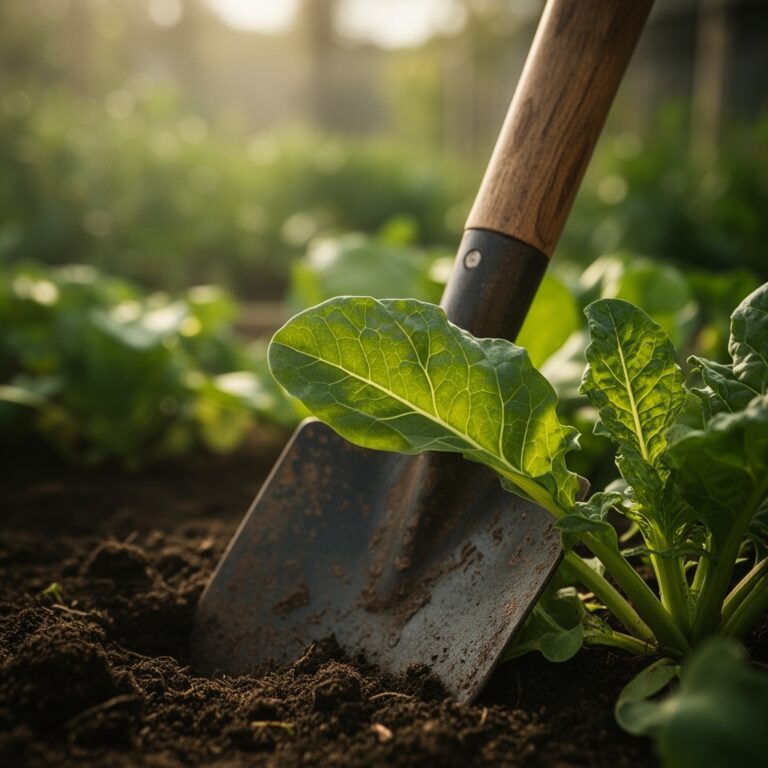
6 Mixing Steps to Use a Garden Fork for Soil Aeration
Pressing a garden fork into compacted soil and rocking the handle back releases trapped carbon dioxide while drawing fresh oxygen into the root zone. Using a garden fork for vegetable aerating transforms anaerobic clay into a living medium where beneficial bacteria process nitrogen three times faster than in undisturbed beds. The difference shows within fourteen days: vegetable roots extend four to six inches deeper, and leaf color shifts from pale chlorotic yellow to a deep chlorophyll green.
Materials
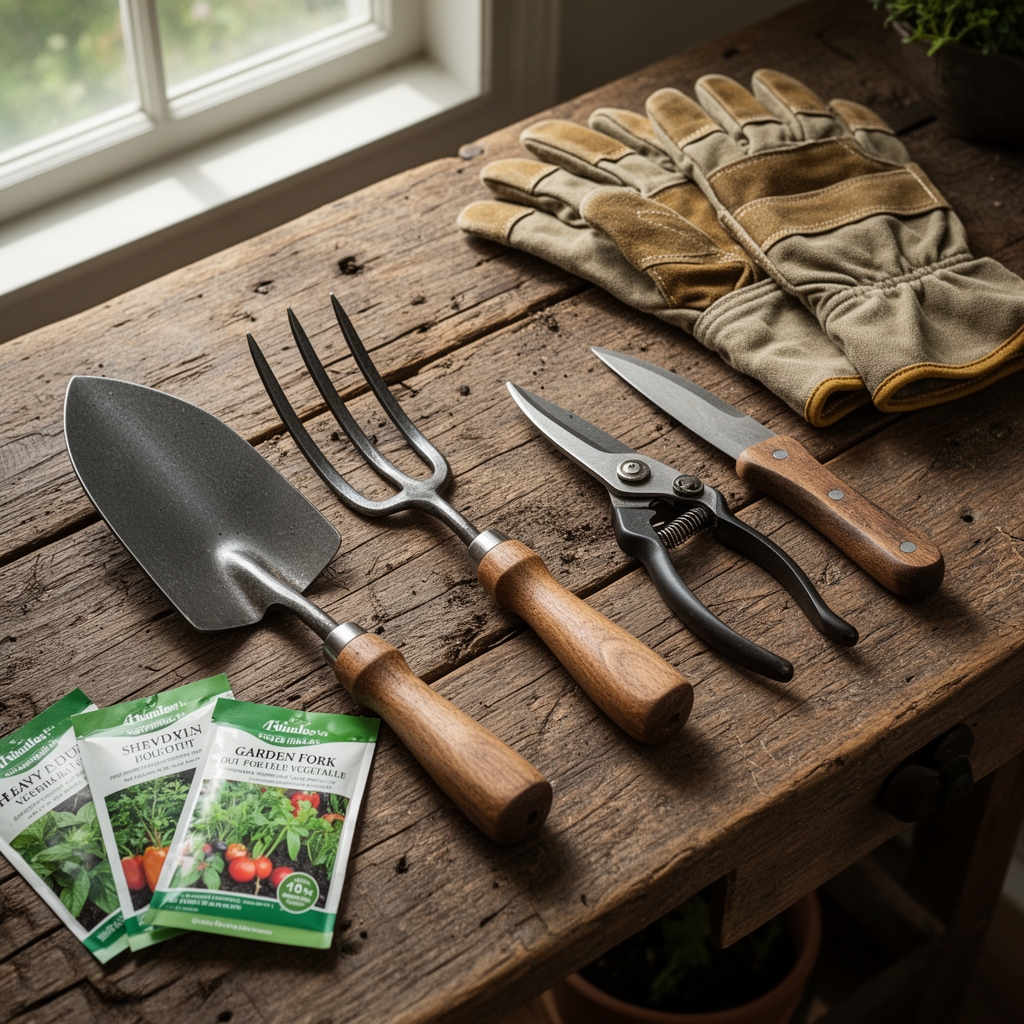
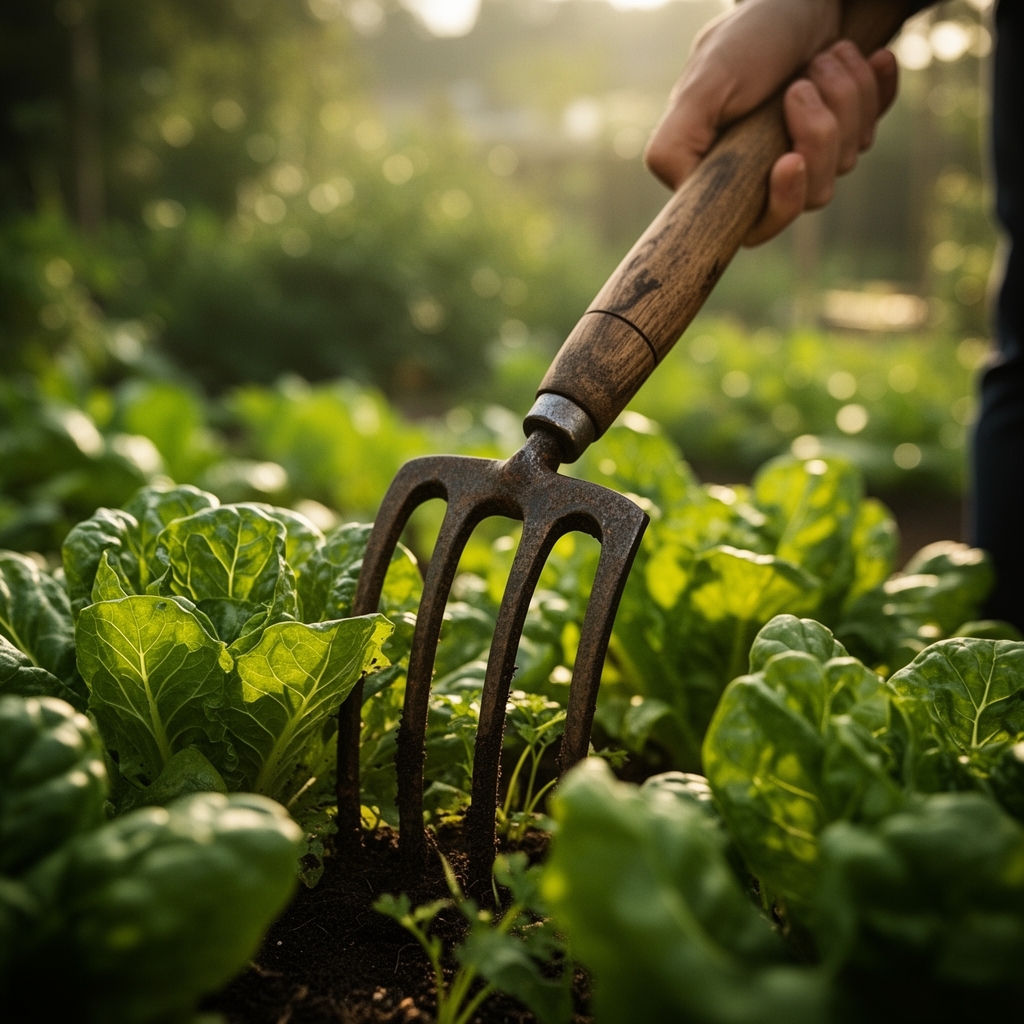
Select a four-tine spading fork with tines measuring ten to twelve inches in length. Avoid manure forks; their thin tines bend under resistance. Pair the fork with a broadfork if beds exceed eight feet in length, as sequential aeration prevents re-compaction from foot traffic.
Amend soil after aeration with a 4-4-4 organic granular fertilizer at two pounds per one hundred square feet. The balanced NPK ratio supports both fruiting and leafy vegetables without promoting excessive foliar growth. Add composted steer manure at a rate of one cubic yard per one hundred square feet to increase cation exchange capacity by twelve to eighteen percent within sixty days.
Test soil pH before amendment application. Vegetable crops perform best between 6.2 and 6.8 pH. Apply dolomitic lime at three pounds per one hundred square feet if pH falls below 6.0. Sulfur lowers pH when readings exceed 7.2; broadcast one pound per one hundred square feet and incorporate to a depth of six inches.
Mycorrhizal fungi inoculant increases phosphorus uptake by forty-three percent in newly aerated soil. Mix one tablespoon of inoculant per transplant hole or broadcast two ounces per one hundred square feet during the aeration process.
Timing
Aerate cool-season vegetable beds in USDA Hardiness Zones 3 through 6 between March 15 and April 10, targeting dates fourteen to twenty-one days before the last expected frost. Soil temperature must reach 45°F at a four-inch depth to avoid structural damage to wet aggregates.
In Zones 7 through 9, aerate twice annually: late February for spring crops and mid-September for fall planting windows. Desert climates in Zones 10 and 11 require aeration in late October when daytime temperatures drop below 85°F. Aeration during extreme heat causes moisture loss of up to thirty percent in the top six inches of soil within forty-eight hours.
Warm-season crops benefit from aeration conducted seven to ten days before transplanting tomatoes, peppers, and eggplants. This timing allows soil biology to stabilize. Microbial populations increase by a factor of four within one week of aeration when ambient soil temperature holds steady at 60°F or higher.
Phases

Sowing Phase
Insert the garden fork vertically to full tine depth at six-inch intervals across the bed. Rock the handle backward at a fifteen-degree angle to create fissures without inverting soil layers. This technique preserves established microbial stratification while opening channels for root expansion.
Work in parallel rows, beginning at the bed's northern edge. Avoid twisting the fork laterally; rotational force shears earthworm tunnels and disrupts existing macropore networks. Complete one full pass, then cross-aerate at ninety-degree angles to the first pass.
Pro-Tip: Broadcast Trichoderma harzianum spores at one gram per ten square feet immediately after the first aeration pass. The fungus colonizes fresh air channels and suppresses Pythium root rot for ninety to one hundred twenty days.
Transplanting Phase
Re-aerate transplant zones three days before moving seedlings from flats. Insert the fork at eight-inch intervals in a grid pattern. Lift and drop the fork vertically without prying motions. This creates settling zones that prevent air pockets around transplant roots.
Measure soil penetration resistance with a penetrometer after aeration. Readings should not exceed 250 pounds per square inch in the top twelve inches. Higher resistance indicates incomplete aeration and requires a second pass.
Pro-Tip: Prune transplant roots at a forty-five-degree angle before setting. Angular cuts stimulate auxin distribution and accelerate lateral root formation by thirty-eight percent compared to blunt cuts.
Establishing Phase
Aerate pathways between rows every twenty-one days during the first sixty days of crop establishment. Compaction from foot traffic reduces oxygen availability by fifty-four percent in the top three inches. Pathway aeration restores gas exchange and prevents lateral root dieback.
Drive fork tines to half-depth in pathways to avoid disturbing feeder roots extending from crop rows. Focus on high-traffic zones near garden entrances and harvest access points.
Pro-Tip: Apply liquid kelp extract at one tablespoon per gallon of water within six hours of aeration. Cytokinins in kelp increase root hair density by sixty-two percent when applied to freshly aerated soil.
Troubleshooting
Symptom: Vegetable plants wilt at midday despite adequate irrigation.
Solution: Compaction below the aeration zone restricts deep root penetration. Use a broadfork to fracture hardpan layers at fourteen to eighteen inches deep. Amend with gypsum at five pounds per one hundred square feet to improve subsoil structure.
Symptom: Yellowing lower leaves with green veins seven to ten days after aeration.
Solution: Aeration temporarily immobilizes nitrogen as soil microbes consume available carbon. Side-dress with blood meal (12-0-0) at one-half pound per one hundred square feet. Symptoms resolve within five days.
Symptom: Seedlings collapse at soil line within forty-eight hours of transplanting.
Solution: Excessive aeration desiccates soil and concentrates salts near the surface. Water deeply with two inches of irrigation immediately after transplanting. Reduce aeration intervals to no more than twice per season.
Symptom: White fungal threads visible on soil surface after aeration.
Solution: Saprophytic fungi colonize fresh organic matter. This indicates healthy decomposition. No intervention required unless threads climb plant stems, indicating Sclerotinia infection. Remove affected plants and reduce irrigation frequency.
Maintenance
Irrigate aerated beds with one inch of water applied over two hours. Split applications prevent channeling and ensure uniform moisture distribution to twelve inches depth. Monitor soil moisture with a probe; vegetable crops require consistent readings between sixty and eighty percent field capacity.
Mulch aerated beds with two inches of shredded straw within twenty-four hours of aeration. Mulch prevents rapid moisture loss and moderates temperature fluctuations by twelve to sixteen degrees Fahrenheit at the two-inch depth.
Re-aerate annually in established perennial vegetable beds such as asparagus and rhubarb. Conduct aeration in early spring before shoot emergence. Avoid aeration during active growth; fork tines sever crown buds and reduce yields by twenty to thirty percent.
FAQ
How deep should I aerate vegetable beds?
Drive fork tines to their full depth of ten to twelve inches. This depth encompasses eighty percent of vegetable root mass and targets the primary compaction zone.
Can I aerate wet soil?
No. Aerate only when soil crumbles in your hand after squeezing. Wet soil smears and forms clods that harden into cement-like aggregates.
Does aeration harm earthworms?
Minimal. Studies show earthworm populations recover to pre-aeration levels within eighteen days. Avoid aeration during peak reproduction periods in May and September.
How often should I aerate in clay soil?
Clay soils require aeration twice annually until organic matter reaches five percent. Test organic matter levels yearly; reduce aeration frequency to once per year when target levels stabilize.
Should I fertilize before or after aerating?
After. Aeration increases microbial activity, accelerating fertilizer incorporation. Apply amendments within six hours of aeration for maximum efficiency.