6 Steps to Prepare a Dedicated Flowering Plant Shelf
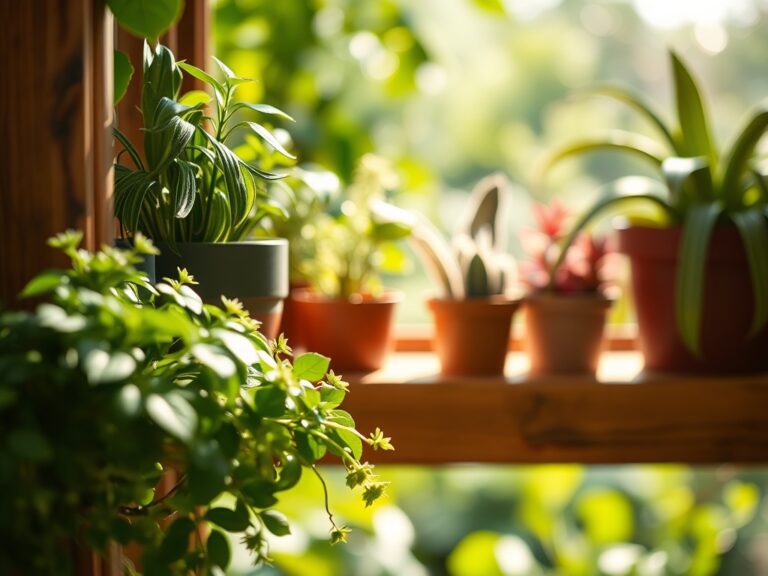
Successful floral cultivation begins with the scent of damp, well-aerated peat and the firm turgor of a healthy leaf. When you understand how to prepare a plant shelf for flowers, you are not merely arranging furniture; you are engineering a microclimate. Every millimeter of vertical space must account for light intensity, humidity gradients, and the structural integrity required to support saturated soil. A shelf must provide a stable foundation where the rhizosphere can thrive without the interference of temperature fluctuations or poor drainage.
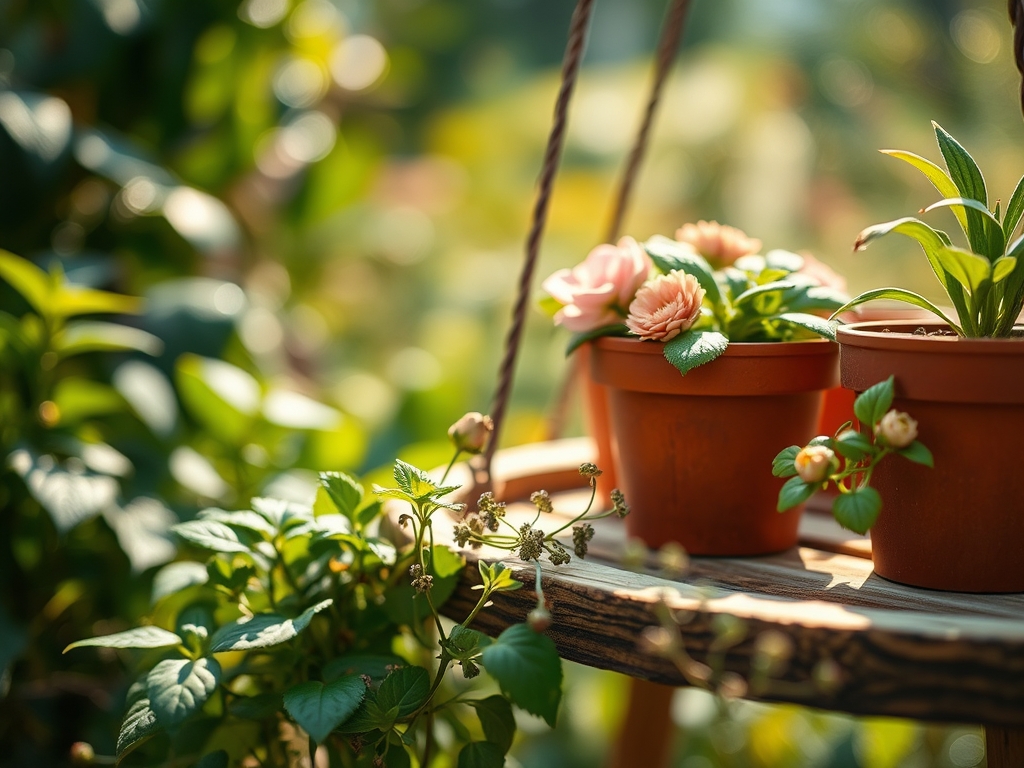
Precision starts with the selection of the shelving unit itself. Metal or sealed wood is necessary to prevent rot from the constant 60 percent humidity levels required for most flowering species. You must calculate the weight load; a 10 inch ceramic pot filled with wet soil can exceed 15 pounds. By the time you introduce your first specimen, the shelf must be a calibrated environment ready to sustain the biological demands of heavy bloomers. This guide provides the technical framework to transform a simple rack into a high performance botanical engine.
Materials:

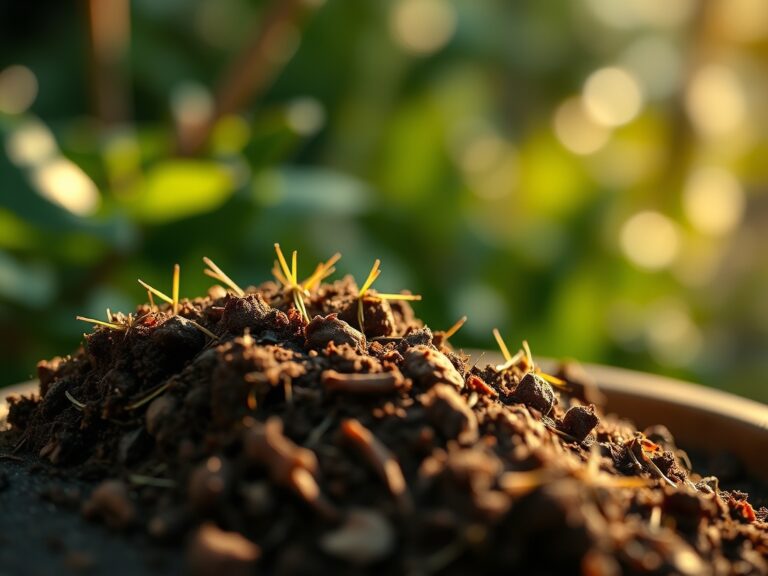
The substrate is the most critical material in your inventory. For flowering plants, you require a friable loam that maintains a Cation Exchange Capacity (CEC) of 15 to 25. This ensures the soil can hold and release essential nutrients like potassium and magnesium. Your potting mix should be a blend of 40 percent coconut coir or peat moss, 30 percent perlite for aeration, and 30 percent high quality compost.
Nutrient management follows specific NPK ratios. For the establishment phase, utilize a 10-10-10 balanced fertilizer to build structural biomass. Once the plant enters the reproductive stage, transition to a high-phosphorus 5-30-5 formula. Phosphorus is the primary driver of ATP production and floral development. Maintain a soil pH between 6.0 and 6.8 to ensure nutrient bioavailability. If the pH drops below 5.5, aluminum toxicity can occur; if it rises above 7.5, iron becomes locked away, leading to interveinal chlorosis. Use a digital soil probe to verify these metrics weekly.
Timing:
Timing is dictated by the USDA Hardiness Zones and the specific photoperiod requirements of your selected species. If your shelf is located in a sunroom in Zone 6, your internal "spring" begins in late February. For indoor shelves with supplemental lighting, you control the biological clock. Most flowering plants are "long day" or "short day" responsive.
The transition from the vegetative stage to the reproductive stage is triggered by changes in light duration. To initiate budding in many species, you must simulate the shift from 16 hours of light to 12 hours. This hormonal shift signals the plant to stop producing auxins for stem elongation and start producing florigen. Monitor the frost-free date for your region if you plan to move these plants outdoors; a single dip to 32 degrees Fahrenheit will cause cellular rupture in tender annuals.
Phases:
Sowing and Germination
Start seeds in sterile flats using a fine grade vermiculite. Maintain a consistent soil temperature of 70 to 75 degrees Fahrenheit using a waterproof heat mat. Ensure the medium stays moist but not anaerobic.
Pro-Tip: Proper seed depth is vital because of photoblastism. Some seeds require light to trigger germination, while others are inhibited by it. Always check if your species is positively or negatively photoblastic before covering with substrate.
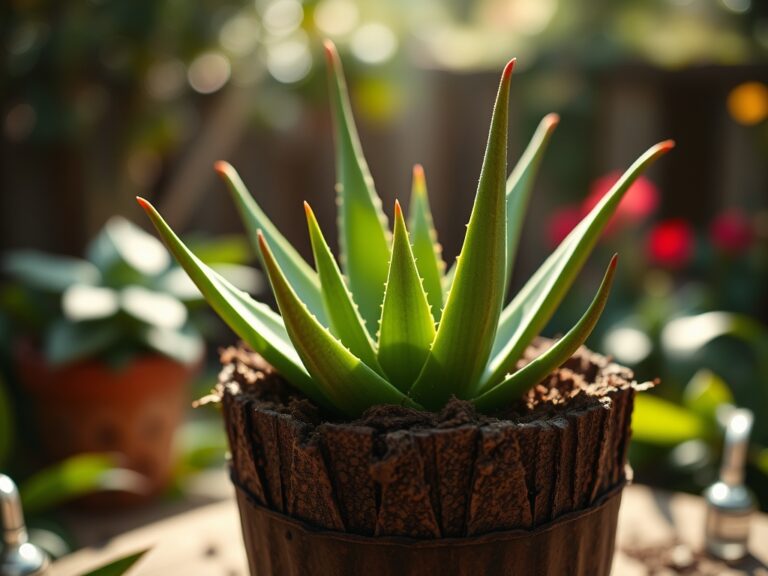
Transplanting
Move seedlings when they develop their second set of "true leaves." Use a hori-hori knife to gently lift the root ball, ensuring minimal disturbance to the delicate root hairs. Place the plant at the same depth it was previously growing to avoid stem rot.
Pro-Tip: Inoculate the roots with mycorrhizal fungi during this phase. This symbiotic relationship expands the surface area of the root system by up to 1,000 times, significantly increasing the uptake of phosphorus and water.
Establishing and Hardening
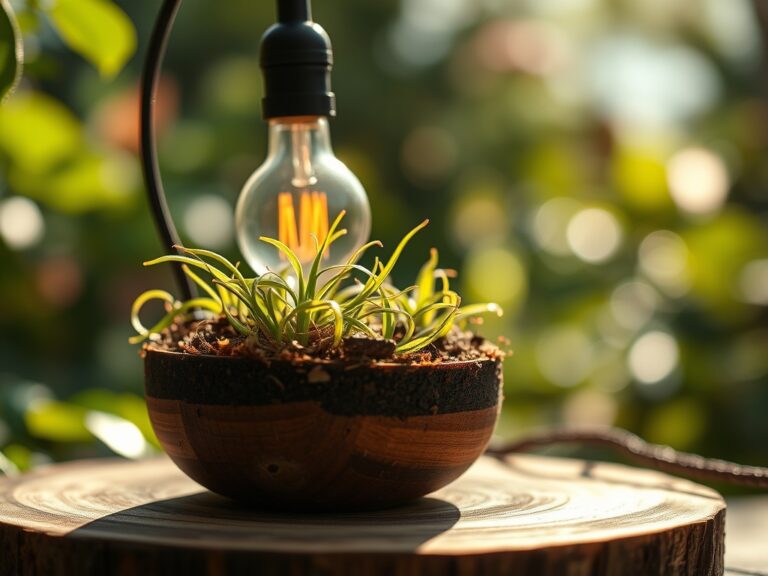
Once transplanted to the shelf, monitor the light distance. LED grow lights should be 8 to 12 inches from the canopy. Increase air circulation with a small fan to strengthen the cell walls of the stems through a process called thigmomorphogenesis.
Pro-Tip: Use "pinching" to suppress apical dominance. By removing the terminal bud, you redirect auxins to lateral buds, resulting in a bushier plant with more flowering sites rather than one tall, leggy stem.
The Clinic:
Physiological disorders often mimic infectious diseases. You must differentiate between a pathogen and a nutrient deficiency.
-
Symptom: Yellowing of older, lower leaves while new growth remains green.
Solution: This is Nitrogen Chlorosis. Nitrogen is a mobile nutrient; the plant is scavenging it from old growth to support new leaves. Fix-It: Apply a liquid fish emulsion or a high nitrogen fertilizer immediately. -
Symptom: Purpling of the underside of leaves and stunted growth.
Solution: Phosphorus Deficiency. This often occurs in cold soils (below 60 degrees Fahrenheit) where phosphorus becomes insoluble. Fix-It: Increase the ambient temperature and apply a water soluble phosphate booster. -
Symptom: Leaf tips appearing "burnt" or scorched.
Solution: Tip Burn or Salt Accumulation. This is caused by over-fertilization or high chlorine levels in tap water. Fix-It: Flush the soil with three times the volume of the pot using distilled or filtered water to leach out excess salts. -
Symptom: Soft, brown mushy spots at the base of the stem.
Solution: Rhizoctonia or Pythium (Root Rot). This is a result of overwatering and lack of oxygen in the rhizosphere. Fix-It: Reduce watering frequency and ensure the pot has adequate drainage holes.
Maintenance:
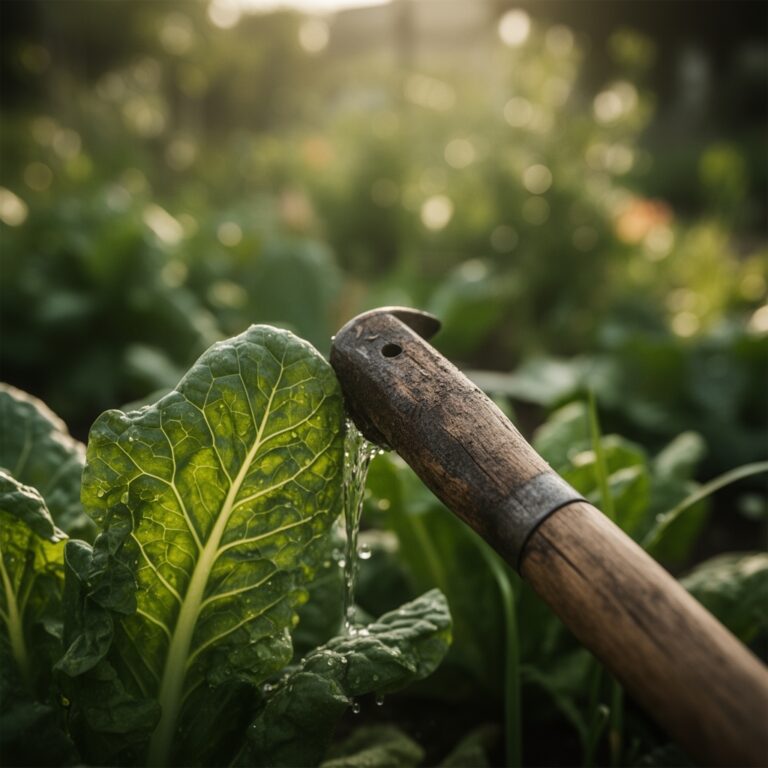
A disciplined maintenance schedule is the difference between a surviving plant and a thriving one. Use a soil moisture meter daily. Most flowering plants require the top 1 inch of soil to dry out before the next irrigation cycle. When you water, aim for 1.5 inches of water per week delivered directly to the soil, not the foliage, to prevent fungal spores from germinating on the leaves.
Pruning is essential for longevity. Use bypass pruners to remove spent blooms, a process known as deadheading. This prevents the plant from putting energy into seed production and forces it back into a flowering cycle. Every 14 days, wipe the leaves with a damp cloth to remove dust, which can block stomata and reduce photosynthetic efficiency by up to 30 percent.
The Yield:
Harvesting flowers requires precise timing to ensure "day-one" freshness. For most species, harvest in the early morning when turgor pressure is at its peak and the plant is fully hydrated. Use a sharp, sterilized blade to make a 45 degree angle cut; this increases the surface area for water uptake.
Immediately plunge the stems into 100 degree Fahrenheit water containing a floral preservative (a mix of carbohydrates for energy and a biocide to prevent vascular plugging). Store the harvested flowers in a cool, dark location for two hours to "condition" them before moving them into a final arrangement. This process slows the rate of senescence and extends the vase life significantly.
FAQ:
How do I prevent my shelf plants from leaning?
Rotate your pots 90 degrees every week. This counters phototropism, where plants grow toward the light source. Consistent rotation ensures even auxin distribution and a symmetrical, upright growth habit for your flowering specimens.
What is the best light for a flowering shelf?
Use Full-Spectrum LED lights that provide a high output in the 660nm (red) and 450nm (blue) wavelengths. Red light is essential for triggering the flowering response, while blue light maintains compact, healthy vegetative growth.
How often should I fertilize flowering plants?
During the active growing season, apply a diluted liquid fertilizer every 14 to 21 days. Always water the soil before applying fertilizer to prevent "root burn," which occurs when concentrated salts contact dry root tissues.
Why are my flower buds falling off before they open?
This is known as bud abscission. It is typically caused by environmental stress, such as sudden temperature swings, ethylene gas exposure, or extreme fluctuations in soil moisture. Maintain a stable environment to prevent this hormonal response.