8 Successful Steps to Prepare for Your First Vegetable Season
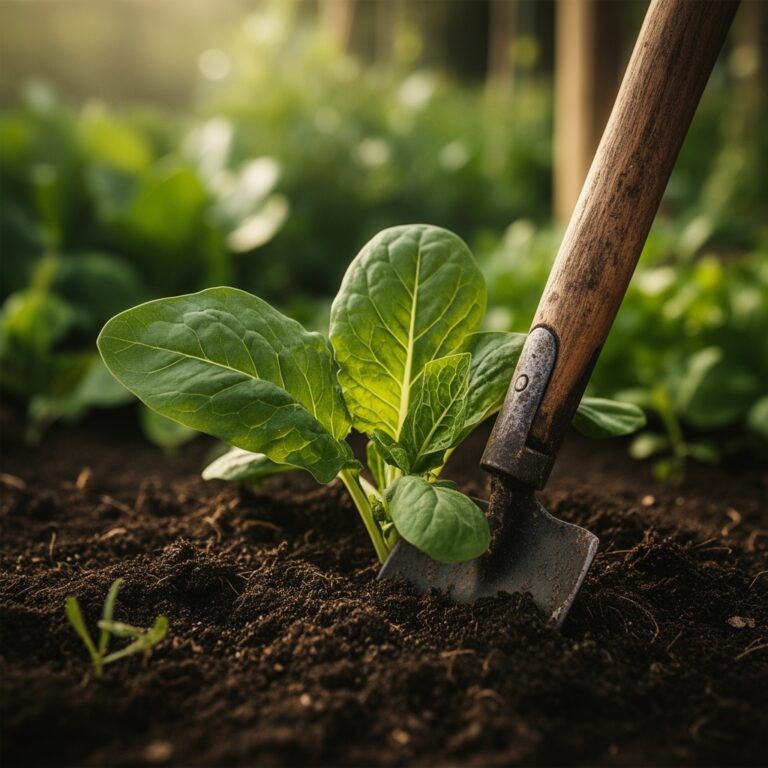
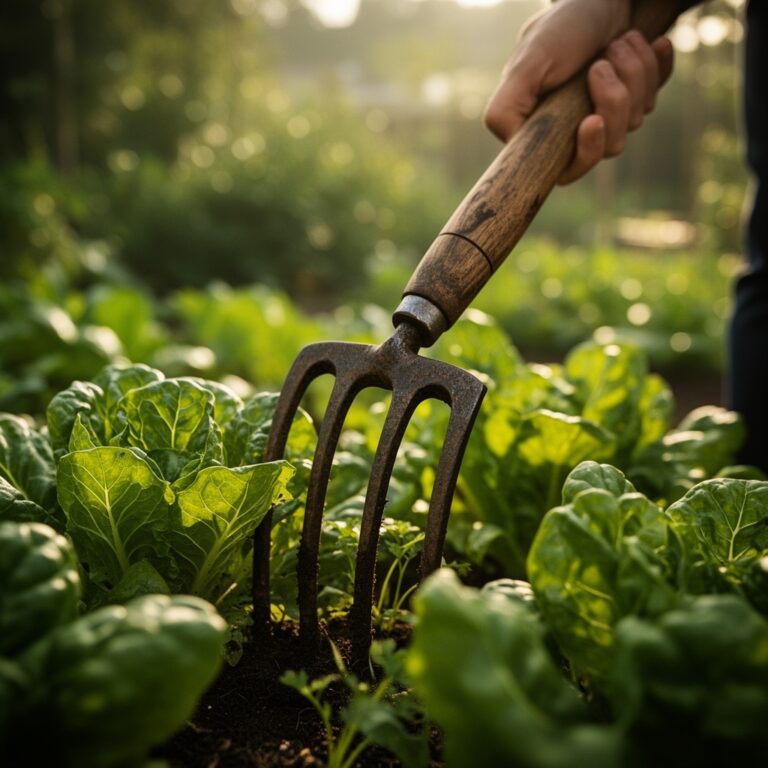
Learning how to prepare a garden for a beginner vegetable garden begins with understanding that soil is not dirt. It is a living system with measurable pH, nutrient ratios, and microbial populations that determine whether seedlings thrive or stall. First-time growers often focus on seed packets and watering schedules while ignoring the foundational work that transforms compacted ground into a productive bed. The smell of fresh compost, the grit of coarse sand between your fingers, and the crumble of loam signal that preparation has moved beyond theory into practice. Proper garden preparation addresses soil structure, nutrient availability, and timing windows calibrated to your specific hardiness zone.
Materials
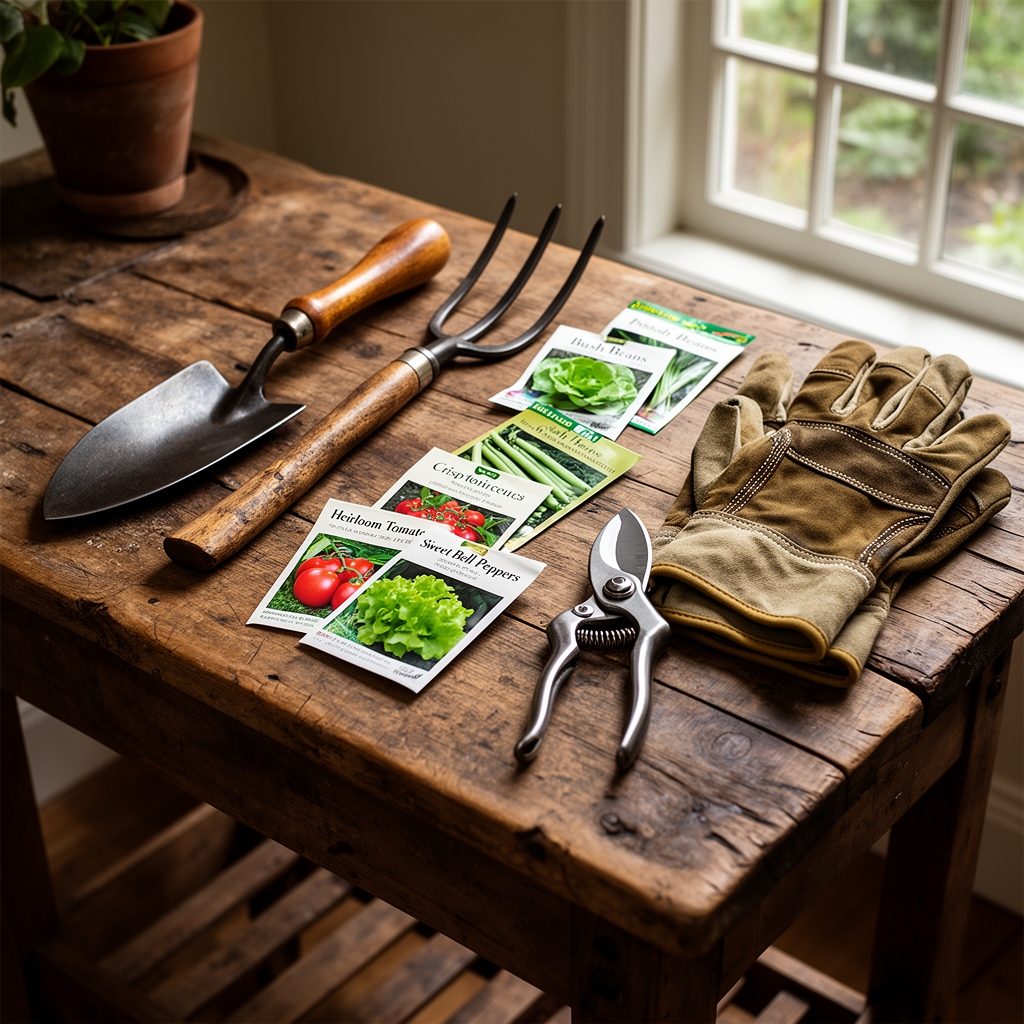
Soil amendments must match your baseline conditions. Purchase a soil test kit that measures pH, nitrogen, phosphorus, and potassium. Most vegetable crops perform optimally between 6.0 and 7.0 pH. If your soil tests below 6.0, apply dolomitic limestone at 5 pounds per 100 square feet to raise pH by approximately 0.5 units. For alkaline soils above 7.5, incorporate elemental sulfur at 1 pound per 100 square feet.
Select a balanced organic fertilizer with an NPK ratio near 4-4-4 or 5-5-5. Alfalfa meal (2.5-0.5-2.5) provides slow-release nitrogen and triacontanol, a natural growth stimulant. Bone meal (3-15-0) supplies phosphorus for root development. Kelp meal (1-0.5-2.5) delivers potassium and trace minerals including boron, zinc, and manganese. Mix these amendments at a combined rate of 2 to 3 pounds per 100 square feet.
Compost serves as both a nutrient source and a cation exchange capacity enhancer. Finished compost should smell earthy, not ammonia-laden, and reach internal temperatures of 131°F to 140°F during active decomposition to eliminate weed seeds and pathogens. Apply a 2-inch layer across the bed surface and incorporate to a depth of 6 to 8 inches. Add coarse horticultural sand if your soil forms a dense ball when squeezed; sandy loam drains efficiently while retaining moisture.
Mycorrhizal fungi inoculants containing Glomus species colonize root systems and extend nutrient uptake range by 10 to 100 times. Apply granular inoculant directly into transplant holes at 1 teaspoon per plant.
Timing
Hardiness zones dictate planting schedules. USDA Zone 5 experiences last spring frosts around May 15, while Zone 8 sees final frost dates near March 15. Cool-season crops tolerate soil temperatures of 40°F to 50°F. Spinach, lettuce, and peas germinate when soil reaches 45°F. Transplant these species 4 to 6 weeks before the last expected frost.
Warm-season crops require soil temperatures above 60°F. Tomatoes, peppers, and cucurbits experience transplant shock and stunted auxin distribution when planted into cold soil. Wait until nighttime temperatures consistently remain above 50°F, typically 1 to 2 weeks after the last frost date. Use a soil thermometer at 4-inch depth to confirm conditions.
Fall gardens require reverse calculations. Count backward from the first expected frost date, adding 14 days for reduced autumn light intensity. Brassicas need 70 to 90 days to mature, so sow by mid-July in Zone 6 for October harvest.
Phases

Sowing Phase
Direct-sow large seeds like beans, squash, and corn at depths equal to three times their diameter. Plant carrots and lettuce at 1/4-inch depth in rows spaced 12 inches apart. Firm soil over seeds to ensure consistent seed-to-soil contact, which accelerates imbibition and germination.
Pro-Tip: Pre-soak large seeds in room-temperature water for 8 to 12 hours to reduce germination time by 2 to 3 days. Drain thoroughly before planting to prevent anaerobic conditions.
Transplanting Phase
Harden off seedlings by exposing them to outdoor conditions for 7 to 10 days. Begin with 2 hours of morning sun, increasing daily exposure by 1 hour. Dig transplant holes 1 inch deeper than root ball height. Position tomato transplants horizontally, burying stems up to the first true leaves to promote adventitious root formation along buried nodes.
Pro-Tip: Apply mycorrhizal inoculant directly to root balls 30 minutes before transplanting. Moisture activates fungal spores, allowing colonization within 48 hours.
Establishing Phase
Water transplants with a starter solution of 1 tablespoon fish emulsion per gallon of water. This provides nitrogen in immediately available form while transplants establish feeder roots. Mulch around plants with 2 to 3 inches of straw or shredded leaves to moderate soil temperature and reduce moisture loss.
Pro-Tip: Prune tomato suckers at 45-degree angles when they reach 2 to 3 inches long. This angle minimizes wound surface area and reduces entry points for bacterial pathogens.
Troubleshooting
Blossom End Rot
Symptom: Dark, sunken lesions on tomato or pepper fruit bottoms.
Solution: Calcium deficiency caused by irregular watering. Apply gypsum (calcium sulfate) at 2 pounds per 100 square feet. Maintain consistent soil moisture at 1 to 1.5 inches per week.
Damping Off
Symptom: Seedling stems constrict at soil line and collapse.
Solution: Fungal pathogens thrive in oversaturated soil. Water seedlings from below using trays. Increase air circulation with a fan running 4 to 6 hours daily.
Chlorosis
Symptom: Yellow leaves with green veins on new growth.
Solution: Iron deficiency in alkaline soils. Apply chelated iron at 1 tablespoon per gallon as a foliar spray every 7 days until symptoms resolve.
Cutworms
Symptom: Seedlings severed at soil level overnight.
Solution: Place cardboard collars 2 inches into soil and 2 inches above surface around transplants. Remove after 3 weeks when stems lignify.
Powdery Mildew
Symptom: White, dusty coating on leaf surfaces.
Solution: Spray affected plants with 1 tablespoon baking soda plus 1 teaspoon horticultural oil per gallon of water. Repeat every 7 days.
Maintenance
Water deeply at 1 to 1.5 inches per week, measured with a rain gauge. Drip irrigation or soaker hoses deliver water at soil level, reducing foliar disease. Water in early morning between 5 a.m. and 9 a.m. to allow foliage to dry before nightfall.
Side-dress nitrogen-hungry crops like corn and brassicas with blood meal (12-0-0) at 1 pound per 100 square feet when plants reach 6 inches tall. Reapply every 3 to 4 weeks.
Scout for pests weekly. Check leaf undersides for aphid colonies and hand-remove infested leaves. Release ladybugs at 1,500 per 1,000 square feet for biological control.
FAQ
How deep should I till a new garden bed?
Till to 8 to 10 inches to break compaction and incorporate amendments. Deeper tilling disrupts soil structure and buries topsoil.
Can I use fresh manure in spring gardens?
No. Fresh manure contains ammonia levels toxic to seedlings. Compost manure for 6 months or apply aged manure in fall for spring planting.
What spacing do tomatoes need?
Determinate varieties require 24 inches between plants. Indeterminate types need 36 inches for adequate air circulation.
When should I fertilize after transplanting?
Wait 10 to 14 days for root establishment. Early fertilization forces vegetative growth before roots can support it.
How do I know if my soil drains well?
Dig a 12-inch hole, fill with water, and measure drainage time. Soil should drain within 4 to 6 hours. Slower drainage requires sand or raised beds.