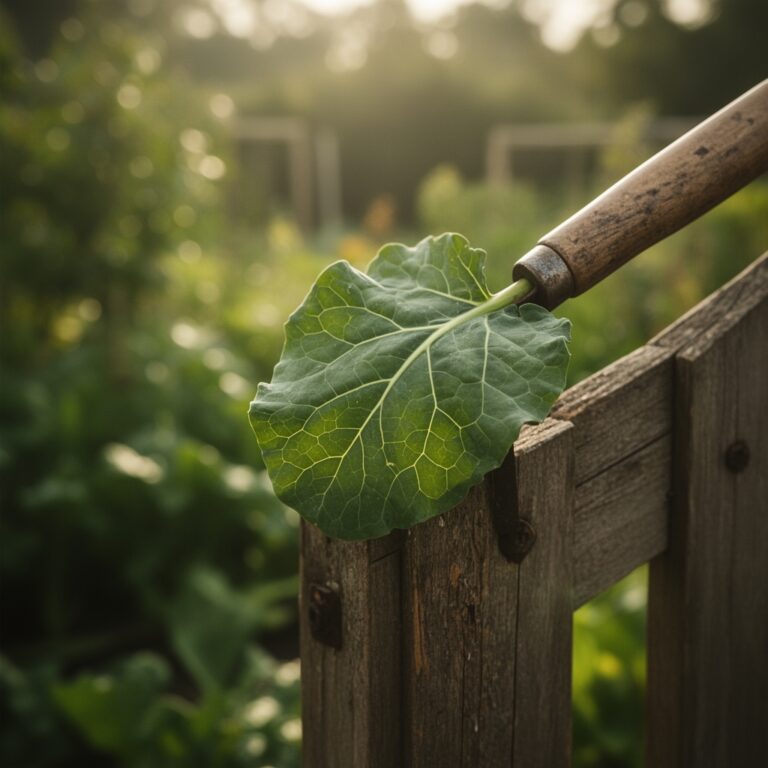
9 Sustainable Steps to Prepare a Backyard Self-Sufficiency Garden
Learning how to prepare a garden for a backyard vegetable garden begins with the soil beneath your feet. The scent of turned earth mixed with decomposed organic matter signals the start of a productive growing season. This nine-step system transforms raw lawn or compacted soil into a biologically active food production zone. Each step builds cation exchange capacity while establishing the microbial networks that convert nutrients into plant-available forms.
Materials
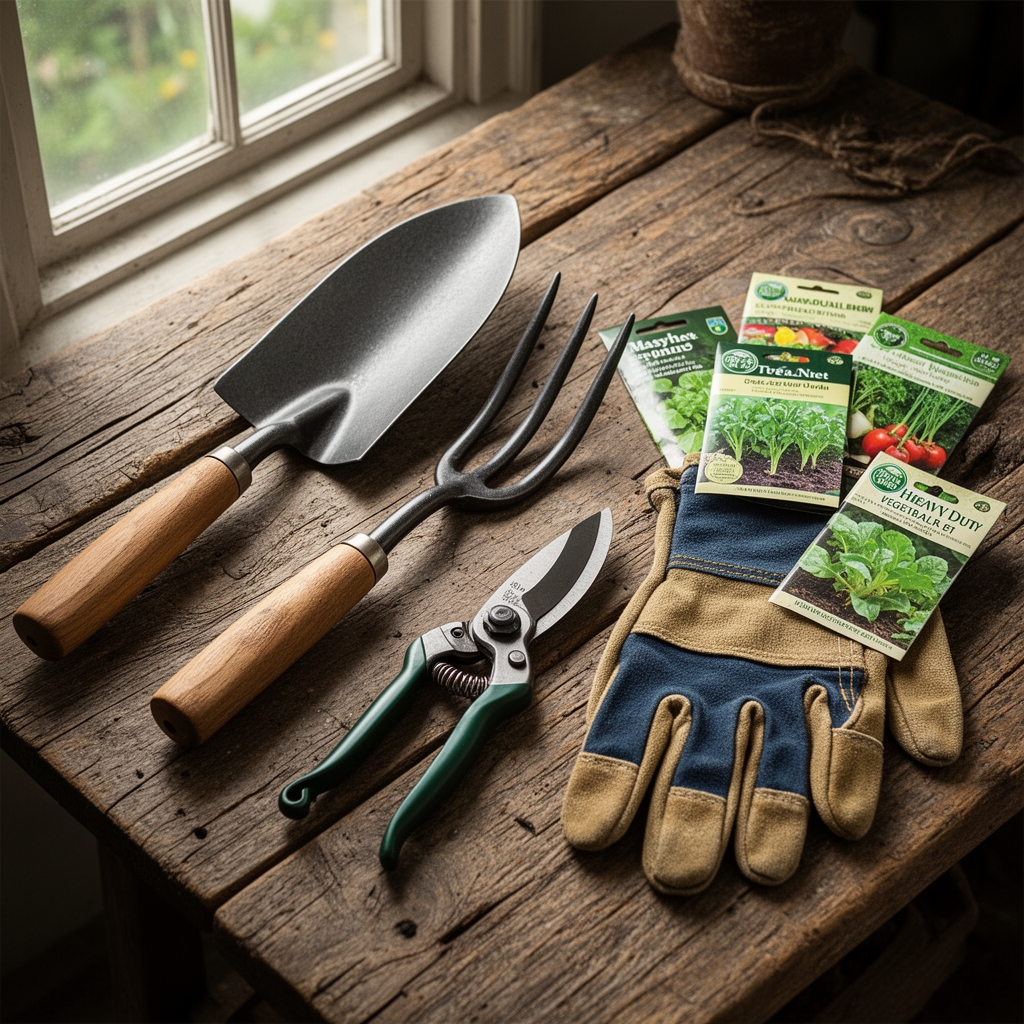
Successful garden preparation requires specific amendments matched to your baseline soil chemistry. Conduct a laboratory soil test measuring pH, nitrogen, phosphorus, potassium, and organic matter percentage before purchasing any inputs.
For acidic soils (pH 5.0-6.0), apply dolomitic limestone at 50 pounds per 1,000 square feet to raise pH one full point. For alkaline soils (pH 7.5-8.5), incorporate elemental sulfur at 10 pounds per 1,000 square feet to lower pH by 0.5 units over six months.
Balanced organic fertilizers rated 4-4-4 or 5-5-5 provide steady macronutrient release. Alfalfa meal (2.5-0.5-2.5) adds nitrogen and triacontanol, a natural growth stimulant. Kelp meal (1-0.2-2) supplies micronutrients including zinc, manganese, and iron in chelated forms. Rock phosphate (0-3-0) addresses phosphorus deficiency in new gardens with low Bray P1 test values.
Compost aged for 12-18 months at temperatures exceeding 131°F eliminates weed seeds while preserving beneficial thermophilic bacteria. Apply 2-3 inches across the entire garden footprint. Mycorrhizal inoculant containing Glomus intraradices and Glomus mosseae establishes symbiotic fungal networks that extend effective root zones by 10-100 times.
Timing
Garden preparation windows align with USDA Hardiness Zone frost dates and soil temperature thresholds. In Zones 3-5, begin soil work 4-6 weeks before the last spring frost when soil temperatures reach 45°F at 4-inch depth. In Zones 6-8, prepare beds 6-8 weeks before the last frost as soon as soil can be worked without forming dense clods.
Southern gardeners in Zones 9-11 prepare fall gardens in August through September when daytime temperatures drop below 90°F. Soil biology remains active year-round in these zones, allowing for continuous nutrient cycling.
Check soil workability by squeezing a handful. Properly conditioned soil crumbles apart rather than forming a sticky ball. Working wet soil destroys aggregate structure and creates compaction layers that restrict root penetration and water infiltration for years.
Phases
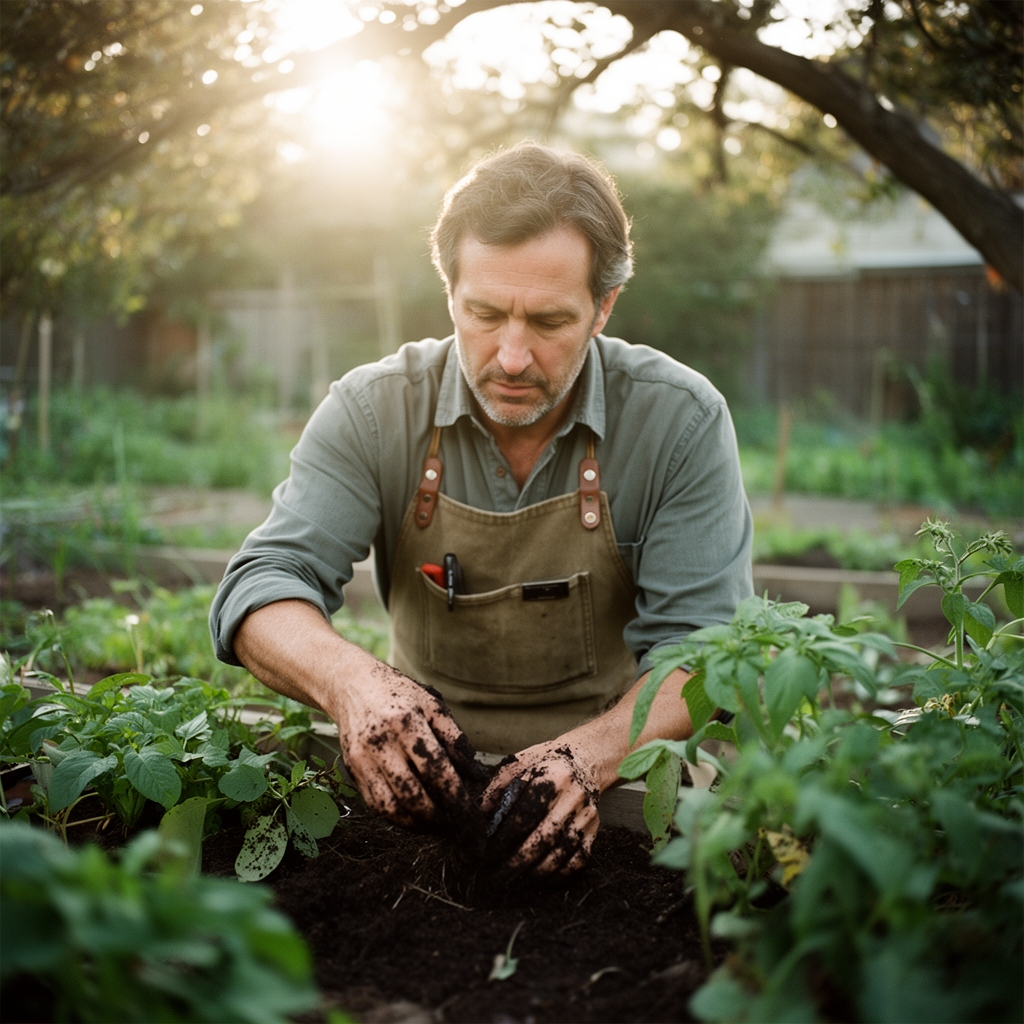
Step 1: Site Assessment and Layout
Mark garden boundaries with stakes and string. Measure sun exposure across the entire site from 9 AM to 4 PM. Vegetables require 6-8 hours of direct sunlight for optimal photosynthetic efficiency. Orient rows north to south to minimize shading.
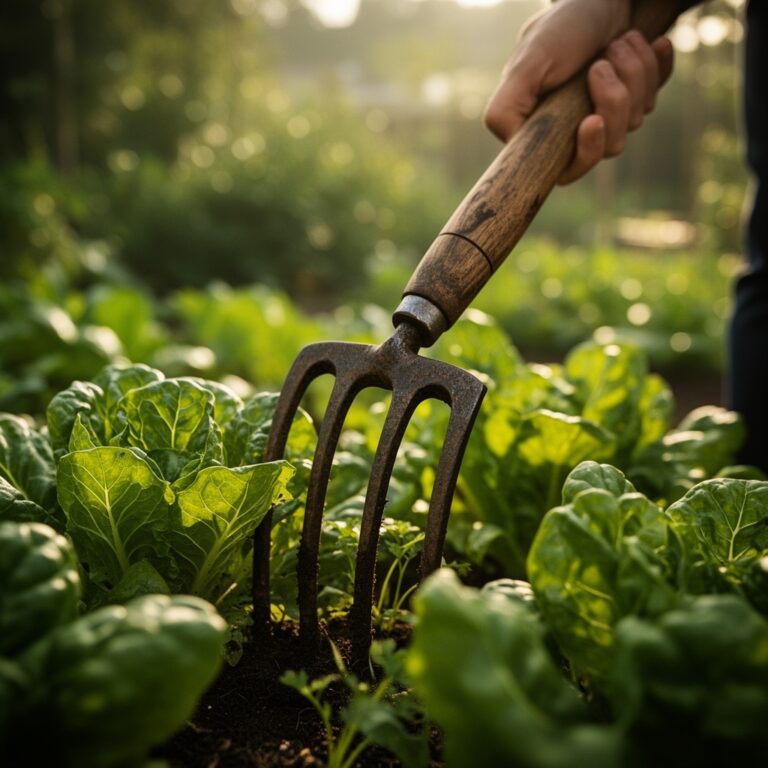
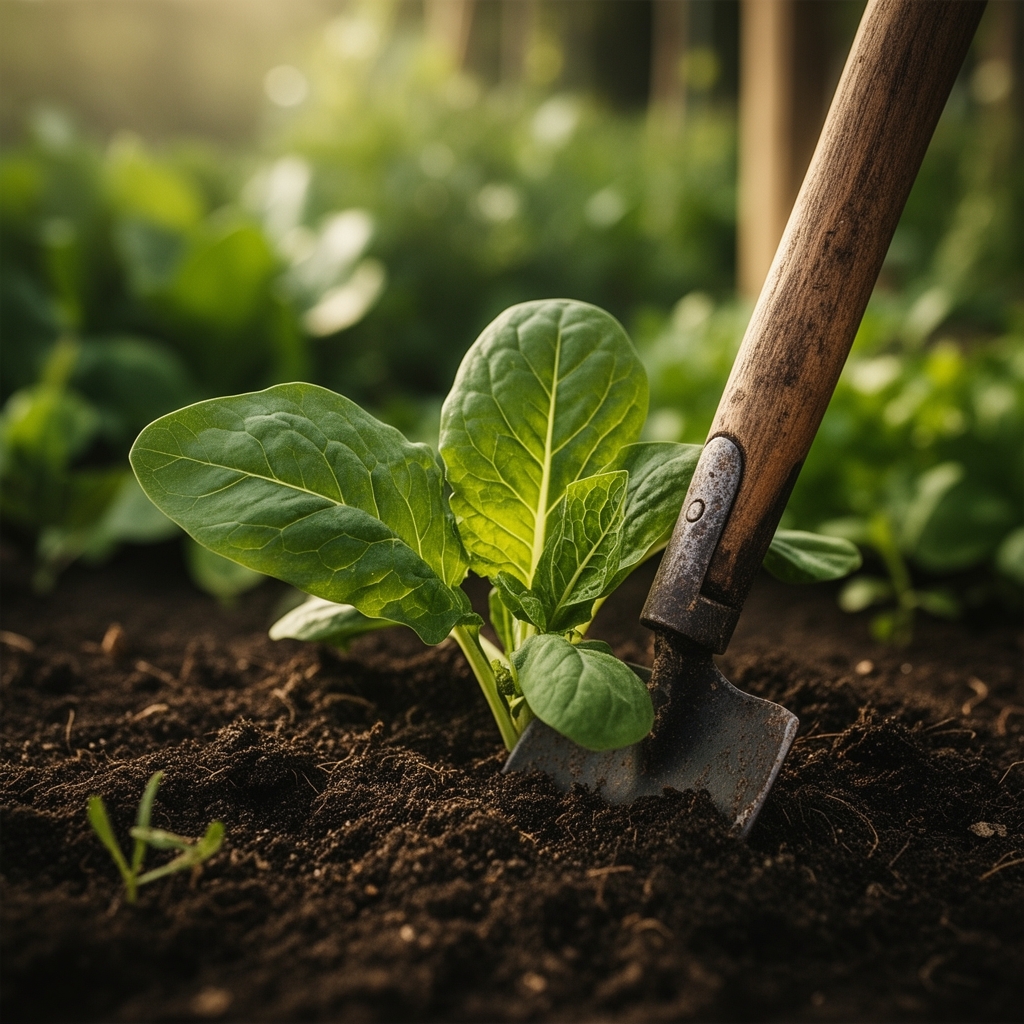
Step 2: Vegetation Removal
Remove existing grass using a sharp spade to cut 2-inch-deep sections. Stack sod grass-side-down in a separate pile to decompose for 12 months. This material becomes high-quality topsoil replacement.
Pro Tip: Skip tilling entirely. The no-till method preserves soil structure and prevents weed seed germination from deeper soil layers.
Step 3: Initial Soil Testing
Submit samples to a university extension laboratory for complete analysis. Take 12-15 cores from random locations across the site, mixing them thoroughly in a clean bucket. Request organic matter percentage, texture analysis, and micronutrient panel in addition to standard NPK values.
Step 4: Amendment Application
Spread calculated amendment quantities evenly across the bed surface. Apply lime or sulfur first, followed by organic fertilizers, then compost as the top layer. This stratification allows each amendment to interact properly with soil particles.
Step 5: Bed Formation
Create raised beds 4 feet wide and any length for easy access from both sides. Rake soil from pathways onto growing areas, forming beds 6-8 inches above grade. This elevation improves drainage and extends the growing season by warming soil 5-10°F earlier in spring.
Pro Tip: Install drip irrigation tubing before mulching. Position emitters every 12 inches along the tubing to ensure even water distribution.
Step 6: Biological Activation
Apply mycorrhizal inoculant at 1 tablespoon per 10 square feet, scratching it into the top inch of soil. These fungi colonize root systems within 14-21 days, increasing phosphorus uptake by 40-60 percent.
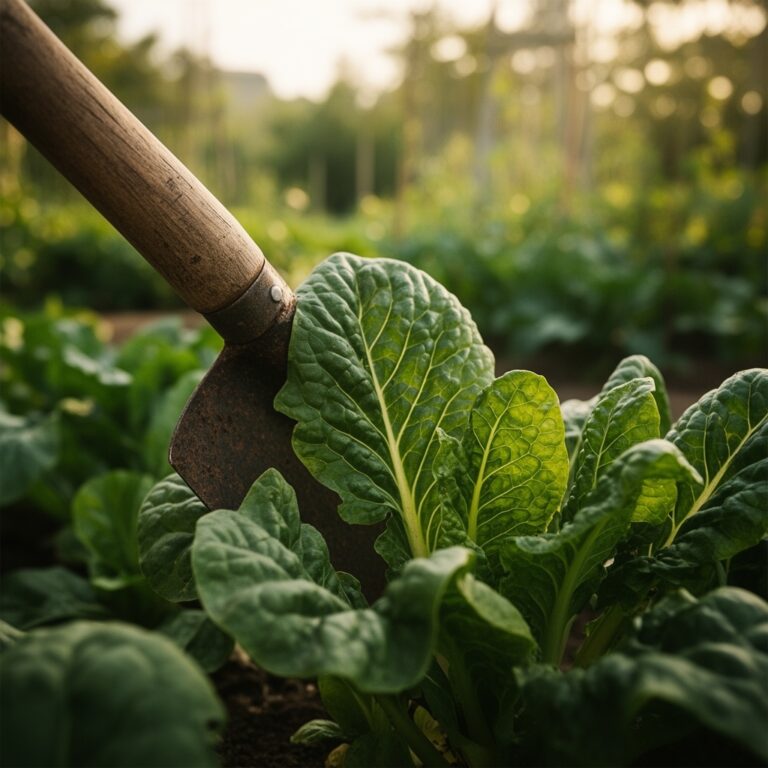
Step 7: Mulch Layer
Spread 2-3 inches of shredded hardwood bark or straw mulch across beds. Keep mulch 2 inches away from where plant stems will emerge. Mulch moderates soil temperature, suppresses annual weeds, and feeds soil bacteria as it decomposes.
Pro Tip: Use straw rather than hay. Hay contains thousands of viable weed seeds that germinate throughout the season.
Step 8: Pre-Planting Irrigation
Water beds thoroughly 48 hours before sowing seeds or transplanting. Soil should be moist at 6-inch depth but not saturated. This pre-irrigation activates microbial populations and ensures adequate moisture for germination.
Step 9: Final Surface Preparation
Rake the top 1 inch of soil to create a smooth seedbed. Remove rocks, roots, and debris larger than 0.5 inches. Press soil gently with the back of a rake to ensure good seed-to-soil contact.
Troubleshooting
Symptom: Stunted Growth with Purple Leaf Undersides
Solution: Phosphorus deficiency caused by cold soil or pH below 6.0. Apply liquid fish fertilizer (5-1-1) as a foliar spray at 2 tablespoons per gallon weekly for three weeks. Test and adjust soil pH.
Symptom: Yellowing Between Leaf Veins
Solution: Iron chlorosis from alkaline soil or poor drainage. Apply chelated iron at label rates. Improve drainage by incorporating compost to 12-inch depth. Sulfur application lowers pH gradually.
Symptom: Wilting Despite Adequate Moisture
Solution: Root-knot nematodes or verticillium wilt. Remove affected plants immediately. Solarize soil by covering with clear plastic for 6-8 weeks during peak summer heat. Temperatures reaching 140°F at 6-inch depth kill most soilborne pathogens.
Symptom: Damping Off in Seedlings
Solution: Pythium or Rhizoctonia fungi in oversaturated soil. Reduce watering frequency. Apply beneficial bacteria (Bacillus subtilis) as a soil drench. Increase air circulation with a small fan.
Symptom: Slow Germination with Fuzzy Seed Coats
Solution: Seed-rotting fungi in cold, wet conditions. Wait until soil reaches minimum germination temperature for each crop species. Pre-soak seeds in chamomile tea for 4 hours to inhibit fungal growth.
Maintenance
Water established gardens with 1 inch per week measured with a rain gauge. Apply water in a single deep session rather than multiple shallow irrigations. This practice encourages roots to grow 12-18 inches deep where moisture remains consistent.
Side-dress heavy feeders like tomatoes and squash with 1/4 cup of balanced organic fertilizer per plant 4 weeks after transplanting. Scratch fertilizer into soil 4 inches from the stem and water thoroughly.
Monitor soil pH quarterly using an accurate probe or laboratory test. pH drift occurs as amendments react with soil minerals and organic acids from decomposition. Maintain vegetable garden pH between 6.2-6.8 for optimal nutrient availability.
Reapply mulch mid-season to maintain 2-3 inch depth. Mulch decomposes throughout the growing season, feeding soil organisms while protecting against temperature extremes and moisture loss.
FAQ
How deep should I prepare soil for a vegetable garden?
Work soil to 12 inches deep for annual vegetables. Root crops like carrots and parsnips benefit from 18-inch depth to prevent forking and allow straight root development.
Can I plant immediately after preparing garden beds?
Wait 7-10 days after applying amendments before planting. This allows pH adjustments to begin and prevents fertilizer burn from concentrated nutrients near germinating seeds.
What is the minimum garden size for self-sufficiency?
A 600 square foot garden (20×30 feet) produces adequate vegetables for two people with intensive planting methods, succession sowing, and season extension techniques.
Should I till my garden every year?
No. Annual tilling destroys soil structure, kills beneficial fungi, and brings weed seeds to the surface. Add compost annually to the surface and allow soil organisms to incorporate it naturally.
How do I prepare clay soil for vegetable gardening?
Incorporate 4-6 inches of compost and 2 inches of coarse sand or perlite to improve drainage. Add gypsum (calcium sulfate) at 40 pounds per 1,000 square feet to improve soil aggregation without changing pH. Clay soil requires 2-3 years of consistent organic matter addition to achieve optimal structure.