7 Sturdy Steps to Build a Tomato Garden Trellis
Strong tomato plants can grow six feet tall and produce thirty pounds of fruit per season, but without proper support, branches snap under the weight and yields plummet by forty percent. The steps for building a vegetable garden trellis transform a sprawling, disease-prone crop into a vertical, productive system with improved air circulation and easier harvest access. Each stake, tie, and cross-member becomes part of a load-bearing structure that channels auxin distribution along the main stem while preventing soil-borne pathogens from splashing onto lower foliage during irrigation or rain events.
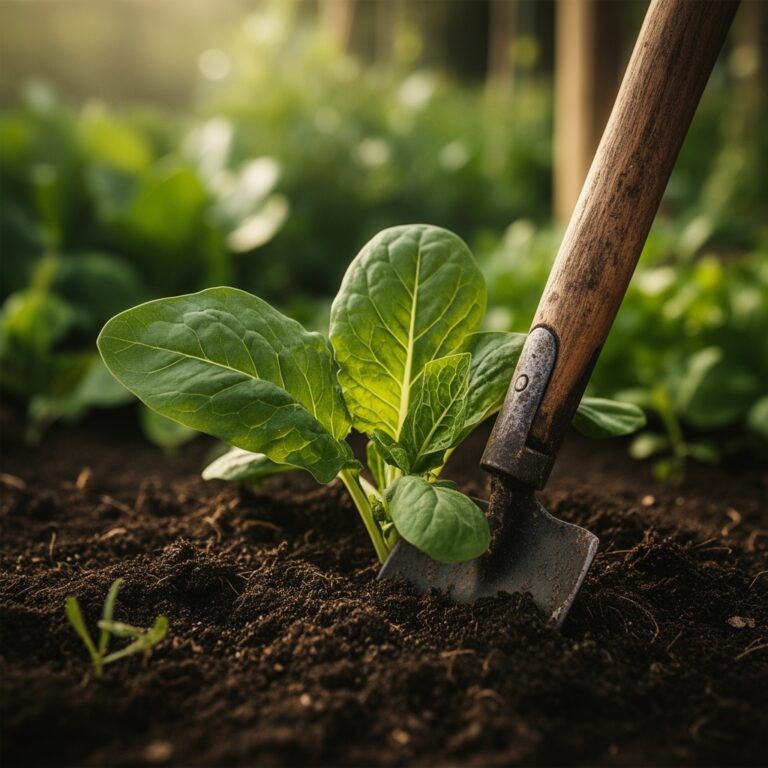
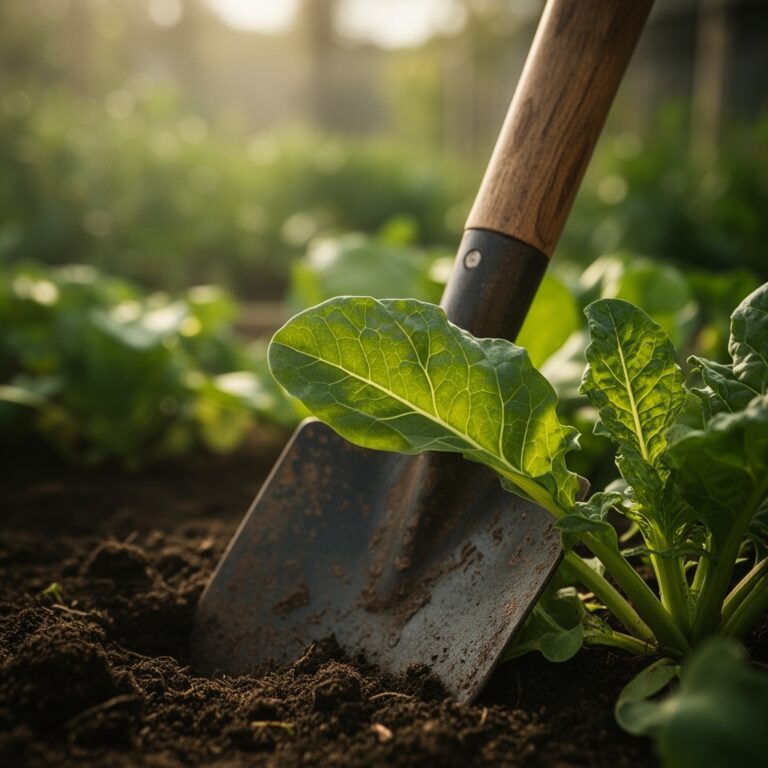
Materials and Soil Preparation
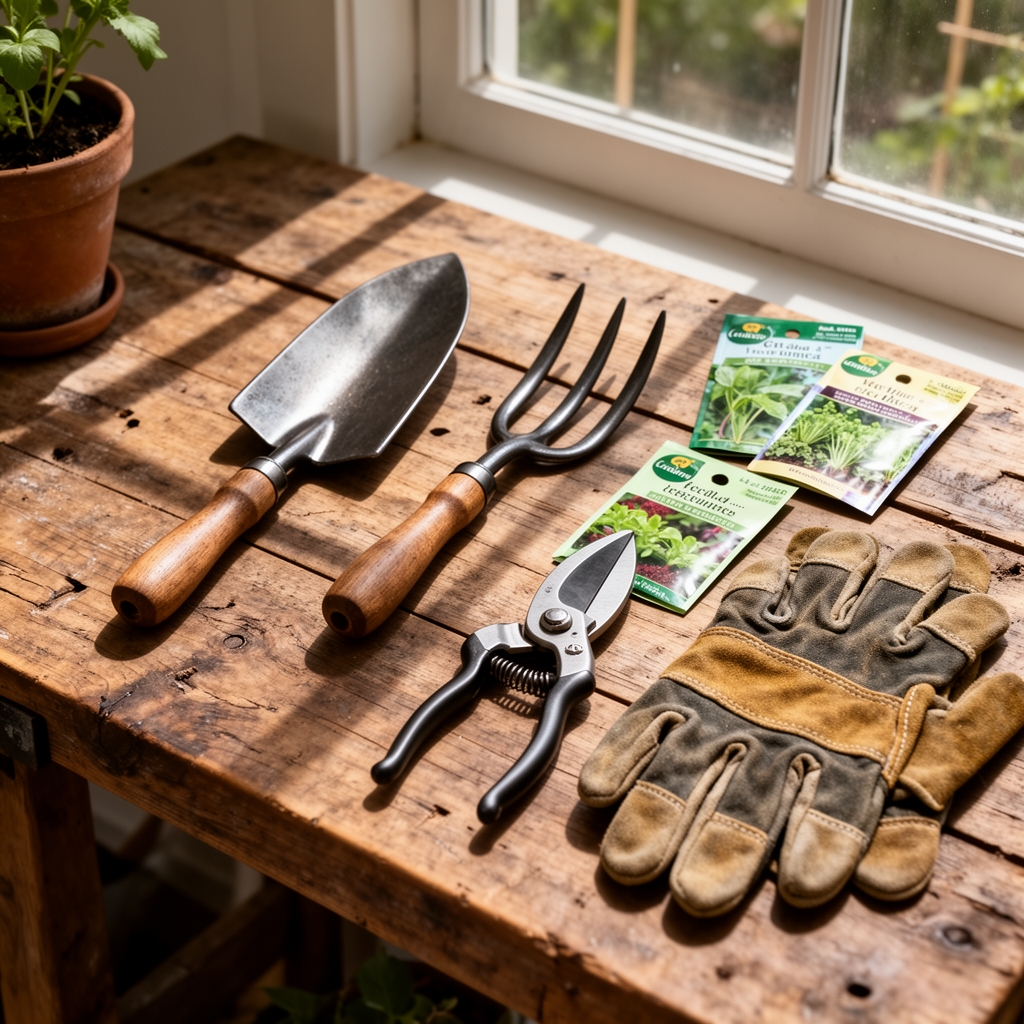
Gather eight-foot wooden stakes (cedar or locust resist decay for five to seven seasons), galvanized wire or jute twine rated for fifty-pound tension, a post-hole digger, and a rubber mallet. For metal A-frame designs, source half-inch EMT conduit and slip tees from any electrical supply house. Before installation, amend the bed with a 4-4-4 organic blend to establish baseline nitrogen, phosphorus, and potassium. A soil test revealing pH between 6.2 and 6.8 indicates optimal cation exchange capacity for calcium and magnesium uptake, both critical for preventing blossom-end rot as fruit develops. Mix two pounds of composted manure per ten square feet into the top six inches, then inoculate with mycorrhizal fungi at transplant time to colonize root hairs and extend nutrient absorption zones by up to forty percent.
Timing and Hardiness Zones
Install the trellis framework two weeks before the last average frost date in your hardiness zone. Zone 5 gardeners should aim for mid-May; Zone 7 schedules work in early April; Zone 9 allows February construction. Cold soil below fifty-five degrees Fahrenheit inhibits root growth and invites damping-off fungi, so wait for consistent ground temperatures before transplanting seedlings. Erect stakes while the bed is empty to avoid damaging fragile root systems. Determinate varieties require four-foot supports; indeterminate cultivars demand six to eight feet of vertical clearance to accommodate season-long growth.
Construction Phases
Sowing: Start seeds indoors six to eight weeks before the last frost. Use a sterile seed-starting mix with a low electrical conductivity value (below 1.0 millisiemens per centimeter) to prevent salt burn on emerging radicles. Maintain soil temperature at seventy-five degrees Fahrenheit for germination within five to seven days. Once true leaves appear, harden off seedlings by reducing water and exposing them to outdoor conditions for one hour daily, increasing by thirty minutes each day over ten days.
Pro-Tip: Apply a dilute fish emulsion (2-3-1 NPK) at half strength every seven days during the seedling stage to promote stocky stem development and robust leaf expansion.
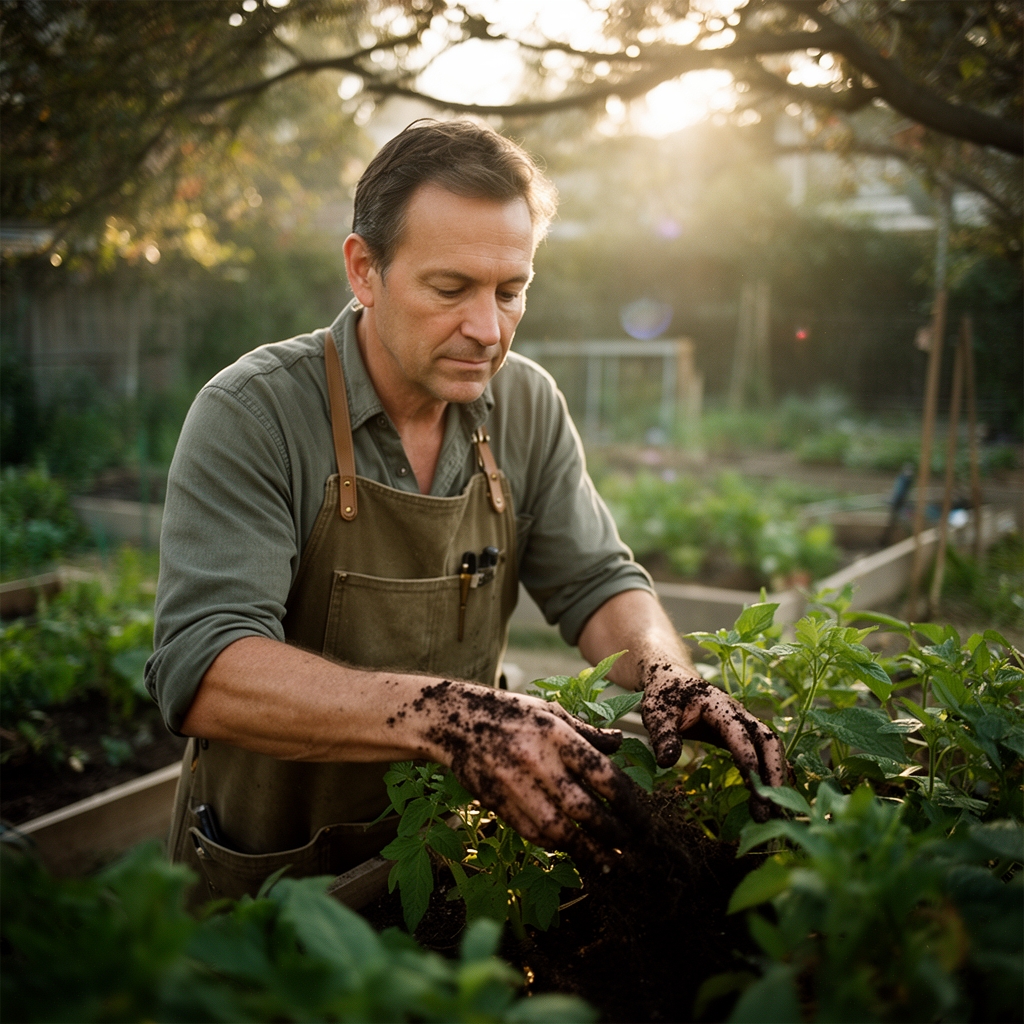
Transplanting: Dig post holes eighteen inches deep, spacing stakes twenty-four inches apart in rows. Set each stake vertically, then backfill with native soil mixed with ten percent perlite to improve drainage around the base. Tamp firmly to eliminate air pockets that cause frost heave. String horizontal wire runs at twelve-inch intervals up the stake, creating a ladder effect. Plant tomato seedlings twelve inches from the base of each stake, burying two-thirds of the stem to encourage adventitious root formation along the buried nodes. This increases water and nutrient uptake capacity by thirty to fifty percent compared to shallow planting.
Pro-Tip: Prune seedlings at a forty-five-degree angle just above the cotyledons before transplanting to trigger lateral branching and a bushier canopy.
Establishing: Within three days of transplant, loosely tie the main stem to the lowest wire using figure-eight loops that accommodate stem expansion. As the plant grows, continue securing it at each twelve-inch interval. Remove suckers (axillary shoots) below the first flower cluster to redirect carbohydrate reserves toward fruit set rather than vegetative growth. Leave one or two suckers above the cluster on indeterminate types to balance production and foliage cover, which prevents sunscald on developing fruit.
Pro-Tip: Foliar spray with a seaweed extract solution (0.1 percent concentration) every fourteen days to boost cytokinin activity and improve stress tolerance during heat waves above ninety degrees Fahrenheit.
Troubleshooting Common Disorders
Symptom: Yellow lower leaves with green veins.
Solution: Magnesium deficiency. Dissolve one tablespoon Epsom salt per gallon of water and drench the root zone biweekly until foliage greens.
Symptom: Dark, sunken lesions on blossom end of fruit.
Solution: Calcium deficiency, often triggered by inconsistent watering. Maintain even soil moisture and apply gypsum (calcium sulfate) at two pounds per one hundred square feet.
Symptom: Wilting despite moist soil; brown vascular streaks in cut stems.
Solution: Fusarium or Verticillium wilt. Remove infected plants immediately. Rotate crops to a different bed for three years; solarize soil by covering with clear plastic for six weeks in summer to raise temperatures above 140 degrees Fahrenheit.
Symptom: Small green caterpillars boring into fruit.
Solution: Tomato fruitworm (Helicoverpa zea). Hand-pick larvae at dusk. Spray Bacillus thuringiensis var. kurstaki every seven days, targeting newly hatched instars.
Symptom: White powdery coating on leaves.
Solution: Powdery mildew. Improve air circulation by spacing plants wider. Apply a baking soda solution (one tablespoon per gallon with a few drops of insecticidal soap) weekly.
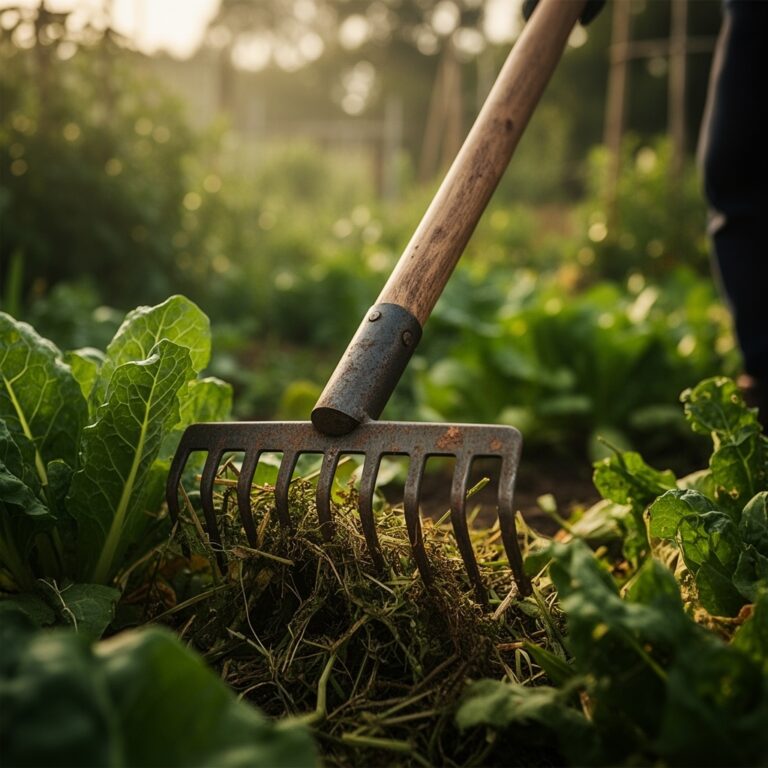
Maintenance Protocols
Water deeply twice per week, delivering one inch measured with a rain gauge. Drip irrigation at the base minimizes foliar wetness and reduces disease pressure. Apply a three-inch layer of straw mulch to moderate soil temperature and suppress weeds. Side-dress with a 5-10-10 granular fertilizer (one-quarter cup per plant) when first fruits reach golf-ball size, then repeat every three weeks. Prune aggressively in humid climates, removing lower leaves up to the first fruit cluster to enhance airflow. Check ties weekly; stems expand rapidly and can girdle if bindings become too tight.
Frequently Asked Questions
How much weight can a single stake support?
Cedar stakes properly installed to eighteen-inch depth hold forty to sixty pounds. For heavier heirloom varieties, double-stake or use a cage-trellis hybrid.
Can I reuse wooden stakes?
Inspect for rot and insect galleries. Treat with a ten-percent bleach solution before storage to kill overwintering pathogens.
What spacing prevents disease spread?
Maintain thirty-six inches between plants to allow air circulation that dries foliage within two hours after rain or irrigation.
Do I need different trellis designs for determinate versus indeterminate types?
Determinates grow to a fixed height (three to four feet) and suit cage systems. Indeterminates climb continuously and require tall stakes or string supports.
When should I remove plants after harvest?
Pull plants immediately after first frost or when yields drop below one pound per week. Compost disease-free material; burn or discard infected stems.